
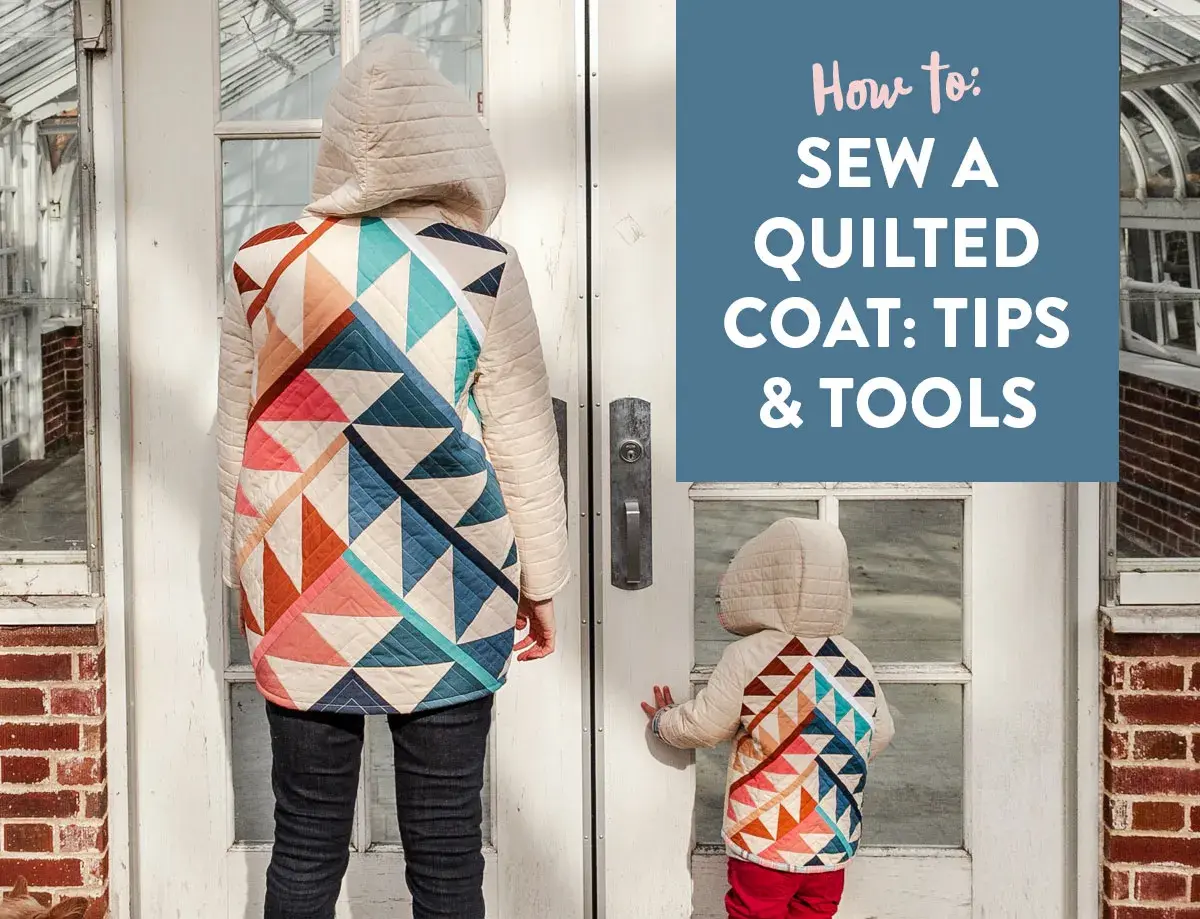
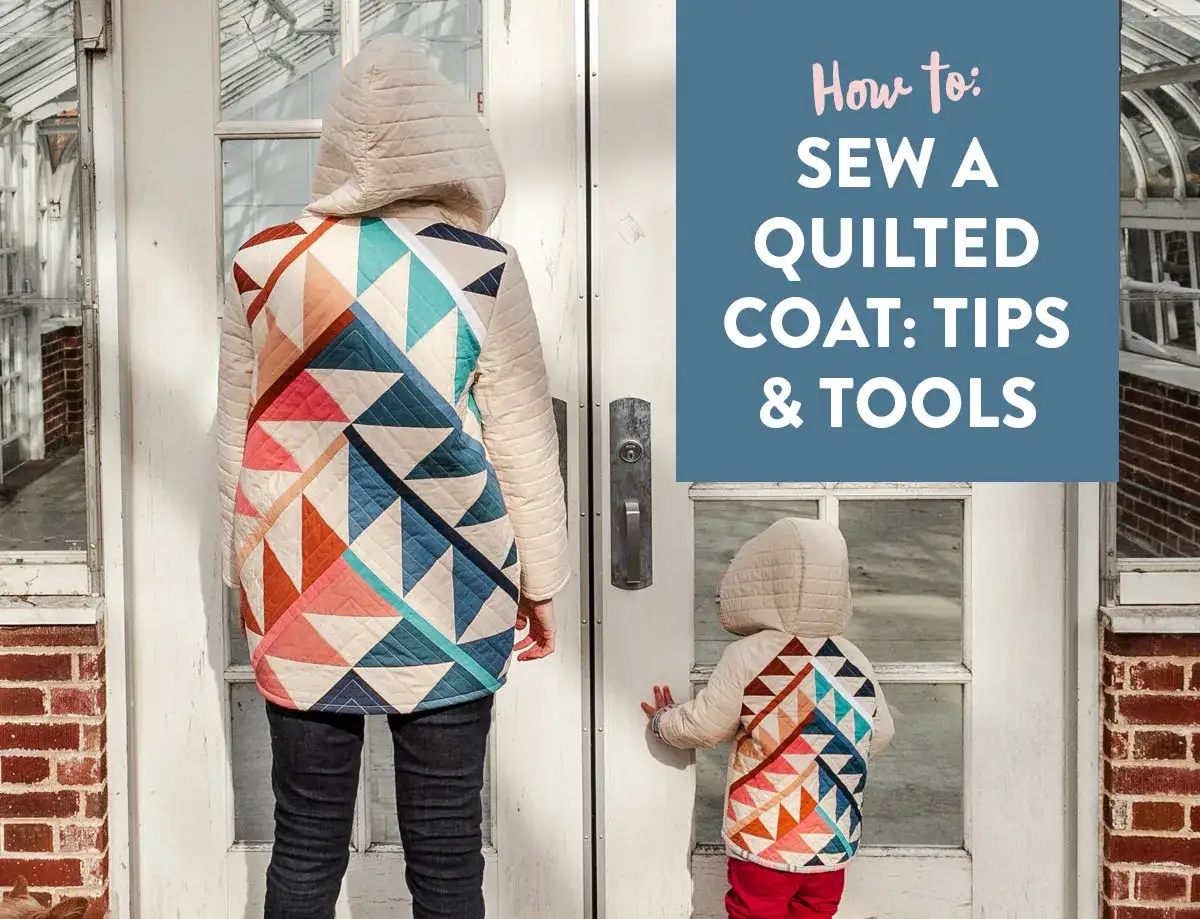
A quilt jacket can be one of the most satisfying garment projects you make, but it only works well when the fabric choice, pattern shape, and finishing method are planned together. In this guide, I walk through how to make a quilt jacket with practical steps for choosing a quilt or quilted cloth, cutting it cleanly, sewing through bulk, and finishing the inside so the result feels wearable, not makeshift. I’m keeping the focus on garment sewing, with UK-friendly measurements and the sort of decisions that actually make a difference at the machine.
The essentials before you cut into the quilt
- Start with a relaxed silhouette. Quilted fabric already adds structure, so boxy, oversized, or chore-coat shapes usually work better than fitted tailoring.
- Choose your fabric route first. A thrifted quilt, self-quilted panels, and pre-quilted yardage all behave differently once you start sewing.
- Use the right finishing width. For bulkier seams, 1/2 in finished double-fold bias binding, cut from 2 in / 5 cm strips, is a reliable choice.
- Expect bulk and plan for it. A walking foot, a fresh needle, clips, and a longer stitch length make the work far smoother.
- Test the closure before committing. Press studs, large buttons, or a zip each suit a different level of thickness and structure.
Choose a fabric route that suits the jacket you want
When I plan a quilted jacket, I start by deciding where the fabric will come from, because that choice shapes everything else. A finished vintage quilt gives you character and speed, self-quilted fabric gives you control, and pre-quilted yardage gives you the most predictable result. For a first make, I usually prefer the most stable option you can manage, not the most ambitious one.
In the UK, I also think in metres and centimetres from the outset. That sounds obvious, but it matters when you are trying to judge whether a quilt has enough usable area once you’ve placed the pattern pieces and allowed for seam allowances, facings, and pockets.
| Fabric route | Best for | What I like about it | Watch out for |
|---|---|---|---|
| Thrifted or vintage quilt | Fast, one-of-a-kind jackets | Texture, patina, and a finished quilt surface already built in | Weak spots, stains, and areas that are too small once you cut around them |
| Self-quilted fabric | Complete design control | You choose the fabric, wadding, quilting lines, and level of loft | More time, more pressing, and more chance to distort the layers if you rush |
| Pre-quilted yardage | A cleaner, more predictable make | Less prep, easier cutting, and usually more even thickness | Less character than a repurposed quilt, and less flexibility if the design is narrow |
If you are undecided, I would lean towards a relaxed chore coat, barn coat, or oversized shirt-jacket shape. Quilted cloth likes room. Once you know which route you are taking, the next decision is the silhouette, because some patterns are simply kinder to bulk than others.
Use a pattern that can carry the bulk
The best quilt jacket patterns are usually the ones that do not fight the fabric. I look for broad panels, generous ease, uncomplicated sleeves, and enough overlap at the front for a sensible closure. A tightly fitted coat with princess seams can be made from quilted fabric, but it is rarely the easiest place to start.
My rule is simple: if the pattern relies on soft drape to look good, quilted fabric will often change the balance. If the pattern already has a bit of structure, the quilting becomes an advantage rather than a problem.
- Good first choices: boxy jackets, chore coats, shirt-jackets, and simple cropped bombers.
- Possible with care: hooded jackets, straight-sleeve coats, and reversible styles.
- Usually harder: fitted blazers, close princess-seam coats, and anything with narrow sleeves or a sharply shaped waist.
I also like patterns that let me place a pocket where the quilt still looks intact. Patch pockets are practical here, because they use the fabric well and do not add much internal bulk. If the quilt has a border or a strong motif, that is often where I put the centre front, the back panel, or the pocket tops. With the shape sorted, the work becomes much easier if the fabric is prepared properly before cutting.
Prepare the fabric and cut with intent
For a quilted garment, preparation saves more problems than clever sewing ever will. I press the fabric flat, inspect the whole surface, and map out any weak areas before I touch the pattern pieces. If I am using a finished quilt, I check the back as well as the front, because broken stitching or thin patches often show up only when the layers are under tension.
For a self-quilted jacket, I prefer a medium-loft wadding rather than a very puffy one. As a starting point, quilting lines spaced roughly 8 to 10 cm apart usually give enough texture and warmth without turning the cloth into a board. The goal is a jacket that moves with you, not a wearable duvet.
- Press the quilted fabric thoroughly, but do not drag the iron across the layers.
- Lay out the pattern on the most intact and visually useful sections first.
- Place centre front, centre back, and any major pocket pieces where the design looks balanced.
- Mark notches, grainlines, and pocket positions clearly before cutting.
- Cut with a rotary cutter or very sharp shears, keeping the layers stable while you work.
I also avoid wasting the usable middle of a quilt just to preserve a tiny motif. The jacket will be judged as a whole, not as a collection of rescued corners. If the quilt has a border, that can become a hem band, cuff, pocket top, or facing detail. When the pieces are cut and stabilised, sewing becomes a controlled job rather than a rescue mission.
Sew the body without fighting the thickness
Once the pieces are cut, I sew the major seams first: shoulders, then sleeves, then side seams. That order keeps the garment easy to support on the machine and stops the whole jacket from dragging through one heavy seam while you are trying to line up another. It sounds basic, but bulk changes the rhythm of sewing more than most people expect.
I use a walking foot whenever the layers are dense, along with a fresh needle and a longer stitch length, usually around 3 to 3.5 mm. Clips are often more useful than pins on thick seams, especially when the quilted layers spring apart. If the seam intersections begin to pile up, I stagger them rather than letting every edge meet in one hard lump at the underarm or shoulder.
- Keep the machine supported: let the weight of the jacket rest on the table so the seams do not distort.
- Grade the seam allowances: trim one layer slightly narrower so the seam does not feel like a ridge.
- Reduce bulk only where needed: do not over-trim a quilted seam unless the pattern really needs it.
- Press after each step: press, then lift, rather than ironing back and forth across a padded section.
If the fabric starts to resist the machine, I stop and check whether the problem is the pattern, the seam order, or the thickness itself. Forcing dense layers usually makes the stitching less accurate, not more. After the shell is stable, the inside finish decides whether the jacket feels professionally made.
Finish the inside, hems, and closure cleanly
This is the stage where many quilt jackets either become polished or start looking improvised. I decide the inside finish before I sew the final seams, because the choice affects the whole construction. If you want a reversible or heritage-style jacket, bound seams are often the right answer. If you want the quickest everyday result, a lining can hide a lot of structure and make the jacket easier to wear.
| Finish method | Best for | Trade-off |
|---|---|---|
| Bound seams | Reversible jackets and visible inside finishes | Slower to sew, but very tidy and durable |
| Full lining | Scratchy quilts, heavier cloth, and a neater interior | More pattern pieces and more construction time |
| Partial facings | Simple necklines and centre fronts | Less bulk than a full lining, but not as enclosed |
For binding, I like double-fold bias tape finished at about 1/2 in, which means cutting strips about 2 in or 5 cm wide. That width is wide enough to cover bulky layers without feeling too narrow to handle. I sew the first pass to the wrong side, fold the tape over the raw edge, and topstitch from the right side. It takes longer than a one-pass wrap, but it gives me more control around curves and thick seams.
For closures, I usually rank the options like this:
- Press studs: easiest on thick fronts and very practical for a relaxed jacket.
- Large buttons: best when you want a classic coat look and have enough overlap.
- Zip: useful on a pattern designed for it, but less forgiving in bulky quilted layers.
- Ties: simplest visually, though less wind-resistant for outdoor wear.
I also avoid very narrow hems on quilted fabric. A hem allowance of around 4 cm is often easier to press and control than a tiny fold, especially if the cloth already has loft. Before you sew the final closure, I always check the fit in motion, not just in front of the mirror.
Get the fit right before you commit
Quilted cloth changes the way a pattern hangs, so fit needs to be checked earlier and more honestly than it would be for a woven shirt. I like a quick muslin or toile first, even if it is only the body and sleeves in cheap calico or an old sheet. That sample tells you whether the shoulders are wide enough, whether the sleeves can move, and whether the front overlap is deep enough for the closure you want.
Most problems in quilt jackets come from trying to make them behave like tailored coats. They are not that. They are happiest when they have a little ease, a little structure, and enough volume to layer over a jumper without pulling.
| Common problem | Likely cause | Better fix |
|---|---|---|
| The jacket feels stiff | Too much loft or quilting lines packed too closely together | Use medium-loft wadding and keep quilting lines a little more open |
| The sleeves bind | The pattern is too fitted for the thickness of the fabric | Choose a roomier sleeve, a drop shoulder, or a more relaxed armhole |
| The seams look lumpy | Several thick seam allowances meet in the same place | Stagger the seams and grade the layers before topstitching |
| The front does not close cleanly | Not enough overlap for the chosen fastening | Add a wider front extension or switch to a simpler closure |
I think the most useful habit is to test the jacket in movement: sit, raise your arms, reach forward, and fasten it over one more layer than you expect to wear. If it works in those positions, it will probably work in real life. That brings me to the version I would cut first if I wanted the safest result.
The first version I would sew again
If I were making this as a first attempt, I would keep it deliberately simple. A hip-length, boxy jacket with dropped shoulders, patch pockets, a plain neckline, and press studs gives you the best chance of success without losing the charm of the quilt. I would use a strong finished quilt or a medium-loft self-quilted cloth, avoid dense quilting near the sleeve cap, and keep the inside clean with 1/2 in bound seams if I wanted a reversible look.
- Choose a relaxed pattern with fewer pieces.
- Place the most attractive quilt sections on the front and back.
- Use a walking foot, a 3 to 3.5 mm stitch, and plenty of clips.
- Finish bulky edges with 1/2 in double-fold bias binding cut from 2 in / 5 cm strips.
- Prefer press studs or large buttons for the easiest closure.
That is the practical version of how to make a quilt jacket without turning it into a battle with bulk. Keep the silhouette simple, respect the thickness, and let the texture do the visual work, and you end up with a jacket that looks intentional every time you wear it.
