
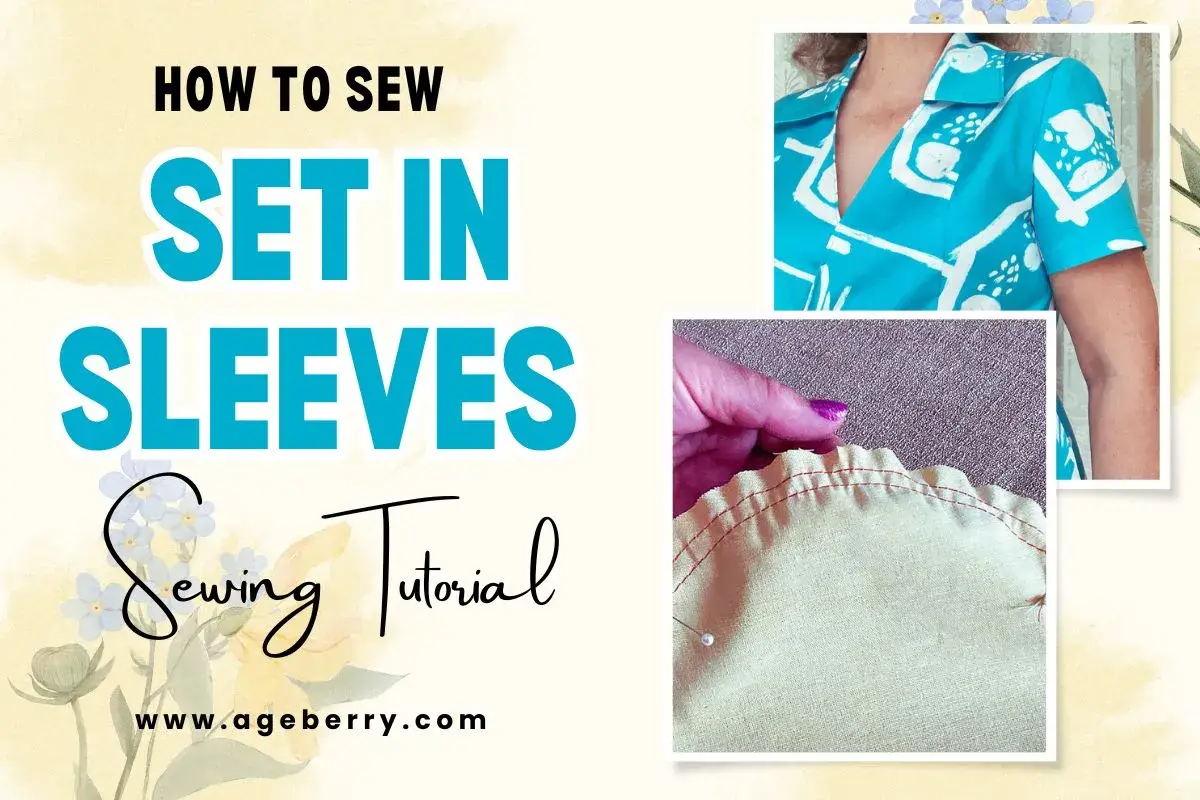
A well-made sleeve can change the entire balance of a garment. In this article, I break down the set-in sleeve as a construction method, show how to sew it neatly, explain how fit and ease affect the result, and compare it with other sleeve styles so you can choose the right approach for the fabric and the silhouette.
What this sleeve shape does best
- It gives garments a clean, tailored shoulder line.
- It relies on controlled ease at the sleeve cap rather than a flat join.
- It works especially well in woven garments and more structured designs.
- Most visible sleeve problems come from fit, not from the sewing machine itself.
- Other sleeve shapes can be easier, but they change the look and movement of the garment.
What a set-in sleeve actually is
A set-in sleeve is the classic sleeve shape stitched into a bodice armhole so the seam follows the shoulder curve and sits neatly at the upper arm. The sleeve cap is slightly longer than the armhole opening, which means it has to be eased in rather than forced flat; that extra length is what gives the sleeve its smooth shaping and its more refined look.
In practical terms, this construction gives me a more defined shoulder line than a raglan or dropped shoulder. It is the style I reach for when I want the garment to look intentional and tailored, especially in shirts, blouses, fitted dresses, jackets, and smarter tops. The trade-off is that it asks for more care during sewing and fitting, because a small error in ease or alignment shows up quickly.
What makes the method useful is also what makes it unforgiving: the sleeve has to match the armhole, the cap has to sit cleanly over the shoulder point, and the underarm seam has to align with the bodice side seam. Once that relationship is clear, the rest of the process becomes much easier to control. From there, the real question becomes where this sleeve shape is the right choice in the first place.
Where it earns its place in a garment
I see this sleeve most often in garments that need structure, a crisp shoulder, or a more polished finish. It is not limited to formalwear, but it does look its best when the rest of the design supports that shape. Light to medium-weight wovens are usually the easiest fabrics to work with because they hold the sleeve cap cleanly without collapsing.
| Garment type | Why it works | What I watch for |
|---|---|---|
| Shirts and blouses | Creates a tidy shoulder and a balanced upper silhouette | Check that the armhole is not too tight if the fabric has little drape |
| Blazers and jackets | Supports a tailored line and pairs well with sleeve heads or shoulder pads | Fit at the shoulder matters more here than a tiny difference in cap ease |
| Fitted dresses | Keeps the bodice looking deliberate rather than casual | Test the upper arm and bust ease in a toile before cutting the real fabric |
| Structured tops | Gives shape without needing a heavy amount of design detail | Very soft fabric can make the sleeve look tired rather than crisp |
| Relaxed knit styles | Possible, but not always the most efficient choice | A raglan or dropped shoulder may suit the fabric and fit better |
If I want a cleaner, more formal finish, this is usually the sleeve I choose. If I want speed, comfort, or a deliberately casual line, I often look elsewhere. That contrast matters, because the sleeve shape should support the garment, not fight it.
How I sew one without puckers
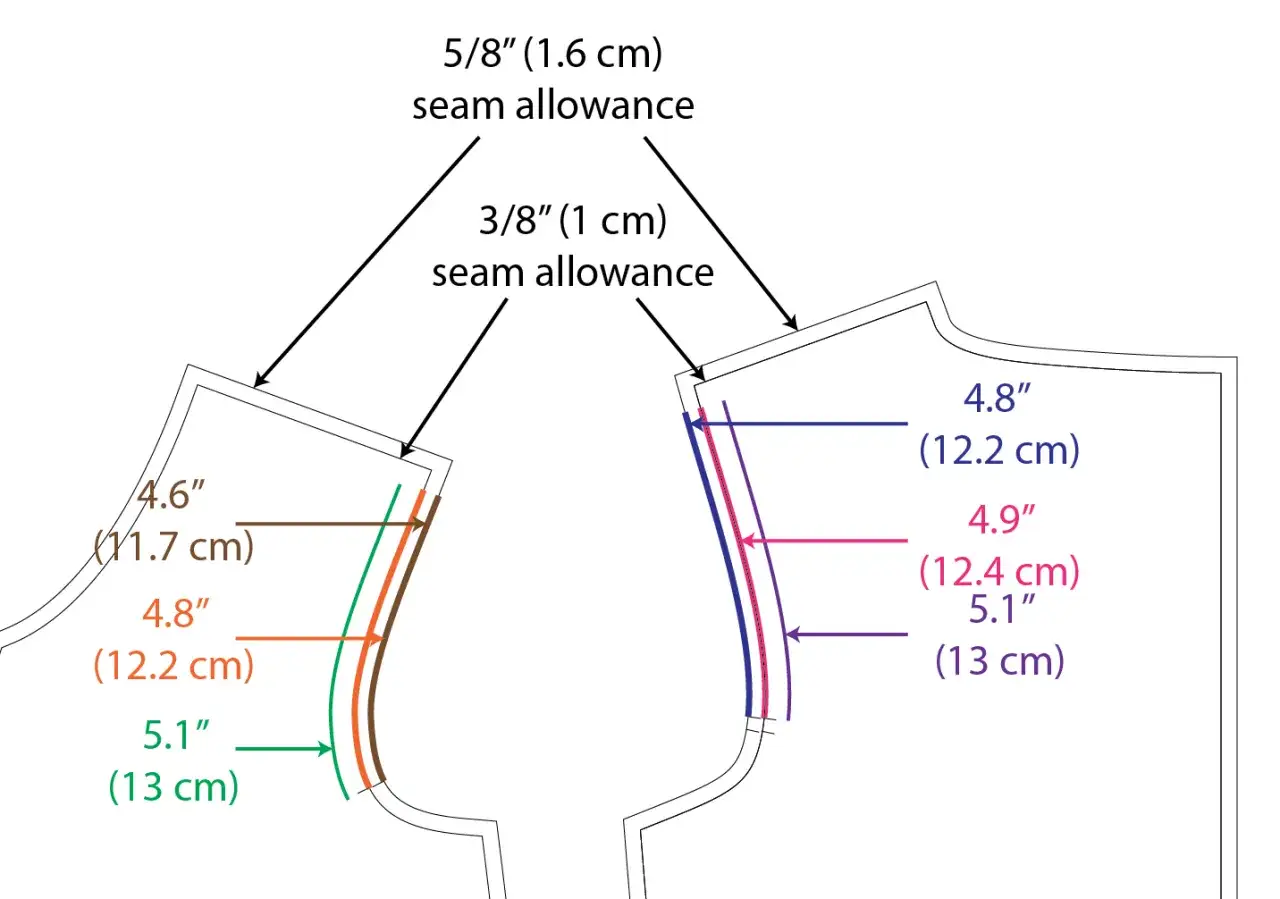
The cleanest method starts before the sleeve goes anywhere near the armhole. I sew the sleeve seam first, finish the seam allowance if the fabric frays, and then prepare the sleeve cap for easing. On most commercial patterns, especially in the UK, I keep to the stated seam allowance, which is often 1.5 cm (5/8 in), unless the pattern says otherwise.
-
Mark the notches and shoulder point clearly. I transfer every notch to both the sleeve and the bodice. If those marks are vague, the sleeve can be rotated slightly out of position and the whole shape will look wrong.
-
Run ease stitching through the cap. I usually stitch two or three long rows, about 4 to 5 mm in length, between the notches on the sleeve cap. The stitches sit inside the seam allowance and give me something to pull against without creating hard gathers.
-
Pull the threads gradually. I draw up the bobbin threads until the cap matches the armhole, but I leave the very top of the cap mostly flat. The upper 2.5 cm should not be heavily eased in a plain tailored sleeve; if that area starts gathering, the sleeve is usually over-eased.
-
Pin from the key points first. I match the underarm seams, the shoulder notch or sleeve head point, and the front and back notches before I deal with the extra fullness. That gives the sleeve a fixed frame and stops the ease from drifting.
-
Sew with the sleeve side on top. This gives me better control over the fullness as I stitch. I sew slowly, easing the cap with my fingers rather than forcing it under the presser foot.
-
Press, then press again. I press the seam allowance into the sleeve, not toward the bodice, and I use a sleeve roll or tailor’s ham if the curve needs support. A good press often removes the last trace of imbalance.
When this works well, the sleeve looks smooth rather than gathered, and the seam disappears into the garment line. If it does not, the problem is usually not the last stitch but the shape underneath it, which is where fit becomes the next thing to check.
The fit details that change everything
People often blame the sewing when the real issue is the pattern. Sleeve cap height, bicep width, armhole shape, and shoulder slope all influence how the sleeve behaves once it is sewn in. A sleeve can be perfectly eased and still feel wrong if the upper arm is too narrow or the armhole is cut too deep.
- Cap height affects structure. A higher cap can look sharper, but it is less forgiving if the body shape is off.
- Bicep room affects movement. If the upper arm is tight, the sleeve will pull even when the cap looks neat.
- Shoulder slope affects balance. A sleeve built for a square shoulder will not sit the same way on a sloped one.
- Armhole depth affects comfort. Too deep, and the garment can feel droopy; too shallow, and it can restrict movement.
- Grainline affects hang. If the grain is off, the sleeve can twist no matter how carefully it was set.
For a simple test, I like to compare the sleeve and bodice in a toile before I cut the final fabric. That gives me a chance to see whether the problem is at the cap, the underarm, or the shoulder before I commit to the real cloth. Once those basics are right, the remaining issues are usually small and fixable.
Common mistakes and the fastest fixes
Most sleeve problems fall into a handful of predictable categories. The good news is that each one has a clear first check, and many of them can be solved before the garment is fully finished.
| Problem | What usually caused it | Fastest fix |
|---|---|---|
| Puckers along the cap | The easing was uneven or the sleeve was stitched too quickly | Unpick the top section, rebaste with longer stitches, and sew with the sleeve on top |
| Visible gathers where the sleeve should look smooth | Too much thread was pulled into the cap | Release some easing and redistribute it only between the notches |
| Tightness when lifting the arm | The bicep or armhole is too small for the body | Check the pattern pieces, not just the seam; the fix may be a wider sleeve rather than less ease |
| Sleeve twists after sewing | Notches, grainline, or front and back sleeve placement were matched incorrectly | Confirm all markings before sewing and check the sleeve is not flipped |
| Bulk under the arm | Too much seam allowance or poor grading at the underarm | Trim and grade the seam allowances after testing the fit |
| Shoulder looks flat or collapsed | The fabric needs support or the cap shape is too soft | Use a sleeve head, shoulder pad, or a slightly firmer fabric next time |
I remind myself of one rule here: not every sleeve problem is an easing problem. Sometimes the pattern block is wrong, and no amount of pressing will fix a sleeve that was drafted for a different shoulder shape. That is why the next comparison is so useful when you are deciding what to sew.
When another sleeve style makes more sense
There are times when I would not choose a tailored sleeve at all. If the garment needs a softer line, extra ease, or simpler construction, another sleeve shape can be a better fit for both the design and the sewer.
| Sleeve style | Look | Sewing difficulty | Best use |
|---|---|---|---|
| Set-in | Clean, shaped, tailored | Moderate | Shirts, blouses, jackets, fitted dresses |
| Raglan | Sporty, relaxed, diagonal seam from neckline to underarm | Often easier | Casual tops, sweatshirts, comfort-led designs |
| Kimono | Soft, continuous, cut with the bodice | Simple in construction | Loose garments, lightweight robes, relaxed silhouettes |
| Dropped shoulder | Oversized, casual, low armhole | Easy | Modern relaxed tops and knitwear with a loose fit |
If the garment is meant to look sharp, I stay with the tailored sleeve. If the design wants ease and speed, I consider a raglan or dropped shoulder before I force a more structured solution into place. The right sleeve is the one that matches the garment’s intention, not just the one that looks most familiar on the pattern sheet.
Small checks that make the finish look deliberate
Before I cut the final fabric, I like to check a few things that save time later and improve the result immediately. None of them are glamorous, but they make a real difference to how professional the sleeve looks once it is sewn.
- Confirm the sleeve cap is drafted for the same seam allowance as the bodice armhole.
- Walk the sleeve and armhole seams if you are drafting or altering the pattern, so the lengths make sense before you cut.
- Make a toile in calico when the garment is fitted, tailored, or made from expensive cloth.
- Keep pressing tools ready, especially a sleeve roll, tailor’s ham, and a clapper if you use one.
- Consider a sleeve head in jackets and other structured garments; it supports the cap and helps the shoulder keep its shape.
When those checks are in place, the sleeve stops feeling like a difficult insertion step and starts behaving like part of the garment’s architecture. That is the real strength of this construction: it gives a clean shoulder, a controlled shape, and a finish that looks deliberate from the first glance to the last press.
