
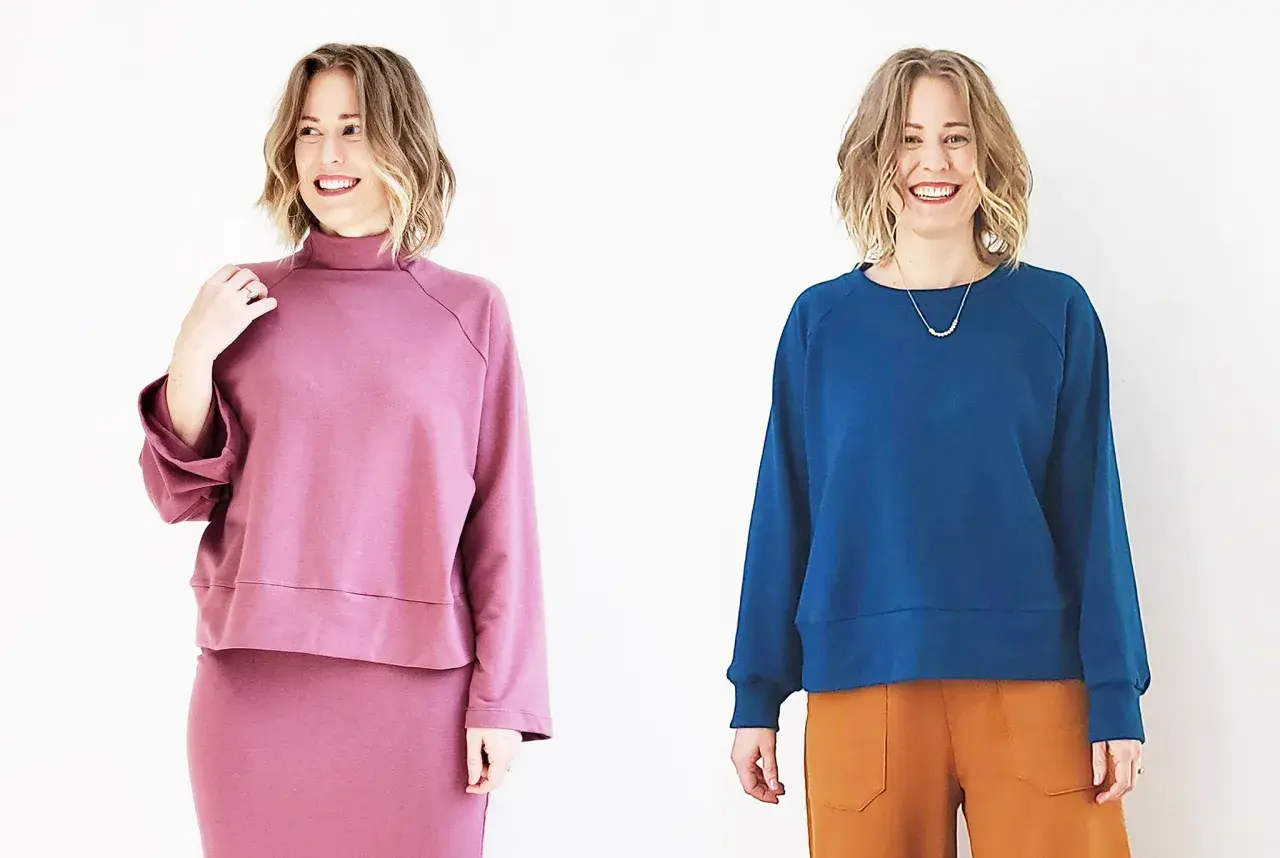
Learning how to sew a sweatshirt is mostly about managing stretch, not forcing the fabric to behave like woven cloth. In this guide, I focus on the choices that change the result most: fabric, pattern fit, cutting, seam order and the finishing details that stop the garment from looking flat or bulky. I am assuming a classic crew-neck sweatshirt, because that is the cleanest place to learn the construction properly.
What matters most before you start sewing
- Choose a medium-weight knit with enough stretch and recovery for the style you want.
- Match the pattern to the fabric, not the other way around, especially at the neckline and cuffs.
- Use a stretch needle, a stable stitch and a light hand when handling the pieces.
- Build the garment in a clear order so the neckband, sleeves and hem do not fight each other.
- Most problems come from stretched seams, weak ribbing or a neckline that was not measured correctly.
Start with the right fabric and notions
The fabric does most of the work in a sweatshirt, so I always start there. For a classic everyday version, I look for French terry, brushed-back sweatshirt fleece or a substantial sweatshirt jersey; all three give you the cosy feel people expect, but they behave a little differently on the machine. Many sweatshirt patterns are happiest with a knit that has roughly 25% to 30% stretch across the width, while ribbing for cuffs and bands usually needs better recovery so it springs back after wear.
| Fabric | What it gives you | Best use |
|---|---|---|
| French terry | Lighter, less bulky, easy to wear indoors | Layering pieces and milder weather |
| Brushed-back sweatshirt fleece | Warmer, softer inside, more classic sweatshirt feel | Standard crew necks and relaxed fits |
| Rib knit | Strong recovery and good grip | Neckbands, cuffs and waistbands |
| French terry with rib trims | Balanced weight and a cleaner finish | First-time makes and all-purpose wear |
For tools, I keep it simple: a stretch or ballpoint needle in size 75/11 or 80/12, polyester thread, clips instead of too many pins, and an overlocker if I want speed and tidy seam allowances. A domestic machine is still enough if you use a stretch stitch or a narrow zigzag and test it on scraps first. Pre-washing matters too, because even good sweatshirt knits can shrink a little and that shrinkage shows up fast in cuffs and hems. Once the fabric is sorted, the next decision is fit.
Choose a pattern and check the fit before you cut
A sweatshirt can look relaxed and still be deliberate, but that balance starts with the pattern. I check three things before I cut: the finished chest measurement, the length through the body and whether the sleeve shape matches the fabric weight. A boxy sweatshirt in heavy fleece can look sculptural; the same shape in a thin knit can look limp, so the fabric and silhouette need to agree.If you are working from a commercial pattern, compare your body measurements with the finished garment measurements, not just the size chart. Sweatshirts usually need some ease, but too much turns the garment into a tent and too little makes the fabric cling in the wrong places. If you are drafting from an existing sweatshirt, trace one that already fits across the shoulders and upper arm, then add seam allowance carefully rather than guessing. In the UK, many patterns use 1 cm seam allowances, but I still check the instructions instead of assuming.
Fit choices that change the final look
- Classic fit gives the cleanest result and is easiest to refine.
- Oversized fit hides small fitting mistakes, but it needs better fabric recovery to avoid sagging.
- Cropped fit relies heavily on waistband balance, so the hem band must be accurate.
- Raglan sleeves are forgiving at the shoulder and often easier for beginners than set-in sleeves.
Once the pattern is right, the rest of the project becomes much less mysterious, and the cutting stage is where that accuracy starts to matter. Cutting with care is what stops a knit sweatshirt from drifting off grain before you even make the first seam.
Cut the pieces accurately and protect the stretch
Knits behave best when they are handled lightly, so I cut sweatshirts on a flat surface and avoid hanging the fabric over the table edge for long. I use pattern weights, keep the grainline straight and make sure the greatest stretch runs around the body, not down it, unless the pattern specifically says otherwise. That one detail is easy to miss and hard to fix later.
Mark the notches, fold lines and pocket placements before you move the pattern pieces away. For cuffs, neckbands and waistbands, the ribbing usually needs to stretch around the opening without forcing the body piece to stretch as well; if the band is too long, the edge will ripple, and if it is too short, the whole opening can pucker. I always test a small scrap by stretching it, letting it recover and checking whether it springs back cleanly. If it stays baggy, it is not the right ribbing for the job.
One practical habit saves a lot of frustration: cut the neckline and cuffs with a little extra attention, because those areas are the first places where a sweatshirt looks either professionally finished or obviously homemade. After that, the sewing order matters more than speed.
Sew the sweatshirt in a clear order
I sew sweatshirts in a sequence that keeps the garment stable for as long as possible. The exact order changes a little between crew necks, raglans and hoodies, but the logic stays the same: join the main body first, then close the openings, then finish the edges. A tidy build depends on not stretching already-joined seams while you handle the next part.
- Join the shoulder seams, then check that both sides sit evenly.
- Prepare the neckband by folding it lengthwise and distributing the stretch evenly.
- Attach the neckband with a slight, controlled stretch, not by pulling the body edge.
- Sew the sleeves in place, or sew raglan seams if the pattern uses that style.
- Close the side seams and sleeve seams in one continuous line if the pattern allows it.
- Finish the cuffs and waistband, then press or lightly steam the seams into shape.
Neckline work is where the garment is won or lost
The neckline needs the most control, because a small mistake there shows immediately. I measure the opening, compare it with the band piece and look for a band that is slightly shorter than the neckline so it sits snugly. The key is even distribution: if the neckband is stretched harder in one area than another, the finished edge will wave or twist. I prefer to pin or clip the band at the quarter points first, then ease the fabric between those points.
Read Also: Perfect Tiered Skirt Pattern - Your Guide to Flawless Flow
Use the machine settings that suit knit fabric
A straight stitch can snap when the garment stretches, so I usually choose a stretch stitch, a narrow zigzag or an overlocker stitch that preserves movement. A stitch length around 2.5 to 3 mm often works well as a starting point, but I still test on scraps because different machines behave differently. If the fabric is thick, I slow down at the bulky joins and let the feed dogs do the work instead of pushing the layers through.
Once the construction order is under control, the remaining issues are usually not about sewing speed at all. They are about the small mistakes that make the finished sweatshirt sit badly on the body, so those are worth addressing directly.
Avoid the mistakes that make a sweatshirt look off
The most common problem I see is a neckline that has been stretched into a shape it was never meant to hold. That gives you waviness at the front neck, shoulders that slip out of shape and a rib band that refuses to lie flat. The fix is usually simple: check the band length, reduce the amount of stretch while attaching it and stop pulling the fabric through the machine.
- Wavy seams usually mean the fabric was stretched while stitching. Use clips, a walking foot if needed and let the machine feed the layers.
- Skipped stitches usually point to the wrong needle or a blunt one. Change to a fresh stretch needle before blaming the fabric.
- Bulky seams happen where fleece meets ribbing. Grade the seam allowances, trim carefully and press in stages instead of all at once.
- Cuffs that flare usually mean the ribbing has weak recovery. Choose a firmer rib knit or shorten the cuff slightly.
- Hems that twist often come from uneven pressing or seams that were sewn under tension. Press from the wrong side and support the fabric, do not drag it.
If a section looks wrong, I stop and fix it before moving on. Sweatshirt fabric is forgiving in some ways, but it also remembers every mistake you make with tension and handling. That is exactly why the finishing choices matter so much.
Finish it so it wears like a proper wardrobe piece
The last stage is where a good sweatshirt starts to feel intentional rather than merely assembled. I like to topstitch seams that benefit from a little structure, especially around the neckline or along raglan seams, because that extra row of stitching gives the garment a cleaner edge and helps bulky seams stay put. A twin needle can also work well on hems if your machine handles it smoothly, although a coverstitch will usually look the neatest if you own one.
Small design decisions matter more than people expect. A slightly shorter hem band can sharpen the silhouette; a contrast rib can make a simple garment feel designed rather than plain; and a neatly attached label or tiny chest motif can give the piece identity without overcomplicating the sewing. If this is your first sweatshirt, I would skip kangaroo pockets, colour blocking and complicated hood linings until you are happy with the body fit. The cleanest first make is usually the one that teaches you the most.
The first version I would make for a reliable result
If I were making one sweatshirt for real wear, I would choose a medium-weight French terry or brushed-back fleece, rib cuffs, a rib hem band and a plain crew neckline. That combination is stable enough to sew cleanly, warm enough to be useful and simple enough that the fit still matters more than decorative details. In practice, that is the fastest route to a piece you will actually reach for.
The project becomes much easier when you think in this order: fabric first, fit second, cutting third, construction fourth and finishing last. That is the sequence I trust when I want a sweatshirt to look calm, balanced and comfortable rather than rushed.
