
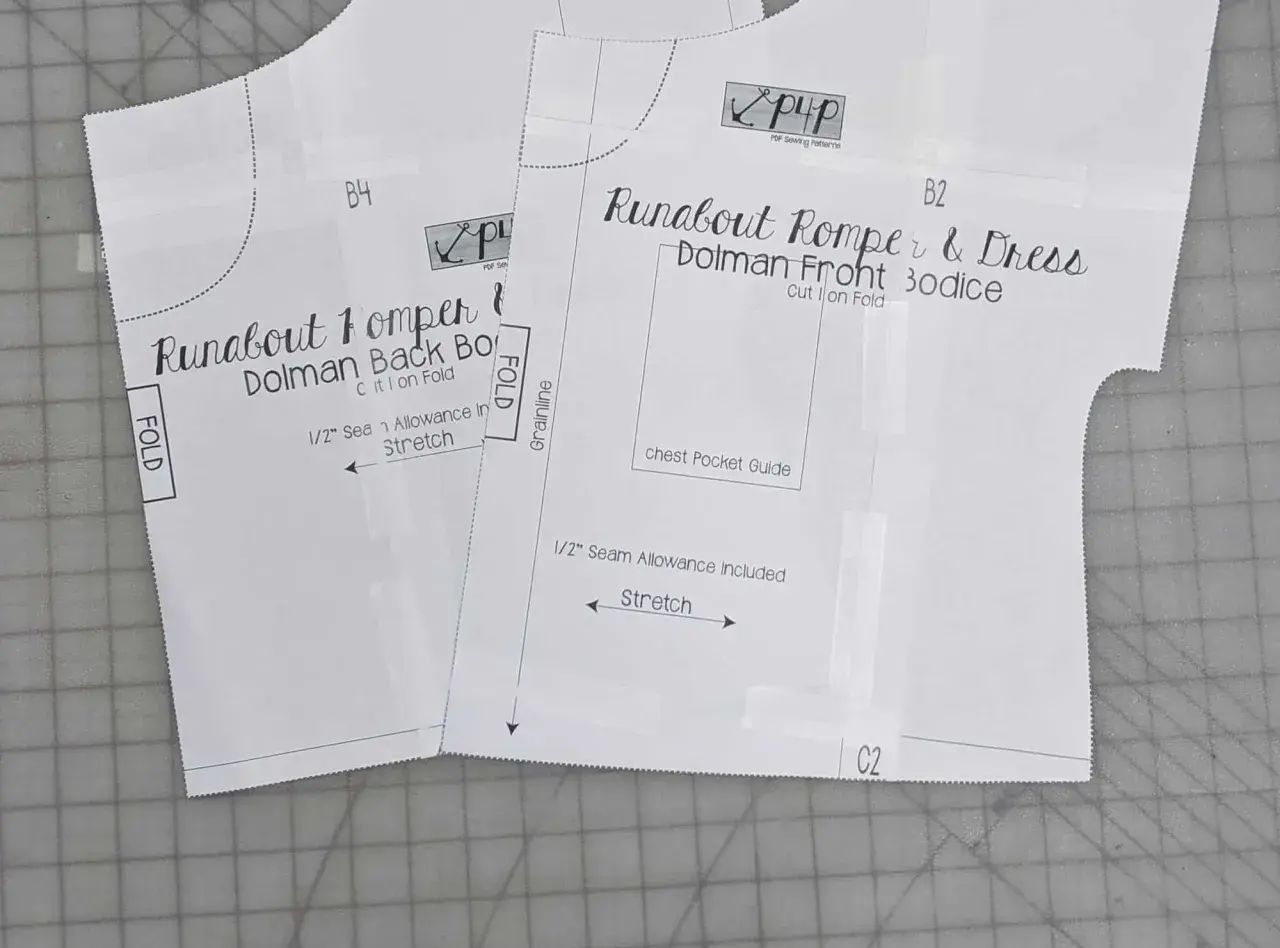
A homemade romper works best when the pattern solves three things at once: shoulder balance, crotch rise, and enough ease to move comfortably. A diy romper pattern is only worth making if it gives you a shape you can actually wear, not just a cute outline on paper. In this guide I focus on fabric choice, drafting, sewing order, fit adjustments, and the finishing decisions that separate a rushed make from a piece you will keep reaching for.
The fastest route to a wearable romper
- Start with a woven fabric if you want the simplest first make; knits are comfortable but change the pattern and construction rules.
- Keep the crotch rise generous and check it in calico before cutting your final cloth.
- Decide early whether you want elastic, buttons, or a zip, because the closure changes the draft.
- Pressing and seam finishing matter as much as the stitching order.
- Fit the torso first, then the shorts, then the leg opening and hem.
What makes a romper pattern wearable
The difference between a romper that looks good flat and one that feels good on the body is mostly in the geometry. The bodice has to sit smoothly through the bust and waist, while the shorts need enough room in the seat and crotch so the garment does not pull when you sit, crouch, or walk up stairs. That is why I always think of romper drafting as a balance problem rather than a decoration problem.
I also decide very early whether the design will be a pull-on style or will close with a zip, buttons, or snaps. A pull-on version needs more ease through the shoulders, bust, and hips; a fitted version can be sharper at the waist, but it demands more accurate pattern lines. If you start with those choices, the rest of the pattern becomes much easier to control.
Once those three points are clear, fabric choice becomes much easier.
Choosing fabric that suits the shape
The cloth you pick changes everything: drape, fit, comfort, and even how forgiving the sewing process will be. For a first romper, I usually recommend a woven fabric with a little structure, because it shows the shape clearly and is easier to press and finish neatly. If you want a softer silhouette, or if the romper is meant to stretch with the body, a knit can work well, but only if the pattern has been built for stretch from the start.
| Fabric | Best for | Why it works | Watch out for |
|---|---|---|---|
| Cotton lawn | Light summer rompers | Breathable, crisp, easy to press | Can be sheer; may need lining or careful undergarments |
| Linen blend | Relaxed everyday wear | Holds shape while still feeling airy | Wrinkles quickly; give it enough ease |
| Viscose challis | Draped, softer styles | Fluid movement and a lighter look | Slippery to cut and sew; stable handling helps |
| Midweight jersey | Pull-on styles | Comfortable stretch and easy wear | Needs stretch-aware seams, hems, and neckline treatment |
| Chambray or denim | More structured playsuits | Clean lines and a casual finish | Bulk at seams, especially around closures and pockets |
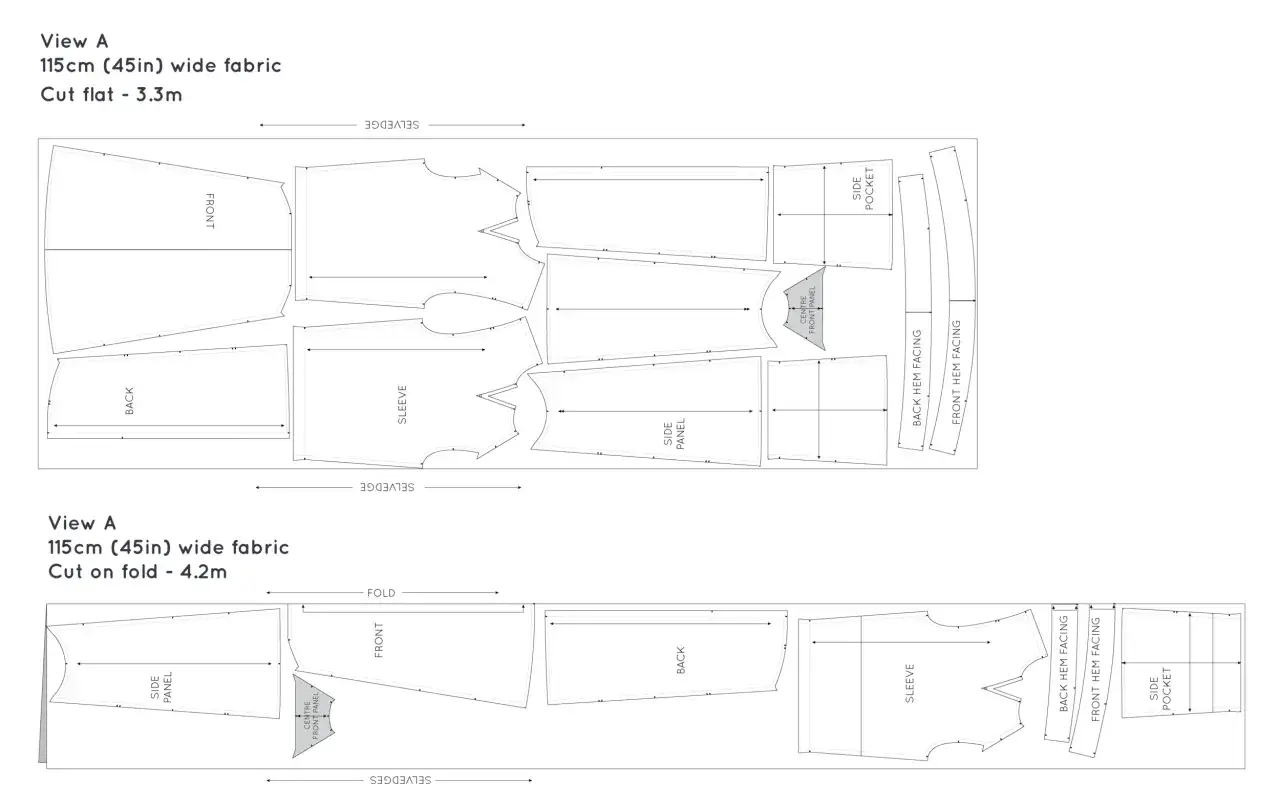
For an adult romper, I usually expect fabric usage somewhere around 1.5 to 2.5 metres, depending on size, sleeve length, leg length, and whether the pattern includes pockets, facings, or a lined bodice. If the design has a lot of fullness or wide legs, it can climb higher. For a UK wardrobe, I like a linen-cotton blend or cotton lawn for warm weather, because both read as practical rather than fussy.
With the cloth decided, the pattern draft is where the shape either starts to work or starts to fight you.
Drafting the pattern from your own measurements
The cleanest way to draft a romper is to treat it as two joined blocks: a bodice and a short or trouser block. That sounds obvious, but it prevents one of the most common beginner mistakes, which is drafting the top and bottom as if they were separate garments that only happen to touch at the waist. In reality, the waistline is where fit problems usually show up first.
Take the right measurements first
- Bust
- Waist
- High hip
- Full hip
- Shoulder to waist
- Shoulder to crotch
- Rise
- Inseam
- Desired finished leg length
Build the draft in the order the body needs it
- Start with a close-fitting bodice block or a simple top pattern you already trust.
- Trace a shorts block that fits the hip and seat comfortably.
- Join the two pieces at the chosen waistline, then check whether the torso length is still correct.
- Adjust the back rise more carefully than the front rise, because the seat usually needs the extra room.
- Only add seam allowance after the paper pieces are balanced.
When the paper pieces are right, the sewing order is mostly about keeping the shape stable.
Sewing the romper in the right order
I like to keep the construction simple and logical: build the top, build the bottom, then join them and finish the openings. That sequence keeps the garment manageable and makes fitting checks easier. If you are using a woven fabric, this is also the stage where seam finishing matters, because a clean inside often looks more professional than extra topstitching on the outside.
A sensible construction sequence
- Cut the toile or calico first if the pattern is new to you.
- Sew darts, pleats, or gathers before joining major seams.
- Assemble the bodice and the shorts as separate units.
- Join the bodice to the shorts at the waist or elastic casing line.
- Insert the closure before hemming if the design makes that easier.
- Finish the seams, press them well, and only then finalise hems and facings.
Choose a seam finish that matches the fabric
| Finish | Best for | Why I use it | Trade-off |
|---|---|---|---|
| French seams | Lightweight woven fabric | Very clean inside, especially on sheer cloth | Slower and slightly bulkier on sharp curves |
| Overlocked seams | Most everyday woven and knit rompers | Fast, neat, and durable | Needs an overlocker or a similar machine setup |
| Bias-bound seams | Visible interior finishing | Useful when you want the inside to look as deliberate as the outside | Extra steps and more fabric handling |
| Turned and stitched edges | Stable fabrics and simple seams | Easy to control on beginner projects | Less elegant on very curved or bulky seams |
If you are sewing knit fabric, I would use a stretch stitch, narrow zigzag, or an overlocker, depending on what your machine handles well. The neckline and leg openings need enough recovery so they do not wave out after a few wears. That is where the pattern and the sewing method have to agree, which is why fit checking comes next.
That is also the point where fit issues become obvious, and it is much cheaper to fix them before cutting the final fabric.
Fit the rise, crotch, and closures before you cut the good fabric
The easiest way to ruin a romper is to guess at fit. A toile in calico tells you more in one fitting session than an hour of staring at the paper pattern. I make that test garment especially when I am changing the rise, adding a zip, or combining two different blocks.
What to test in the toile
- Whether the shoulder seam sits where it should
- Whether the bodice rides up when you raise your arms
- Whether the crotch feels long enough when you sit down
- Whether the side seam stays straight or twists backward
- Whether the leg opening needs more room to avoid tugging
What the common fit problems usually mean
| Problem | What it usually tells me | Likely adjustment |
|---|---|---|
| Horizontal pulling across the seat | The rise is too short | Add length to the back crotch curve before widening the side seam |
| Waist seam riding upward | The torso is too short or the balance is off | Add length through the bodice or lower the waistline slightly |
| Armholes digging in | Too little room through the upper body | Raise the armhole carefully or add ease through the chest |
| Fabric bagging at the front crotch | Front rise is too long or the curve is not shaped well | Smooth the front rise and check the grainline |
| Hem twisting after a few steps | The legs are off grain or the balance is uneven | Recheck the pattern pieces before cutting final fabric |
Read Also: Sew a Cardigan - Get a Professional Finish Every Time
Pick the closure to match the fit
| Closure | Best for | Why I choose it | Trade-off |
|---|---|---|---|
| Elastic waist | First-time makes and relaxed styles | Forgiving, quick, and comfortable | Less tailored through the waist |
| Back zip | Neater woven rompers | Cleaner front and a more fitted shape | Needs accurate seam alignment and a stable facing |
| Button placket | Vintage or decorative styles | Looks intentional and works well on woven cloth | Takes longer and needs careful interfacing |
| Side zip | Clean outer silhouette | Less visible than a back closure | Can be awkward to insert neatly |
If the crotch feels wrong, I would fix the rise before I touch the width. That single rule saves a lot of frustration, because widening the shorts can hide the symptom without correcting the actual problem. Once the toile passes a sitting test and the closure choice feels realistic, the final version becomes far more predictable.
The last thing I look at is the set of avoidable mistakes that make the garment feel unfinished.
Where homemade rompers usually go wrong
Most weak rompers fail for practical reasons, not because the idea was bad. The pattern may be attractive, but if the fabric is too stiff, the rise too short, or the finishing too casual, the garment starts to look awkward very quickly. I have seen enough home-sewn versions to say this plainly: clean fit matters more than clever detail.
- Using fabric with the wrong drape for the silhouette
- Skipping the toile and hoping the first cut will fit
- Making the waist too tight, then forcing the closure to compensate
- Ignoring the back rise and blaming the side seams
- Pressing only at the end instead of after each major seam
- Adding too many style details before the base shape is right
Pressing is the quiet difference-maker here. Every time I sew a seam, I press it flat, then press it open or to one side before moving on. On a romper, especially one with a waist seam and curved crotch seams, that habit keeps the garment from looking bulky or collapsed. It also makes the next fitting read more accurately, because the cloth lies the way it will actually be worn.
If you want a version that will genuinely get worn in the UK, I would keep the first make restrained and practical.
The first version I would make for a UK wardrobe
For a first wearable version, I would choose a short or mid-thigh playsuit in a linen-cotton blend, with a simple bodice, short sleeves, an elastic waist or a back zip, and patch pockets only if the fabric is light enough to support them. That combination gives you enough structure to learn from the pattern without making the make overly complicated. It also suits the kind of changeable weather that pushes a practical wardrobe toward layers and easy movement.
- Fabric: linen blend, cotton lawn, or stable chambray
- Shape: relaxed through the hip, gently fitted at the bust
- Closure: elastic waist for ease, back zip for a neater finish
- Length: short or mid-length for the easiest balance check
- Finish: simple facings, clean seam finishing, and a careful press
If I were making this for myself, I would stop at one strong idea and execute it well rather than piling on ruffles, ties, and multiple pockets. A good romper pattern does not need tricks; it needs proportion, comfort, and a finish that holds together after a real day of wear. Start with the simplest version that suits your fabric, test the fit before the final cut, and the next one will already be easier.
