
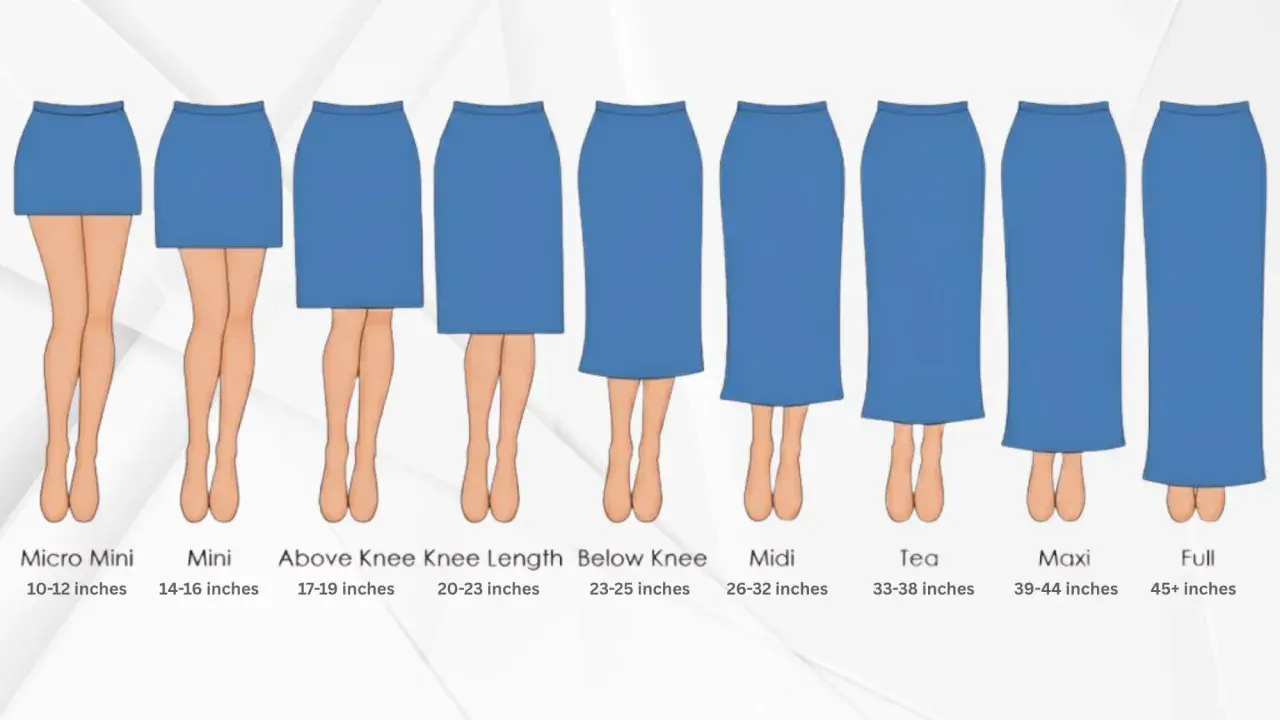
A skirt hem is more than the last line of stitching; it changes how the garment hangs, how much weight sits at the edge, and how polished the whole piece looks. There are several skirt hem types, but the right one depends on the fabric, the cut, and whether you want the finish to disappear or stand out. I usually treat the hem as part of the design, not a last-minute cleanup, because the wrong choice can make even a well-sewn skirt look awkward.
The best hem is the one that suits the skirt’s shape, fabric, and final look
- Straight skirts can usually take a deeper turn-up, blind hem, or simple machine finish.
- Curved, bias-cut, and circle skirts usually behave better with narrow hems, facings, or bindings.
- Lightweight fabrics need less bulk at the edge, while heavier fabrics often need more structure.
- Let bias and circle skirts hang before you mark the final hem, or the edge will likely end up uneven.
- If the hem is visible from the right side, I treat it as a design feature, not just a technical finish.
Choose the hem by shape, drape, and weight
If I reduce hemming to one rule, it is this: the more curved or delicate the skirt edge, the less bulk you want there. A straight wool skirt can usually cope with a deeper turn-up, but a bias-cut viscose skirt will fight almost any heavy fold you try to force into it. The hem has to work with the fabric’s behaviour, not against it.
I also think about visibility. A hem that disappears is ideal for tailored skirts and office wear. A hem that shows is fine, but then it needs to look intentional, which means even stitching, clean pressing, and the right width for the fabric.
- Straight skirts usually suit blind hems, hand slip hems, or standard double-fold hems.
- Flared and circle skirts usually need narrower hems, facings, or carefully eased finishes.
- Bias-cut skirts need patience more than speed, because they stretch while you work.
- Heavier fabrics need more support at the edge, not just more thread.
Once you know what the skirt itself is asking for, comparing the actual finishing methods becomes much easier.
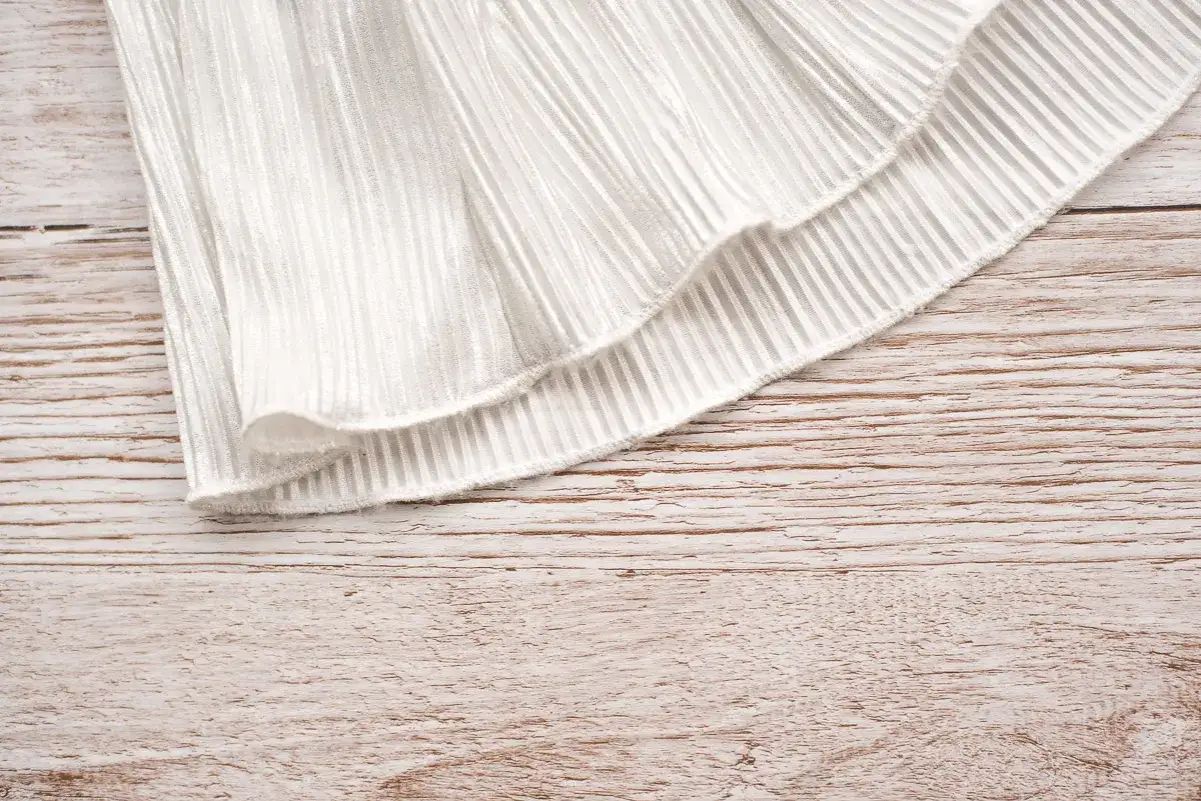
The main hem finishes and where they make sense
I think of hems in three broad groups: invisible, structural, and decorative. That simple split is useful because it stops you from choosing a finish just because it is familiar. The right method is the one that matches the garment’s movement, the fabric’s weight, and the amount of stitching you are happy to see.
| Hem finish | Best for | Why it works | Watch out for |
|---|---|---|---|
| Double-fold hem | Straight woven skirts, everyday skirts, denim, cotton | Strong, simple, and completely encloses the raw edge | Can look bulky on curves or thick fabrics |
| Narrow or baby hem | Lightweight cottons, viscose, flared skirts, summer skirts | Minimal bulk and a neat, tidy edge | Needs careful pressing and can twist on a steep curve |
| Rolled hem | Chiffon, georgette, voile, very light skirts | Tiny, elegant, and almost weightless | Easy to pucker if the fabric is soft or the feed is uneven |
| Blind hem | Tailored skirts, wool blends, smart daywear | Nearly invisible from the right side | Needs accurate folding and steady stitching |
| Hand slip hem | Special occasion skirts, delicate fabrics, couture-style finishes | Very clean and gentle on the drape of the fabric | Slower than machine methods |
| Faced hem | Circle skirts, unusual shapes, bulky fabrics, shaped hems | Controls curve and gives a neat inside finish | Uses more fabric and adds another construction step |
| Bound hem | Sheer, fray-prone, or decorative skirts | Encloses the raw edge while adding a visible finish | Can add bulk if the binding is too thick |
| Topstitched hem | Knits, casual skirts, utility styles | Fast, secure, and flexible enough for stretch fabrics | Stitching stays visible, so it needs to be even |
For me, the deciding question is not “which hem is easiest?”, but “which hem will still look right after the skirt has been worn, pressed, and washed?”. That question usually points you toward fewer compromises and better long-term results.
How I match a finish to common skirt fabrics
Fabric matters as much as shape, and sometimes more. A hem that looks crisp on cotton poplin can look clumsy on rayon, while a finish that seems delicate on chiffon may be far too fussy for denim. I always match the edge finish to the cloth’s behaviour first, then to the style of the skirt.
| Fabric or skirt type | Finish I would reach for | Why |
|---|---|---|
| Cotton poplin or linen | Double-fold hem or blind hem | These fabrics are stable enough to hold a clean fold without too much distortion. |
| Denim or twill | Double-fold hem or topstitched hem | They need strength and a finish that can handle weight at the edge. |
| Wool crepe or suiting | Blind hem or faced hem | A tailored fabric usually looks best when the finish is tidy but not bulky. |
| Viscose, rayon, or silk crepe | Narrow hem, rolled hem, or hand slip hem | These fabrics drape beautifully but tend to show bulk and uneven pressing. |
| Chiffon, georgette, or voile | Rolled hem or fine bound hem | The edge needs to stay light, otherwise the skirt loses its float. |
| Jersey or other knits | Topstitched hem or coverstitched hem | Stretch matters more than invisibility, so the finish has to move with the fabric. |
| Circle or bias-cut skirt | Faced hem or narrow hem after hanging | These hems shift as they settle, so they need a method that handles movement cleanly. |
If I am working with a skirt that hangs on the bias or has a lot of flare, I almost never hem it immediately after construction. I let it settle first, because that one pause saves a lot of fixing later.
A reliable hemming process for clean results
The exact method changes, but the workflow stays fairly consistent. I want the hem line measured after the skirt has settled, the raw edge stabilised, and the final stitching done with enough control that I am not forcing the fabric into shape.
- Let the skirt hang before marking it. For bias-cut and circle skirts, I prefer at least 24 hours, and longer if the fabric is soft or particularly drapey.
- Have the skirt worn or hung at the correct waist position, then mark from the floor using a ruler, hem gauge, or a second person if needed.
- Decide whether the edge needs trimming. Straight hems often tolerate a wider allowance, while curved hems usually work better with less bulk.
- Finish the raw edge in a way that suits the fabric, such as an overlocker, bias binding, or a facing.
- Baste the hem in place if the fabric slips easily. I do this more often than beginners expect, because it makes the final stitching much calmer.
- Sew the chosen finish with the right needle and thread. For lightweight woven fabrics, I usually keep to a finer needle, often 60/8 to 70/10; for standard dressmaking fabrics, 80/12 is a safer everyday choice.
- Press from the wrong side first, then from the right side if the fabric can take it. A tailor’s ham or rolled towel helps curved hems keep their shape.
If the skirt has a lining, I usually keep the lining about 1 to 2 cm shorter than the outer layer so it does not peek out or pull the dress down in an awkward way. From there, the main challenge is avoiding the small mistakes that make the edge look uneven.
The mistakes that create wavy or bulky hems
Most hem problems are not caused by bad sewing machines. They come from pushing the wrong method onto the wrong fabric, or from skipping one of the unglamorous steps such as pressing, hanging, or basting. Once I started treating those steps as non-negotiable, my hems improved immediately.
- Using a deep turn-up on a curved skirt, which creates ripples and drag at the edge.
- Hemming a bias-cut skirt too soon, before it has had time to drop evenly.
- Pressing only at the end, instead of pressing at each fold and seam stage.
- Pulling blind hem or hand hem stitches too tight, which causes tiny dimples on the right side.
- Choosing a heavy thread for a light fabric, which makes the hem look clunky and can distort the line.
- Forcing a machine finish onto a fabric that really wants a softer hand finish.
One mistake I see often is overconfidence with the hem width. A 5 cm turn-up can be excellent on a structured skirt, but it can be a disaster on a soft circle skirt. The more movement the skirt has, the more conservative I become with the hem depth.
When a facing, binding, or braid is the better answer
Some skirts do not want a simple fold at all. That is when I switch from hemming as a fold-and-stitch task to hemming as a shaping task. Facings, bindings, and supporting trims can make the edge behave better, especially on skirts that are curved, full, or meant to keep a particular silhouette.
- Facings are my first choice for circle skirts, unusual hemlines, and bulky fabrics, because they reduce the need for a deep fold.
- Bias binding works well on sheer or fray-prone fabrics, and it can also become a visible design detail.
- Horsehair braid is useful in formal full skirts when I want the hem to keep some body and movement instead of collapsing flat.
- Hem weights can help a very straight sheer skirt hang properly, but they are not a cure for a badly cut or badly settled edge.
I use these finishes when the hem is doing more than hiding raw fabric. In that situation, the edge is part of the garment’s architecture, so it deserves a more deliberate solution.
The finish I would pick when I want the skirt to last
If I had to narrow the whole subject down to one practical habit, it would be this: let the skirt’s shape choose the hem, not habit. A finish that suits the fabric, respects the amount of flare, and matches the level of formality will always look more expensive than one that was picked just because it is quick.
My usual check is simple. I ask whether the hem needs to disappear, whether the edge needs structure, and whether the fabric can handle the bulk I am about to add. If the answer feels uncertain, I make a sample first, press it properly, and test how it behaves before I commit to the final line of stitching. That small amount of care is usually what separates a decent skirt from one that hangs beautifully.
