
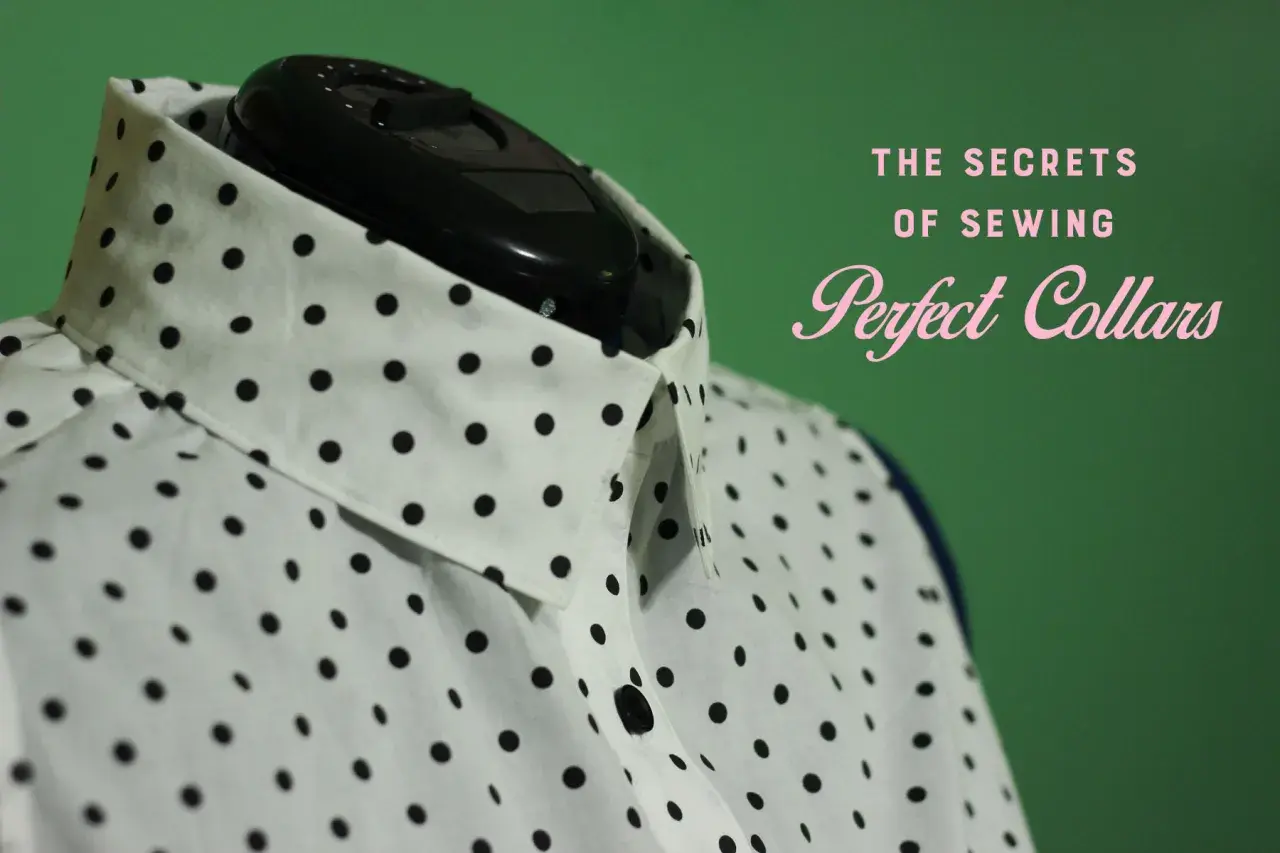
A collar can change the balance of a garment faster than almost any other neckline finish, and it is often the detail that separates an everyday top from something that feels deliberate. In sewing, a collared neckline also asks for a little more precision: the neck edge, collar pieces, stand, interfacing and pressing all need to work together. This guide breaks down what makes the construction work, which collar styles are worth knowing, and how to avoid the problems that leave a finished collar looking flat, twisted or bulky.
What to know before sewing a collar
- A collar works best when the neckline, collar pieces and stand are cut and stabilised as one system.
- Interfacing matters more than most beginners think; too much makes the edge stiff, too little makes it collapse.
- Clean results usually come from staystitching, clipping, grading and pressing in the right order.
- Many shirt collars are easier to control when the undercollar is cut or handled to encourage a natural roll, but follow the pattern you are using.
- Most visible collar faults come from small issues such as stretched necklines, uneven corners or skipped notches.
What a collar changes at the neckline
I think of a collar as more than decoration. It frames the face, controls the shape of the opening, and gives a garment a specific attitude, whether that is crisp, soft, formal or relaxed. A plain round neckline is open and simple; once you add a collar, the neckline starts doing structural work as well as visual work.
That is why collars are so sensitive to construction. The neck edge has to sit smoothly against the body, the collar has to roll or stand in the right way, and the inside finish has to stay neat even after repeated wear. If any one of those pieces is off, the whole neckline looks unfinished. Once you understand that, it becomes easier to choose the right collar shape for the garment rather than treating every collar as the same thing.
For me, the useful question is not just “does this garment have a collar?” but “what kind of shape do I want at the neck, and how much structure can the fabric support?” That leads naturally to the different collar families worth knowing before you cut anything.
The collar styles I would compare first
When I am deciding on a collar for a sewing project, I start by comparing shape, structure and use. Some collars read classic and tailored; others are deliberately soft and decorative. This small comparison usually saves a lot of pattern regret later.
| Style | What it looks like | Best for | Main watch-out |
|---|---|---|---|
| Shirt collar with stand | Structured collar sitting on a narrow band | Button-up shirts, shirt dresses, sharper everyday pieces | Needs accurate matching and careful pressing so it does not twist |
| Band collar | Simple upright band with no folded collar leaf | Minimal tops, relaxed shirts, modern blouses | Can feel too tight if the neckline is not shaped correctly |
| Peter Pan collar | Rounded, flat collar that sits softly on the bodice | Blouses, dresses, children’s garments, vintage-inspired designs | Rounded edges need patient clipping and pressing |
| Mandarin collar | Short stand that rises from the neckline | Clean, unfussy garments with a neat finish | Looks better in fabrics with enough body to hold the shape |
| Flat or bandless collar | Collar leaf attached directly to the neckline | Soft blouses and simpler shirts | Relies on the neckline curve being accurate, because there is less support |
For a lot of home sewers, the classic shirt collar is the most useful to learn first because it teaches the core skills: matching curves, managing bulk, and getting the roll right. Once those are solid, the other styles become less mysterious. The sewing process is where that structure is won or lost, so that is the next place to focus.
How I sew a clean collar attachment
I start with accurate cutting and marking. Notches, centre points, fold lines and turn points matter here more than they do on many other garment parts, because the collar depends on symmetry. If the pattern has separate upper and under collar pieces, I check the grain line carefully before I even think about stitching.
Then I stabilise the parts that need support. Staystitching is a line of stitching just inside the seam allowance that stops the neckline stretching out of shape. Interfacing gives the collar body and helps the edge keep its form. For many shirts, the upper collar and outer stand get the structure, while the inner side is left softer so the piece sits more comfortably against the neck.
- Sew the collar pieces together first, keeping the seam allowance even and shortening the stitch length slightly at the corners.
- Trim the corners close to the stitching, then grade any bulky seam allowances so the inside edge is thinner than the outer edge.
- Turn the collar right side out and press it on a tailor’s ham or a sleeve roll so the curve keeps its shape.
- Attach the collar to the neckline, matching centres and notches, and ease only where the pattern tells you to.
- Finish the inside with a facing or the second collar stand, then understitch or topstitch if the design calls for it.
Two technical details make a bigger difference than beginners expect. Understitching keeps the facing or seam allowance from rolling to the outside, and grading removes bulk so the edge lies flatter. I also like to press after almost every stage, not just at the end. Pressing is not decoration here; it is part of the shaping process. Once the attachment is neat, the remaining question is whether the fabric and interfacing choices actually support that structure.
Fabric and interfacing choices that make or break the result
The best collar in the world will still misbehave if the cloth and stabiliser are fighting each other. A crisp cotton can handle a firmer collar than a fluid viscose. A loosely woven fabric usually needs more support than a dense shirting. Heavy fabric needs bulk reduced carefully, while delicate fabric needs enough reinforcement to prevent the edge from going limp.
I usually test a scrap before committing, because the difference between “sharp” and “cardboard” is often just one interfacing weight. For a collared garment, that judgement matters. A collar should hold its shape, but it should still move with the body rather than sticking out like packaging.
| Fabric type | What it does to the collar | What I would do |
|---|---|---|
| Light cotton lawn | Neat, but can look limp without support | Use a light fusible interfacing and avoid overly heavy topstitching |
| Poplin or shirting | Usually the easiest balance of body and control | Use medium-weight interfacing and press thoroughly |
| Viscose or rayon | Soft drape, but the neckline may stretch | Staystitch early and keep interfacing light to medium |
| Denim or canvas | Lots of structure, but bulky seams | Trim seam allowances aggressively and reduce bulk in corners |
| Wool or suiting | Can look elegant but may need careful shaping | Choose interfacing that supports without making the collar stiff |
Grain direction is just as important as fabric choice. On many shirt collars, the upper collar and outer stand are cut to give stability, while the under side is cut or handled to encourage a better roll around the neck. That is not a rule to force onto every pattern, but it is a common reason one side of a collar looks smoother than the other. Once those choices are right, most problems become much easier to diagnose.
Common collar problems and the fix I reach for first
Almost every collar issue I see can be traced back to a small number of causes: stretching, too much bulk, poor marking or over-pressing. The good news is that these are usually fixable if you catch them early enough. The table below is the short version of how I troubleshoot them.
| Problem | Likely cause | Practical fix |
|---|---|---|
| The collar sits twisted | Notches or centres were mismatched, or one side was eased more than the other | Check the pattern pieces against each other before sewing and press from the centre outward |
| The points look blunt | Stitching was too wide at the corners, or the seam allowance was not trimmed enough | Use a shorter stitch at the pivot, then trim close to the corner without cutting the thread |
| The seam shows on the outside | The upper collar was not favoured slightly, or the pressing went the wrong way | Let the upper side sit a touch fuller and press the seam towards the underside |
| The stand feels tight at the neck | Interfacing is too stiff, or the neckline was stretched while sewing | Use a lighter stabiliser next time and staystitch before construction |
| The front opening looks bulky | Too much seam allowance is trapped near the opening edge | Grade the layers and trim carefully near the centre front or placket |
If I had to name the one mistake that causes the most disappointment, it would be rushing the pressing. A collar can be stitched correctly and still look amateur if it has not been coaxed into shape properly. The final check is not just whether it is attached, but whether the whole neckline reads as balanced from every angle.
The finishing checks that make the whole garment read as polished
Before I call a collar finished, I check three things: the shape, the symmetry and the roll. Both points should match in length and angle. The stand should meet the front opening evenly. And the seam should disappear to the inside or sit exactly where the style expects it to sit, rather than wandering visibly around the edge.
I also look at the garment in motion. A collar can appear perfect on the table and then pull strangely once the garment is worn. If that happens, the issue is often not the collar alone; it may be the neckline depth, the button placement or the way the fabric responds to pressure. That is why I like to fasten the garment, hang it for a moment and check it in a mirror before doing the final topstitch or buttonholes.
For a more tailored finish, topstitching can be useful, but I would not add it by default. On some fabrics it sharpens the edge beautifully; on others it makes the neckline look heavy and overworked. My rule is simple: if the fabric already has enough presence, let the collar shape do the talking. If it needs definition, use topstitching, careful pressing or a slightly firmer interfacing to give it that clarity.
What matters most is that the collar feels intentional. When the cut, support and finish all agree, the garment reads as carefully made rather than merely assembled, and that is the point where the whole piece starts to look truly finished.
