
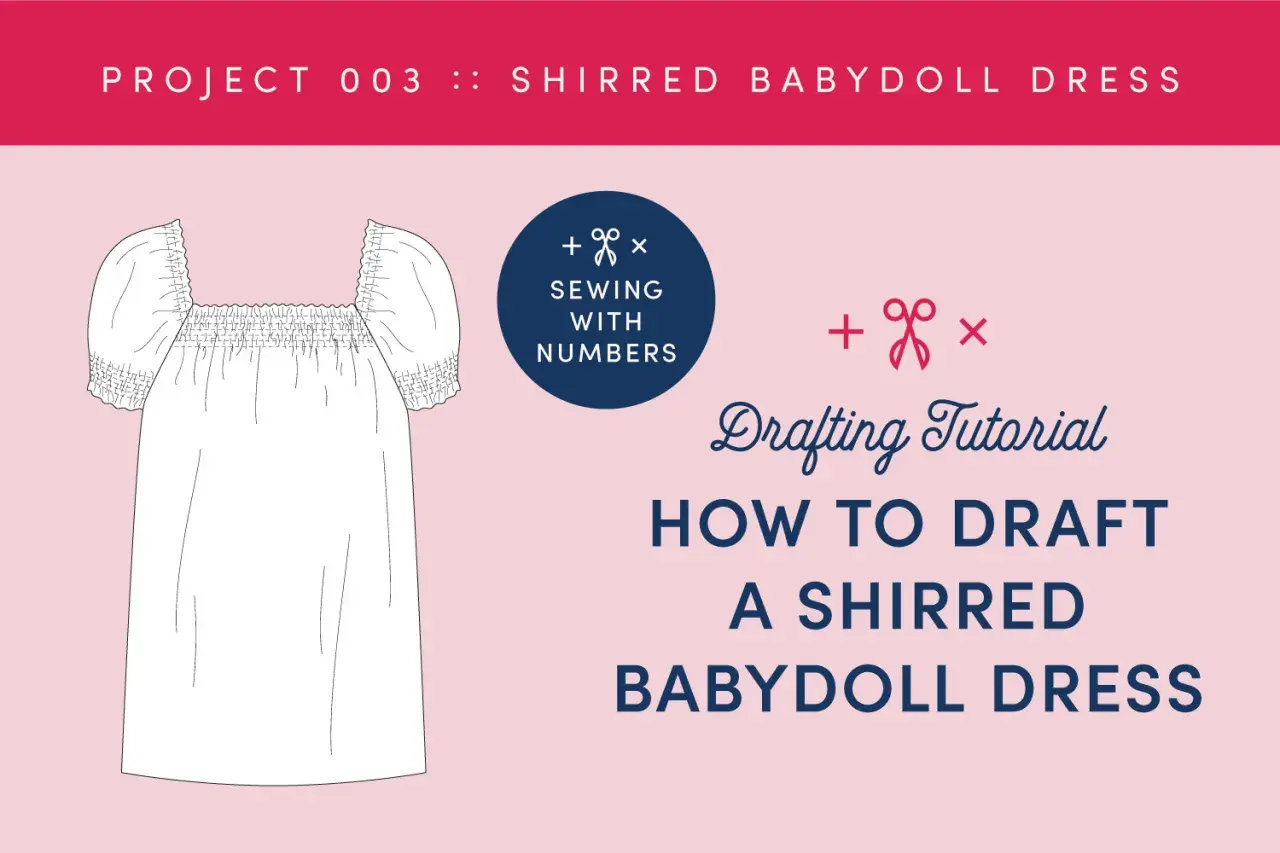
Making a first dress pattern becomes much easier when I strip it back to shape, measurements, seam allowance, and fit. This guide walks through a practical sequence for a simple dress pattern for beginners, from choosing the easiest silhouette to checking the toile before you cut into your proper fabric. I keep the method in centimetres because that is the cleanest approach for most UK dressmaking work.
The essentials before you start drafting
- Start with a loose A-line or shift shape if this is your first dress draft.
- Draft on paper first using a bodice block or sloper as your base.
- Add seam allowance after the shape is right, not before.
- Make a toile in calico so you can fix fit issues before using your final fabric.
- Choose a stable woven fabric such as cotton lawn, poplin, or a linen blend for the first make.
The simplest dress shape to start with
If I want a beginner to succeed, I usually push them towards a shape that is forgiving rather than fashionable on paper. A gently A-line dress or a relaxed shift is easier to draft, easier to fit, and less likely to punish small errors than a fitted bodice with princess seams, a tight waist, or a tricky zip.
| Dress shape | Why it suits beginners | Where it can go wrong | My verdict |
|---|---|---|---|
| A-line shift | Simple lines, few fitting points, easy to move in | Can look boxy if the side seams are too straight | Best first choice |
| Straight shift with bust shaping | Clean look and still fairly simple to draft | Needs more attention at the bust and waist | Good if you want a neater fit |
| Empire-line dress | Flattering and comfortable around the waist | Bust placement has to be accurate | Useful, but slightly less forgiving |
| Gathered-waist dress | Easy shape, relaxed fit, good for woven fabrics | Gathering can add bulk if the fabric is heavy | Good, provided the fabric is light |
My rule is simple: the first pattern should teach you how the pieces fit together without demanding advanced tailoring. Once you know which silhouette suits you, the next step is measuring the body that will wear it.
What you need before you draft
You do not need a full pattern-cutting studio to start. For a first dress draft, I would keep the kit small and practical, because too many tools only slow beginners down.
- Pattern paper or tracing paper
- A long ruler and a French curve
- Measuring tape
- Sharp pencil and eraser
- Pattern weights or tape
- Dressmaker's scissors for paper, not fabric
- Calico for the toile
The measurements matter more than the toolkit. I ask beginners to record bust, waist, full hip, back waist length, shoulder width, shoulder-to-bust point, and the finished dress length they want. If you are drafting a sleeved dress, add armhole depth and upper-arm circumference too. Take the measurements over the underwear you plan to wear with the dress, because that is the body shape the pattern really needs to serve.
One practical point that saves a lot of confusion: a block or sloper is a basic close-fitting template with no style extras. It gives you a base shape to modify, rather than starting from a blank page and hoping the fit appears by magic. Once the measurements are ready, I move straight into drafting the front, back, and skirt shape.
How I draft the pattern step by step
This is the part where the paper starts becoming a real garment. I prefer to draft in three pieces of thinking: front, back, and overall dress shape. That keeps the process clear and stops the pattern from turning into one large, confusing outline.
Draft the front bodice first
I start with the front bodice block because it shows the most obvious fit issues. Trace the block onto fresh paper, then mark the centre front, bust line, waistline, and any hip reference you need for the dress length.
- Trace the front bodice block onto pattern paper.
- Mark the key horizontal lines so you can read the shape later.
- Redraw the neckline and armhole with a smooth curve.
- Keep the shoulder seam gentle rather than steep.
- Add any bust dart or shaping you need for the fit.
If I am aiming for a very simple beginner dress, I keep the front shape relaxed and avoid forcing a close waist too early. It is easier to remove excess in a toile than to add missing ease after the paper is already cut.
Draft the back bodice to match
The back piece should balance the front rather than fight it. Trace the back block, make sure the shoulder seam matches the front shoulder length, and keep the back neckline shallower than the front so the dress sits correctly when worn.
- Trace the back bodice block on fresh paper.
- Check the shoulder seam against the front piece.
- Shape the back neckline with less depth than the front.
- Keep the armhole smooth and balanced.
- Mark the centre back clearly if the dress will fasten there.
This is also where I decide whether the dress needs a back opening at all. For a beginner, a pull-on style without a zip is usually the simplest route, provided the neckline and bust ease are generous enough.
Read Also: Sew Perfect Folded Cuff Bands - Pro Tips & Troubleshooting
Shape the skirt and connect it to the bodice
For the first dress, I prefer a skirt that falls straight enough to be easy, but not so straight that it clings. A slight A-line gives movement and comfort without adding much drafting difficulty.
- Extend the bodice down to the waist if you want one continuous upper section.
- Or draft a separate skirt piece and join it at the waist seam.
- Widen the side seam gradually from waist to hem for a soft A-line.
- Check that the front and back side seams are the same length.
- True the hem so the lower edge hangs cleanly on paper before you cut fabric.
Once those lines are stable, the pattern becomes ready for the technical details that make it sewable rather than just drawable.
Where seam allowance, darts, and notches go
I add the construction details only after the shape is settled. That keeps the working lines clean and makes it much easier to correct the draft if something feels off.
- Seam allowance is the extra fabric between the stitching line and the edge. For a beginner dress, 1 cm on most seams is a practical default.
- Hem allowance can be wider, and I usually allow 3 cm so there is room to adjust the finished length later.
- Darts are wedge-shaped folds that create shape over the bust or waist. Place them only where the fit needs them.
- Notches are small matching marks that show where pieces join, especially at side seams, bust level, and waist seams.
- Grainlines show how the pattern should sit on the fabric. In woven cloth, keep the grainline arrow parallel to the lengthwise grain.
For a simple dress, I would not add every possible feature at once. If you are unsure about darts, keep them minimal and test them in the toile first. The same is true for closures: a zip, button placket, or facings can all wait until the base pattern is behaving.
When the seam allowance is in place and the notches are marked, the next question is whether the pattern actually fits a human body. That is where the toile earns its keep.
Why a toile saves most beginner patterns
A toile is a test version of the dress sewn in cheap fabric, usually calico. I treat it as the stage where the paper pattern meets reality, because no flat draft can fully predict how the shoulder sits, how the bust behaves, or how the hem hangs once the body starts moving.
- Sew the toile using the same seam allowance as the final pattern.
- Try it on over the underwear you would normally wear with the dress.
- Check the shoulder line, bust area, waist level, side seams, and hem.
- Pin or mark the changes directly onto the toile, then transfer them back to the paper pattern.
| What you see in the toile | What it usually means | What I change |
|---|---|---|
| Shoulder seam slips backwards | The shoulder slope is not balanced | Shorten or reshape the shoulder seam |
| Horizontal drag across the bust | There is not enough room or the dart is misplaced | Add a little width or move the dart |
| Waistline sits too high or too low | Torso length is off | Adjust the bodice length |
| Hem swings forward or back | The balance is off | Recheck side seam length and lower edge balance |
I am not looking for perfection at this stage. I am looking for a pattern that is honest about the body it must fit. Once that works, fabric choice becomes a much easier decision.
Fabric choices that make the pattern easier
Fabric changes the behaviour of the same pattern, so I choose it after the draft is stable rather than before. For a first woven dress, I prefer cloth that holds shape, presses cleanly, and does not slide around under the needle.
| Fabric | Why it helps a beginner | What to watch for | My take |
|---|---|---|---|
| Cotton lawn or poplin | Stable, easy to cut, and easy to press | Can feel crisp if the style needs drape | Excellent first choice |
| Linen blend | Breathable and forgiving in a relaxed dress shape | Wrinkles more than cotton | Very good if you like a casual finish |
| Viscose or rayon | Soft drape and a lighter feel | Can shift while cutting and sewing | Use after you are comfortable with slippery fabric |
| Stretch jersey | Comfortable to wear | Fit, stretch, and seam handling change the whole process | I would leave it for a later project |
For a knee-length dress in 140 cm-wide fabric, many simple styles land around 2 to 2.5 m, but the exact amount depends on size, sleeve length, and skirt fullness. If the design is fuller, longer, or cut with matching details, the requirement rises quickly. That is one reason I always finalise the pattern before I buy the fabric.
The beginner mistakes I would fix on paper first
Most early dress patterns fail for the same reasons, and nearly all of them are fixable before a single seam is sewn. When I coach beginners, I focus on the mistakes that cost time, fabric, and confidence.
- Cutting the pattern too close to the body measurements. A dress needs wearing ease, not just body size. If the pattern is skin-tight on paper, the toile will usually be uncomfortable.
- Forgetting seam allowance. Always confirm whether you are drawing the stitching line or the cutting line. Mixing them up changes the whole garment.
- Skipping the toile. This is the fastest way to waste good fabric on a fit problem that paper would have shown.
- Using a difficult fabric too early. Slippery, stretchy, or very drapey fabrics add new variables that do not help on the first version.
- Ignoring the front and back labels. A well-drafted pattern can still become confusing if each piece is not marked clearly with grainline, cut quantity, and notches.
- Leaving the pattern untrued. Side seams, waist seams, and hems should match before you cut, otherwise the sewing stage becomes correction work.
The notes I would keep for the next version
A good first dress pattern is rarely the one that looks impressive on the table. It is the one you can reuse, adjust, and trust the second time round. I always keep a clean master copy of the corrected pattern, plus notes on what changed after the toile.
- Write down the seam allowance used on every piece.
- Note which fabric behaved well and which one made the dress harder to sew.
- Record any fit changes, even small ones, such as a shortened shoulder or a longer bodice.
- Keep a scrap of the final fabric so you remember how it pressed, draped, and held shape.
- Store the corrected master pattern separately from working copies so the next version starts cleanly.
If I were planning the next dress after this one, I would not chase complexity first. I would keep the same basic block, change one design detail at a time, and build confidence through repetition. That is how a beginner pattern turns into a reliable wardrobe shape instead of a one-off experiment.
