
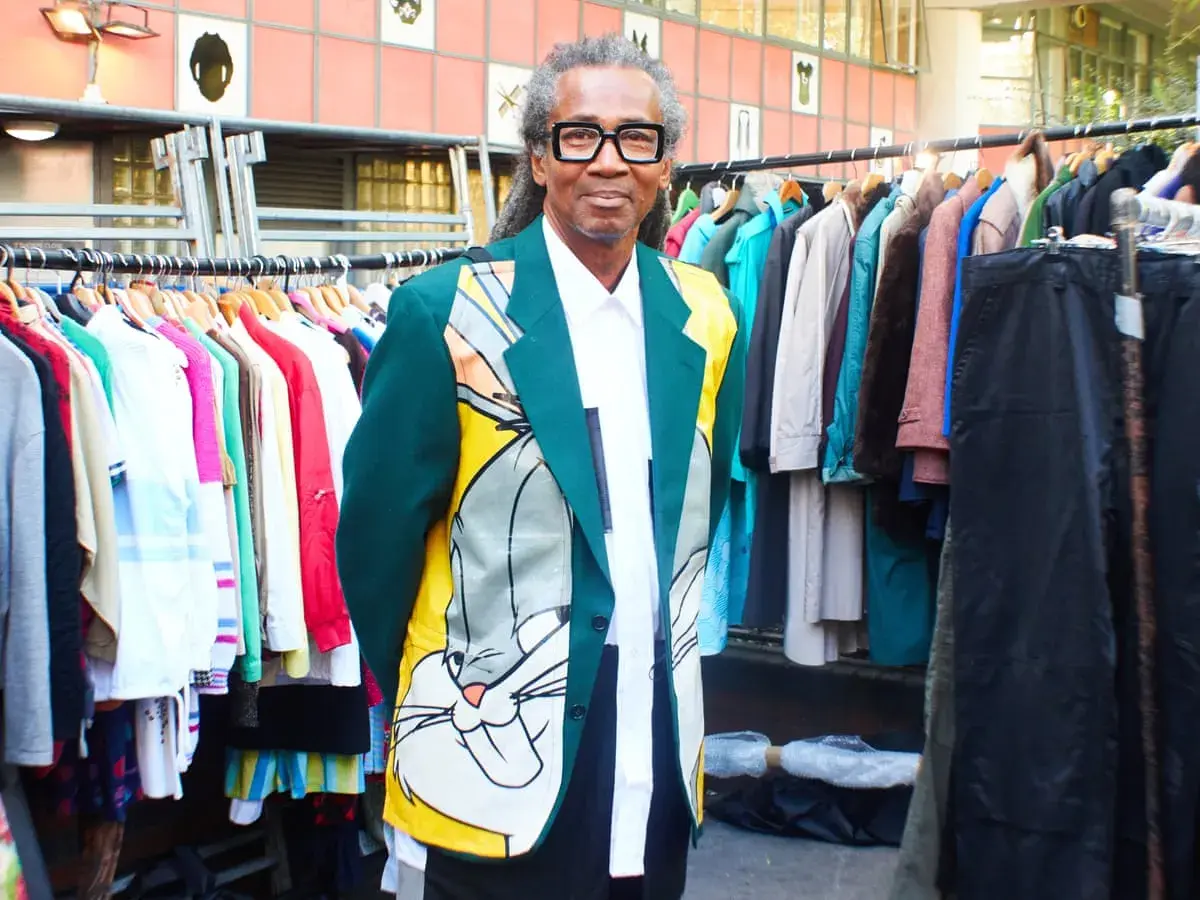
Turning old clothes into something wearable is one of the most satisfying sewing projects because it combines design, fit, and waste reduction in a single job. I think clothes upcycling works best when it is treated as garment sewing, not as random cutting: you need a plan, a fabric check, and a finish that feels intentional. In this article I focus on what to make, what to avoid, and how to turn an unloved piece into something that stays in rotation.
What matters most before you cut into an old garment
- Choose fabrics with enough strength left in the cloth, not just in the surface.
- Start with simple refashions such as shirts, jeans, skirts, and trousers before moving to more structural changes.
- Prep matters: wash, press, unpick carefully, and map the usable fabric before you cut.
- Finishing details such as topstitching, binding, and pressing decide whether the piece looks deliberate.
- A good remake is one you will actually wear with the rest of your wardrobe.
What upcycling really means for a garment sewer
I separate upcycling from mending and altering because each one solves a different problem. Mending repairs damage, altering improves fit, and upcycling changes the garment’s purpose or silhouette altogether. That last category is where the creative work happens: a shirt becomes a skirt, jeans become shorts, a dress becomes a top, or several worn pieces become one new item.
For a sewer, the useful mindset is simple. You are not starting with blank fabric; you are working with seams, buttons, hems, pockets, collars, and a limited amount of yardage that already has structure. The smartest projects reuse those features instead of fighting them. That is why the best results usually come from garments whose original construction still helps the new design.
| Approach | What changes | Best for | How much sewing it usually needs |
|---|---|---|---|
| Mending | Damage only | Small holes, worn seams, loose buttons | Low |
| Altering | Fit or length | Waistbands, hems, sleeve length, shaping | Low to moderate |
| Upcycling | Function or silhouette | Refashioning into a new garment or item | Moderate to high |
| Recycling | Material is broken down | Textile recovery outside home sewing | Not a home project |
In the UK, that reuse-first thinking fits the direction of current textile policy and circular fashion work. WRAP and other sector voices keep pushing the same message: keep garments in use for longer before they become waste. That makes practical sewing skills more relevant, not less. Once you understand the difference between repair, alteration, and refashioning, the next question is choosing the right donor garment.
Which old clothes are worth the effort and which are not
I usually start by checking three things: fabric stability, useful yardage, and whether the original garment already contains a feature I can reuse. If the cloth is still sound, the seams are strong, and the fabric suits the new idea, the project has a chance. If the material is brittle, badly sun-faded, or threadbare in the exact area you need to cut from, I walk away or reduce the ambition of the plan.
- Good candidates: cotton shirts, denim, linen blends, wool trousers, structured dresses, and heavier tees with decent recovery.
- Good candidates for smaller refashions: skirts with enough width, blazers with stable construction, and dresses with usable bodices or hems.
- Weak candidates: fabrics with hidden mould, severe pilling, brittle elastane, or fibres that split when you press them.
- Usually not worth a full remake: garments with major damage across load-bearing areas such as shoulders, crotches, seat seams, or armholes.
The most overlooked habit is salvaging the parts that still have value. Buttons, zips, waistbands, pockets, cuffs, collars, and labels can all be reused if they are in good condition. I also keep the possibility of patchwork open, but only when the fabric weight is compatible. A patchwork idea looks clever on paper and cluttered in reality if the cloth weights clash badly.
My rule is blunt: if the garment cannot survive a full wash, a press, and a few seam openings without falling apart, it is probably better as trims or patches than as the base of a new piece. Once you know what is worth rescuing, the practical side becomes easier.
The tools and prep that save time later
Most refashioning does not require specialist equipment. A domestic sewing machine, sharp scissors, a seam ripper, pins or clips, tailor’s chalk, a ruler, matching thread, and the right needle will handle most projects. For denim, I reach for a jeans needle; for knitwear, I use a stretch or ballpoint needle; for collars, cuffs, facings, and waistbands, fusible interfacing helps the finished shape hold its line. Interfacing is simply a stabiliser that is fused to fabric with heat so it does not collapse under wear.
Preparation matters more than people like to admit. I wash and dry the garment first, then press it flat, then inspect every seam. That order matters because shrinkage or distortion after cutting is a waste of time and fabric. If I am working from a woven garment, I also look for the grainline, which is the direction of the threads in the cloth. Keeping new pieces aligned with the grainline prevents twisting and gives the finished garment a calmer drape.
- Press before you cut: wrinkles hide shape, and shape is what you need to judge.
- Unpick selectively: remove only the seams that block the new design.
- Keep an eye on seam allowance: leave enough room to adjust, especially around side seams and waistlines.
- Test thick seams: if your machine struggles, flatten bulky areas with a hammer or reduce seam bulk by grading them.
Grading seam allowances means trimming them to different widths so the inside of the garment does not build into a hard ridge. It is a small step that makes a big difference on denim, jackets, and anything layered. With the fabric prepared, the next decision is which refashion actually suits the piece in front of you.
The refashions that work best on a home machine
I do not assume every refashion should become a dress. In practice, the most successful projects are usually the ones that respect the original garment’s shape and weight. A shirt wants to become something with structure; denim wants to stay sturdy; jersey wants stretch-friendly construction; wide trousers already have fabric volume that can be redirected without looking forced.
| Project | Best starting garment | Difficulty | Typical time | Why I recommend it |
|---|---|---|---|---|
| Shirt to overshirt or waistcoat | Men’s shirt, dress shirt, blouse | Beginner to intermediate | 2-4 hours | The collar, placket, and buttons already give the piece structure. |
| Jeans to shorts or patchwork bag | Worn jeans | Beginner | 30-90 minutes | Denim is strong, and pockets or waistband details are easy to reuse. |
| Dress to skirt | Shift, midi, or maxi dress | Beginner | 1-2 hours | You often keep the most flattering part and remove the least useful one. |
| T-shirt to tote or child’s top | Cotton jersey tee | Beginner if the stretch is handled well | 30-60 minutes | It is a good way to practise stretch stitches without risking an expensive fabric. |
| Wide trousers to culottes or apron | Wide-leg trousers | Intermediate | 2-5 hours | The leg width gives you enough cloth for a cleaner new silhouette. |
The projects that fail most often are the ones that ask a fabric to do the opposite of what it was made for. A rigid shirt will not behave like a fluid dress; a loose knit will not magically become a tailored jacket. I prefer to choose a refashion that works with the cloth’s original personality. That is the difference between a clever idea and a garment someone will actually wear.
Fashion Revolution’s denim repair examples make a useful point here: patching, hemming, sashiko-style stitching, and zip repairs are not just decorative add-ons. They are practical techniques that extend the life of the cloth while still leaving room for design. That same logic applies to every refashioned piece I make.
My step-by-step method for turning one piece into something wearable
When I start a refashion, I work from the future backwards. I decide what the finished piece should do, then I map the cuts that will get me there. That approach sounds simple, but it prevents the most common mistake: cutting away the parts you later realise you needed.
- Put the garment on and mark what already fits. I note which seams, closures, and panels are worth keeping before anything is unpicked.
- Choose the new silhouette. I compare the garment to a similar item I already own or to a pattern shape I trust.
- Unpick only what blocks the new shape. A seam that still helps the construction should stay in place.
- Cut conservatively. I keep enough fabric for adjustments and finish planning, usually at least 1-1.5 cm where possible.
- Sew the new structure and press as I go. A 2.5-3 mm straight stitch works well for many woven refashions; for jersey, I switch to a stretch stitch or narrow zigzag.
- Finish edges, then hem last. Hemming too early can make the final fit look wrong, especially if the shape changes during assembly.
I also baste more than many people expect. Basting is temporary stitching used to test a fit or position before final sewing, and it saves fabric when you are working from a limited source. If the project involves several layers, I test the movement before trimming excess seam allowance. A refashion should not only look good on the hanger; it should sit properly when you walk, sit, and reach.
That is also where the machine settings matter. For thick denim, I slow down and reduce bulk first; for knits, I avoid stretching the fabric as I sew. The wrong stitch choice is one of the fastest ways to turn a promising remake into a puckered mess.
The mistakes that make an upcycled piece look accidental
The most common failures are not creative failures; they are planning failures. People often cut too soon, ignore fabric behaviour, or try to force a silhouette from too little material. The result is a piece that looks busy, lopsided, or unfinished in a way that no amount of decoration can rescue.
- Cutting before checking drape and grain: the fabric twists, pulls, or hangs in a way you did not expect.
- Choosing a silhouette that needs more fabric than the garment can offer: this is why many refashioned dresses look cramped at the hips or under the arms.
- Ignoring shrinkage and colour fade: a quick wash before cutting can prevent a lot of regret later.
- Leaving raw edges on fray-prone fabric: if the cloth unravels, the garment will age badly.
- Using the weakest part of the garment as the most visible area: a sun-worn front panel is rarely the right focal point.
I see another mistake often: over-decorating a piece that already has strong bones. If the fabric, shape, and proportion are working, you do not need to pile on trims, patches, and contrast stitching just to make it feel “upcycled”. Simpler often looks more deliberate. The best fix is to let one feature lead and keep the rest calm.
When in doubt, I would rather hide the less attractive part in a facing, lining, or underlayer than try to turn it into a design statement. That same restraint is what makes the finishing stage feel polished instead of improvised.
The finishing details that make the result look intentional
This is where the piece starts to look like clothing rather than a sewing experiment. Pressing, topstitching, binding, and consistent hems do more for the final result than most decorative extras. A neat finish signals that the design was chosen with care, not rescued at the last minute.
- Press every seam: it is the fastest way to improve shape and reduce bulk.
- Use topstitching on purpose: a slightly longer stitch, around 3 mm, looks clean on denim and shirt-weight cotton.
- Bind or face raw edges: this works especially well on armholes, necklines, and curved openings.
- Keep closures simple: buttons, ties, snaps, or a clean elastic waist often work better than forcing a complicated zip arrangement.
- Match the finish to the fabric: a heavy denim patch wants structure; a lightweight blouse wants a softer edge.
Visible mending can be beautiful when it is deliberate. The key is consistency: repeated stitches, balanced placement, and a colour choice that looks intentional rather than improvised. A single patch in the wrong place can look like damage; a repeated repair language can look like design. That is why I treat decorative stitching as a structural choice first and a style choice second.
If a garment is still going to be worn regularly, the finish has to stand up to washing, movement, and friction. I would rather spend an extra fifteen minutes on seam pressing and edge control than rescue a badly finished piece later. That final bit of care is what keeps the remake in the wardrobe.
The choices that keep an upcycled garment in rotation
The easiest way to judge a finished refashion is to ask three questions: does it match three things I already own, can I care for it without drama, and does it feel comfortable for real life? If the answer to all three is yes, the piece has a future. If not, I treat it as a useful experiment and learn from the pattern rather than forcing it back into circulation.
In practical terms, the strongest remakes are often the least theatrical. A shirt that becomes a clean overshirt, jeans that become shorts with a good hem, or a dress that becomes a skirt with a better waistband will usually be worn more than a highly engineered one-off. That is one reason I like refashioning in the first place: it rewards restraint, not just imagination.
Keep the leftovers too. A pile of saved buttons, pockets, waistbands, and good offcuts makes the next project faster and more interesting. When you start thinking this way, old clothes stop looking like clutter and start behaving like a fabric library. That is the point where sewing becomes less about rescuing scraps and more about building a wardrobe with memory, character, and a lot less waste.
