
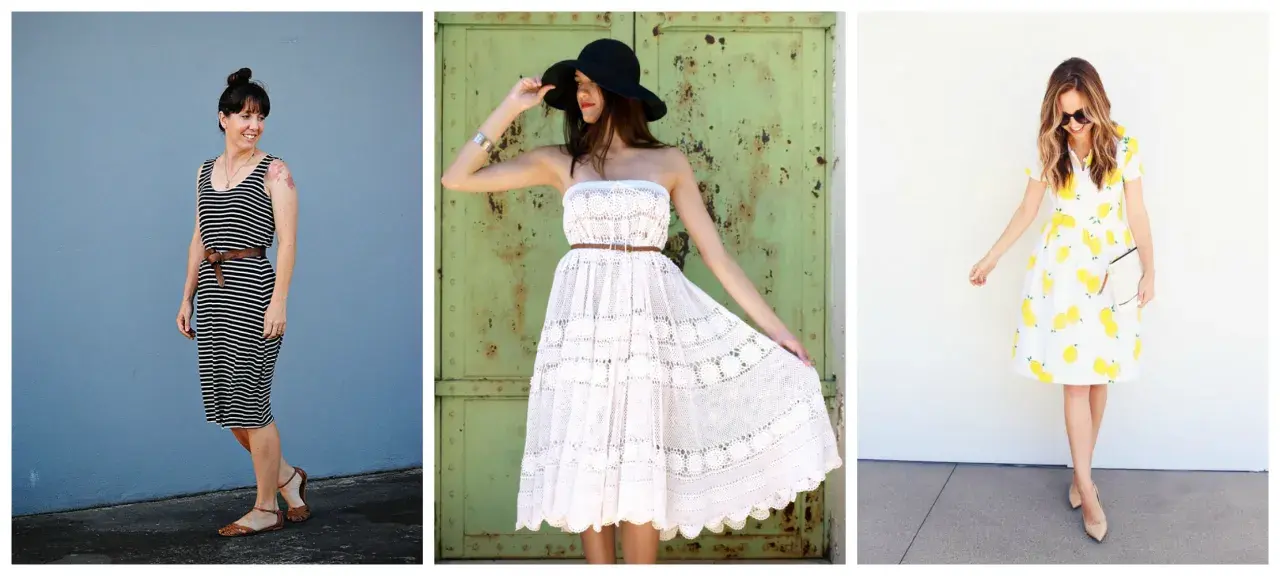
A DIY summer dress works best when the design is simple enough to sew cleanly but still feels good in warm weather. I focus on the choices that make the biggest difference: silhouette, fabric, fit, construction order and finishing. If you want a dress that looks handmade in the best way - thoughtful rather than fussy - this is the route I would take.
The shortest route to a wearable summer dress is simple shape, breathable fabric and patient finishing
- Start with an A-line, smock or shirred bodice if this is your first dress.
- Prewash cotton, linen and viscose before cutting so shrinkage does not distort the fit later.
- Plan on about 2.0-3.0 m of fabric for many knee-to-midi dresses, depending on width and size.
- Use 1.5 cm seam allowances, a 3-5 cm hem and plenty of pressing to keep the result sharp.
- Expect a simple elasticated style to take around 3-5 hours and a more fitted shirt dress to take 8-12.
- Neckline, armhole and hem finishes matter more than decorative extras in hot weather.
Choose a silhouette you can actually finish
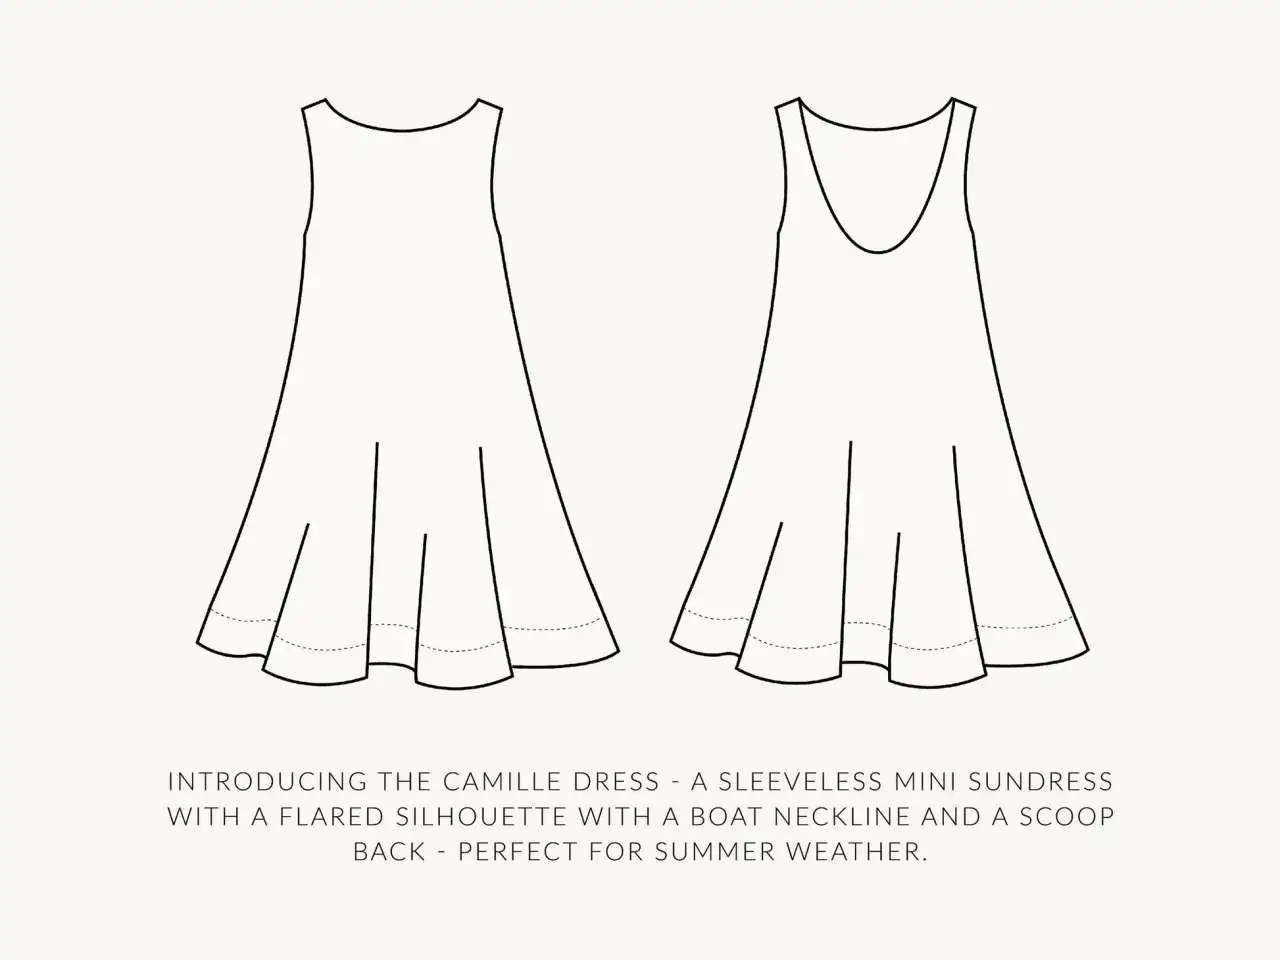
When I plan a summer dress, I start with the silhouette before I even think about print or trim. A clean shape is easier to fit, easier to press and far more forgiving if you are sewing in lightweight fabric for the first time. If your goal is a practical wardrobe dress rather than a showpiece, keep the first version unfussy.
| Style | Why it works | Skill level | Typical time | Best fabric match |
|---|---|---|---|---|
| A-line sundress | Skims the body without needing complicated shaping | Beginner to intermediate | 4-8 hours | Cotton poplin, lawn, chambray |
| Smock dress | Loose fit hides small fitting errors and wears well in heat | Beginner | 3-6 hours | Light cotton, seersucker, linen blend |
| Shirred bodice dress | Elastic shirring gives comfort and flexible fit | Beginner to intermediate | 4-7 hours | Rayon, viscose, fine cotton |
| Shirt dress | Polished and versatile, but more exacting to sew | Intermediate | 8-12 hours | Cotton shirting, linen, chambray |
| Slip-style dress | Simple lines, but neckline and straps must sit perfectly | Intermediate | 6-10 hours | Viscose, cupro, light linen |
If I were guiding a first-time dressmaker, I would steer them towards an A-line or smock shape. Both give you a realistic chance of finishing quickly, and both can be adjusted later once you know where the fit needs refining. The main trade-off is obvious: the simpler the silhouette, the less tailoring you get for free. That is why fabric choice and fit become the next big decisions.
Pick fabrics that breathe and still behave under the iron
The fabric does most of the work in a summer dress. A beautiful print will not save a cloth that clings, wrinkles badly or refuses to press flat. In the UK, where warm days can change quickly, I usually look for fabrics that are light, breathable and stable enough to sew without a fight.
| Fabric | What it gives you | What to watch out for |
|---|---|---|
| Cotton lawn | Soft hand, good drape and easy handling | Can be slightly sheer, so check opacity against light |
| Cotton poplin | Crisper shape and cleaner seams | Less fluid if you want a very floaty dress |
| Linen | Excellent airflow and a relaxed, textured finish | Wrinkles easily and can shift while cutting if you are careless |
| Chambray | Casual look with enough body for shirt or A-line dresses | Heavier than lawn, so it is not ideal for very gathered styles |
| Viscose or rayon | Lovely drape for fluid dresses and soft gathers | Slippery to cut and less forgiving when you need crisp seams |
| Seersucker | Textured surface that sits away from the body | Usually best for simpler silhouettes, not formal tailoring |
I prewash almost everything before I cut it. Cotton and linen can shrink enough to throw off hems or side seams, and viscose can change hand after washing, so it is better to find that out before the dress is assembled. For a straightforward summer dress, I would budget roughly £20-£45 for cotton versions and about £35-£80 for linen, depending on fabric quality, width and whether I need a lining or extra notions. That brings you neatly to fit, because even good fabric will disappoint if the measurements are guessed.
Measure once and cut for summer ease
Summer dressing is about comfort as much as shape, so I build in a little more ease than I would for a structured winter garment. The amount depends on the style, but there is a practical rule of thumb: fitted woven bodices usually need about 5-8 cm of bust ease, while relaxed styles may need 10 cm or more. Waist and hip ease can be smaller on an A-line dress because the shape moves away from the body, but you still need enough room to sit, lift your arms and breathe.
- Measure bust, waist, high hip, full hip, shoulder width and back waist length.
- Compare those numbers with the pattern size chart, not your shop size.
- If you are between sizes, grade between them rather than forcing one size to do everything.
- Check finished garment measurements, because ease is what determines whether the dress feels relaxed or tight.
- Make a toile or test version if the bodice is fitted, the neckline is low or the fabric is expensive.
A toile is just a test garment in cheaper cloth, usually calico or an old cotton sheet. It saves time when the design has darts, a zip, a bodice seam or a neckline you have not sewn before. I do not bother with a toile for every loose smock dress, but I would absolutely make one for a fitted bodice or anything with a close armhole. Once the fit is sorted, the sewing itself becomes much calmer.
Sew the dress in an order that keeps the fabric under control
The cleanest sewing comes from a sensible order of operations, not from rushing the machine. I keep the fabric stable for as long as possible, press after each stage and only add closures once the main shape is already holding itself together. That approach sounds fussy, but it is what separates a neat dress from one that feels slightly tired before it has even been worn.
- Cut all pieces accurately and transfer notches, darts, grain lines and drill holes.
- Interface any facings, plackets or button areas before assembly.
- Sew darts, shoulder seams and bodice seams first so the shape starts to emerge early.
- Staystitch curved necklines and armholes to stop them stretching out of shape.
- Join skirt panels, side seams and waist seams, pressing each seam open or to one side as the fabric requires.
- Insert zips, elastic or buttons only after the garment has enough structure to hang properly.
- Finish raw edges with an overlocker, zigzag or French seams, depending on fabric weight and fraying.
- Try the dress on before hemming so you can correct balance, length and strap placement.
The most common beginner errors are simple: cutting the wrong size, skipping pressing and trying to finish every seam in one long burst. If I had to choose only one habit to keep, it would be pressing. A warm iron and a ham or seam roll do more for the final result than most decorative extras ever will. From there, the finishing details become the difference between merely acceptable and genuinely wearable.
Make the finishing details work in hot weather
A summer dress has to survive movement, heat and repeated washing, so the final details matter more than they first appear. I pay close attention to neckline stability, armhole comfort, pocket placement and the hem, because these are the areas that change how the dress feels after an hour of wear. A dress can look fine on the hanger and still fail if it pulls at the bust, twists at the shoulder or sticks to the legs.
| Finish | Best for | Why I use it |
|---|---|---|
| Facing | Necklines and armholes on stable fabrics | Gives a clean inside finish without adding too much bulk |
| Bias binding | Curved edges and lighter fabrics | Sits neatly on curves and can look more delicate than a facing |
| Lining | Sheer or semi-sheer dresses | Improves opacity and helps the dress hang smoothly |
If you are undecided about pockets, add them if the fabric can support them. In linen and cotton, inseam pockets are practical and easy to use; in very fluid viscose, they can distort the side seam unless you reinforce them carefully. For hems, I usually allow 3 cm on lightweight cotton and 4-5 cm on linen so the weight helps the dress hang neatly. Those small allowances do not sound glamorous, but they change the way the dress moves.
The details I would not skip before wearing it out
The last fitting is where I decide whether the dress is finished or merely sewn. I put it on, sit down, raise my arms, walk a few steps and check the neckline in a mirror. If the bodice rides up, the straps slide, or the waist seam sits higher than intended, I adjust that now rather than accepting it and hoping for the best.
- Check bust coverage in natural light, not just under indoor lighting.
- Make sure the hem is level after the garment has hung for a few hours.
- Shorten straps before cutting the hem if the neckline drifts.
- Press the final garment once more after hemming so the shape settles.
- Note any changes on the pattern for the next make.
That final note matters more than people expect. The second version is usually where the dress becomes truly useful, because you are no longer guessing at length, ease or neckline depth. If you keep one good pattern and one reliable fabric formula, the whole process gets faster the next time, and the result looks more intentional each time you make it.
