
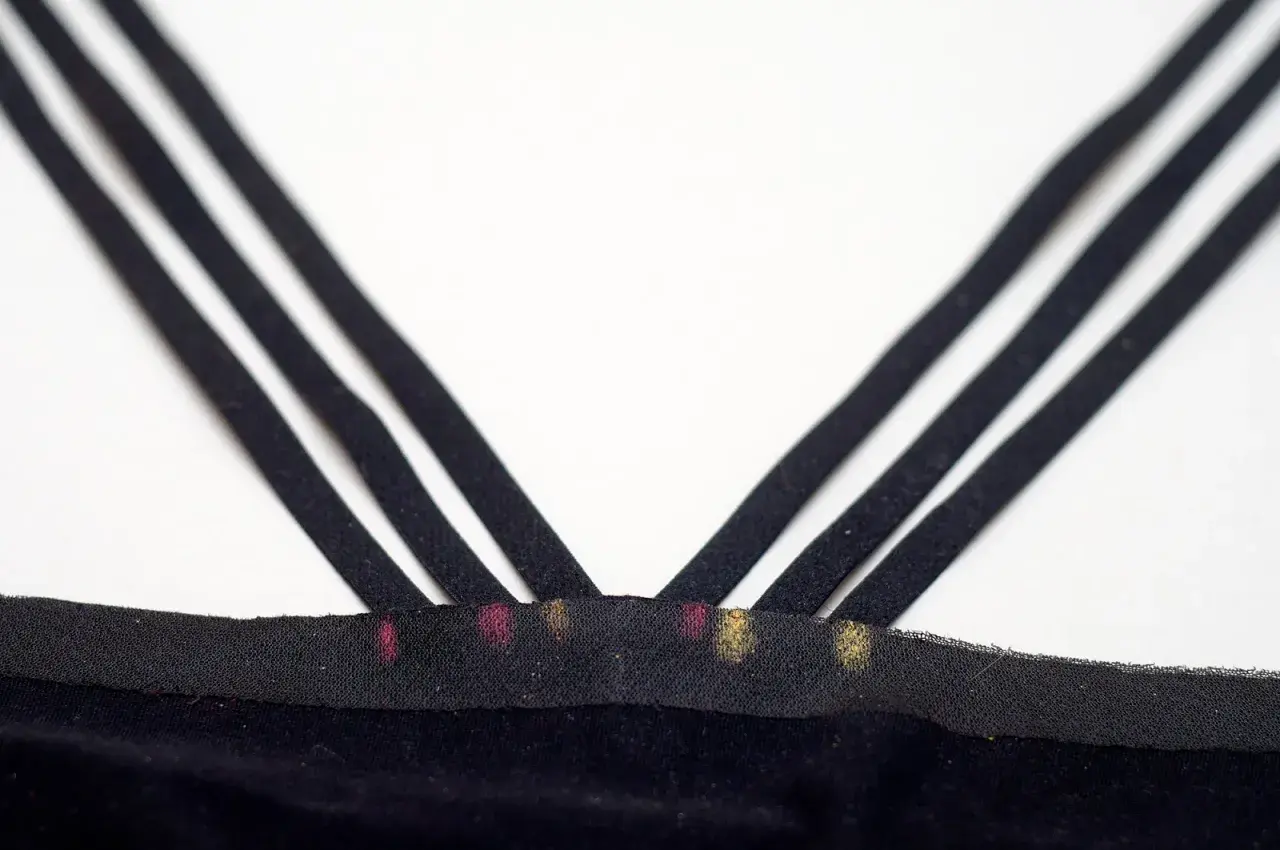
Creating a criss-cross strap line is one of the simplest ways to make a bra behave better under racerback tops, wider necklines, or fitted layers that make ordinary straps slip out of place. The real skill is choosing the least invasive fix that still preserves support, because the geometry matters as much as the look. Here I’ll walk through the quickest no-sew option, the sewing-based conversion, and the small details that keep the result comfortable instead of fussy.
The safest approach is to start simple, then move to stitching only if the fit deserves it
- Temporary fixes like a racerback clip or a built-in J-hook are best for everyday tops and quick outfit changes.
- Sewn alterations work better when you want a repeatable fit and do not mind making the change semi-permanent.
- Support comes from the band first; a cross-back strap layout should help the bra, not rescue a loose band.
- Use matching hardware in the same width as the strap, usually around 10-15 mm for many everyday bras.
- Expect a quick no-sew fix to take 1-2 minutes, while a careful sewing conversion usually takes 30-45 minutes.
- Do not rely on safety pins for regular wear; they create hard pressure points and can pull through fabric.
What a criss-cross change actually does to the bra
A cross-back strap layout shifts the anchor point inward, so the straps sit closer to the centre of the back instead of drifting out toward the shoulders. That usually helps in two ways: the straps are less likely to show under a racerback top, and they are less likely to slide off narrow shoulders. In practice, I see the biggest improvement when the original problem is strap placement rather than overall bra fit.
It is also worth being realistic about the trade-off. Pulling the straps inward changes tension, and if the crossing point sits too high, the bra can start to tug at the neck. If the crossing point sits too low, the straps may still slip at the shoulder. The alteration should follow the body’s shape, not fight it. That is why I always decide on the method before I start cutting or stitching.
Once you understand what the geometry is doing, it becomes much easier to choose the right method for the bra you already own.
Choose the method that suits the bra and the outfit
There is no single best answer here. A one-off evening top calls for a different solution than a bra you want to wear twice a week. I usually narrow it down by asking how permanent the change should be, how much support the bra already has, and whether the bra has removable straps or built-in conversion hardware.
| Method | Best for | Skill level | Time | Typical UK cost | Main drawback |
|---|---|---|---|---|---|
| Built-in J-hook | Convertible bras already designed for a racerback pull | Very easy | Under 1 minute | £0 extra | Only works on compatible bras |
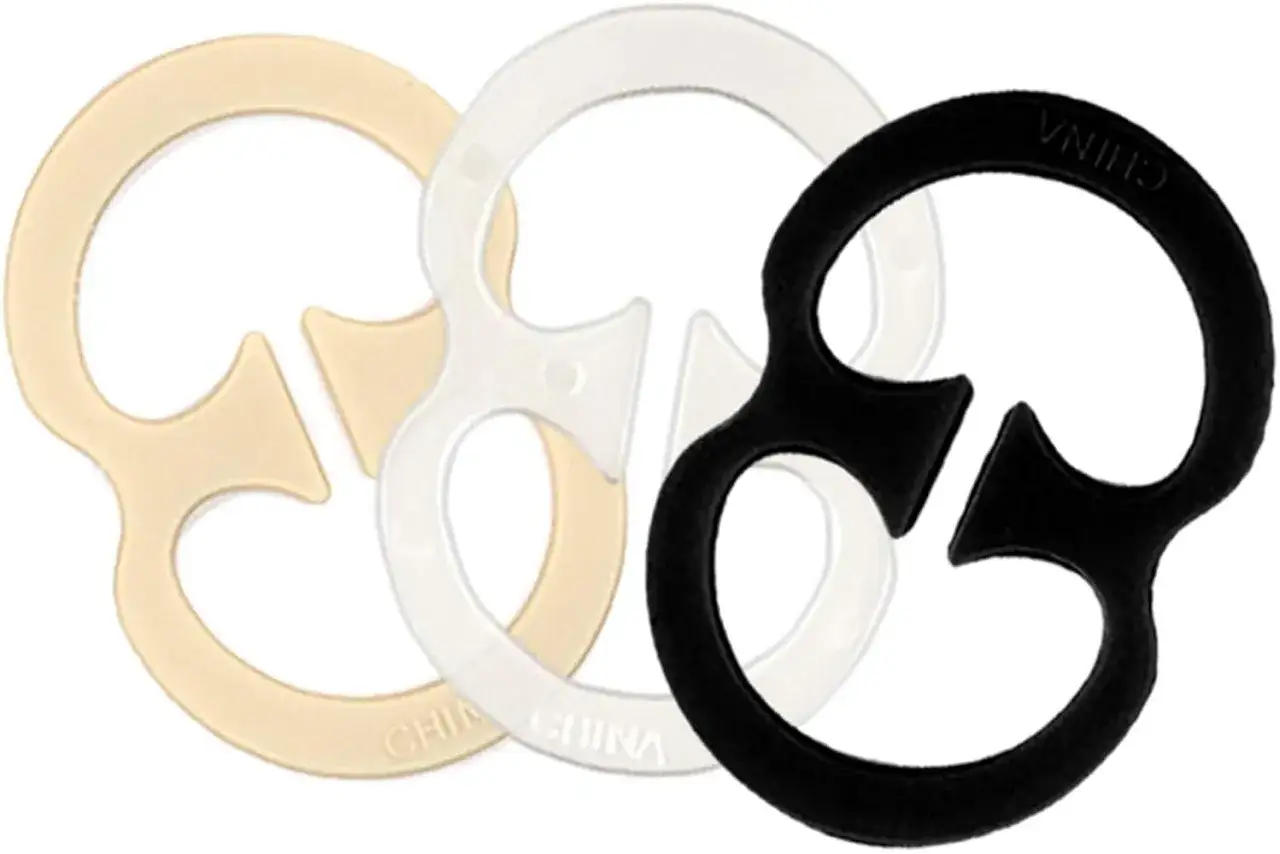
| Racerback clip | Quick everyday fixes and outfit changes | Easy | 1-2 minutes | About £3-£10 | Needs positioning so it does not dig into the neck |
| Sewn elastic loop or ring anchor | Bras you wear often and want to adjust with less bulk | Intermediate | 30-45 minutes | About £2-£6 in notions | Semi-permanent and harder to reverse neatly |
| Full strap relocation | Custom lingerie work or a bra you want to re-engineer | Confident intermediate | 45-90 minutes | About £5-£12 | More risk if the original strap placement was already balanced |
If the bra already fits well, I normally start with the least invasive option. A clip can tell you very quickly whether the cross-back shape improves the wear without forcing you into a permanent alteration. From there, the decision becomes much clearer.
The no-sew version I would try first
The simplest answer to how to criss cross bra straps is usually a racerback clip or the bra’s own J-hook. I would start here because it tells you, in a few seconds, whether the altered strap line actually solves the problem. If it feels wrong, you can remove it immediately and try a different height or a different bra.
- Put the bra on and adjust the straps to their normal tension first.
- Fasten the clip or hook at the back, keeping both straps flat and untwisted.
- Check that the clip sits between the shoulder blades, not high on the neck.
- Move the clip slightly lower if you feel neck pressure, or slightly higher if the straps still slide outward.
- Walk, raise your arms, and sit down before deciding it works.
This method is ideal when you need the shape for one top, one event, or one day of wear. It is less ideal if you keep having to readjust it, which usually means the bra needs a more permanent alteration or the band is not doing enough work on its own.
When the no-sew version feels close but not quite right, I move on to stitching only after I know the new strap geometry is actually worth keeping.
How to sew a permanent cross-back conversion
For a bra that you wear regularly, a sewn conversion can be cleaner than relying on a clip. I prefer this method when the straps are removable or when I can anchor them to a narrow, reinforced tab at the back. The key is to create a new load-bearing point without weakening the band.
Mark the new anchor points
Start by putting the bra on and deciding where the straps should meet. For many bodies, the best anchor point lands a few centimetres inward from the original strap tabs, but the exact spot depends on shoulder width, cup size, and the neckline of the garment you plan to wear. I always mark both sides symmetrically, because even a small mismatch can make the bra feel twisted.
Reinforce before you stitch
If the band fabric is stretchy, I add a small strip of power mesh or a narrow stabilising tab where the new strap load will sit. Power mesh is a firm, elastic lingerie fabric that helps spread tension instead of letting one stitch line take all the strain. This matters more than people think, especially on bras with lighter side bands.
Attach the hardware or new strap path
Use matching lingerie hardware where possible. For many bras, 10-12 mm rings or sliders work well, but the real rule is to match the original strap width rather than forcing a generic size. If you are creating a permanent cross-back shape, stitch the strap to the new anchor point with a narrow zigzag or a three-step zigzag, then reinforce it with a bar tack. A bar tack is a short, dense stitch bar that stops the fabric from tearing under pull.
Test the fit before trimming anything
I never trim away excess strap length until I have worn the altered bra for a few minutes. Raise your arms, twist slightly, and check whether the band stays level. If the bra rides up, the straps may be doing too much of the work and the band may need adjustment first. That is the moment when an alteration becomes a fitting problem, not just a sewing one.
Once the mechanics are right, the finishing is straightforward. That is where the materials matter more than the stitch count.
Materials, widths, and reinforcements that hold up
The neatest conversion often comes from surprisingly ordinary supplies. I keep the following on hand for lingerie alterations because they solve most of the fitting and durability problems before they start.
- Bra strap elastic in the same width as the original strap, usually around 10-15 mm for everyday bras.
- Rings, sliders, or a racerback clip that match that width, so the straps do not bunch or twist.
- Polyester thread, which copes better with tension than cotton thread in lingerie work.
- A stretch or ballpoint needle in size 75/11 or 80/12, depending on fabric weight.
- Power mesh or firm tricot for a stabilised anchor point on stretchy bands.
- A narrow zigzag or three-step zigzag stitch, which gives the seam enough give to move with the body.
Widths matter because too-narrow hardware can bite into the strap, while too-wide hardware creates slack and bulk. If you are unsure, match the original strap width first, then only size up if the fabric clearly needs more spread. That small choice often decides whether the result feels polished or homemade in a bad way.
With the right materials in place, the remaining problems are usually fitting mistakes, not construction mistakes.
The mistakes that make the bra less comfortable
Most bad results come from trying to force the shape instead of respecting the way the bra carries weight. I see the same errors repeatedly, and they are easy to avoid once you know what to watch for.
- Pulling the straps too tight and creating neck strain instead of lift.
- Setting the crossing point too high, which often makes the straps feel like they are climbing toward the throat.
- Using a band that is already too loose; a cross-back change will not fix a weak foundation.
- Choosing hardware that is too narrow, which concentrates pressure in one spot.
- Stitching through unstable fabric without reinforcement, which can tear after a few wears.
- Ignoring the cup shape, especially on moulded bras where the front structure is less forgiving.
If I had to pick the single biggest mistake, it would be treating the alteration as a decorative change rather than a support change. A cross-back can look tidy and still feel awful if the band, strap length, and anchor position are not working together.
That is why I like to finish with a simple decision rule instead of chasing perfection.
What I keep ready for the next alteration
If you alter bras regularly, a small kit saves time and makes the result more predictable. Mine would include a racerback clip, a few pairs of 10-12 mm rings or sliders, bra strap elastic, polyester thread, a stretch needle, and a scrap of power mesh for reinforcement. That covers temporary fixes, neat conversions, and the occasional repair when one side needs more support than the other.
My practical rule is simple: use a clip when you want speed and reversibility, sew when the bra already fits well and deserves a longer life, and do not expect the cross-back shape to compensate for a loose band or poor cup fit. If you keep those three decisions separate, the alteration stays clean and the bra stays wearable.
