
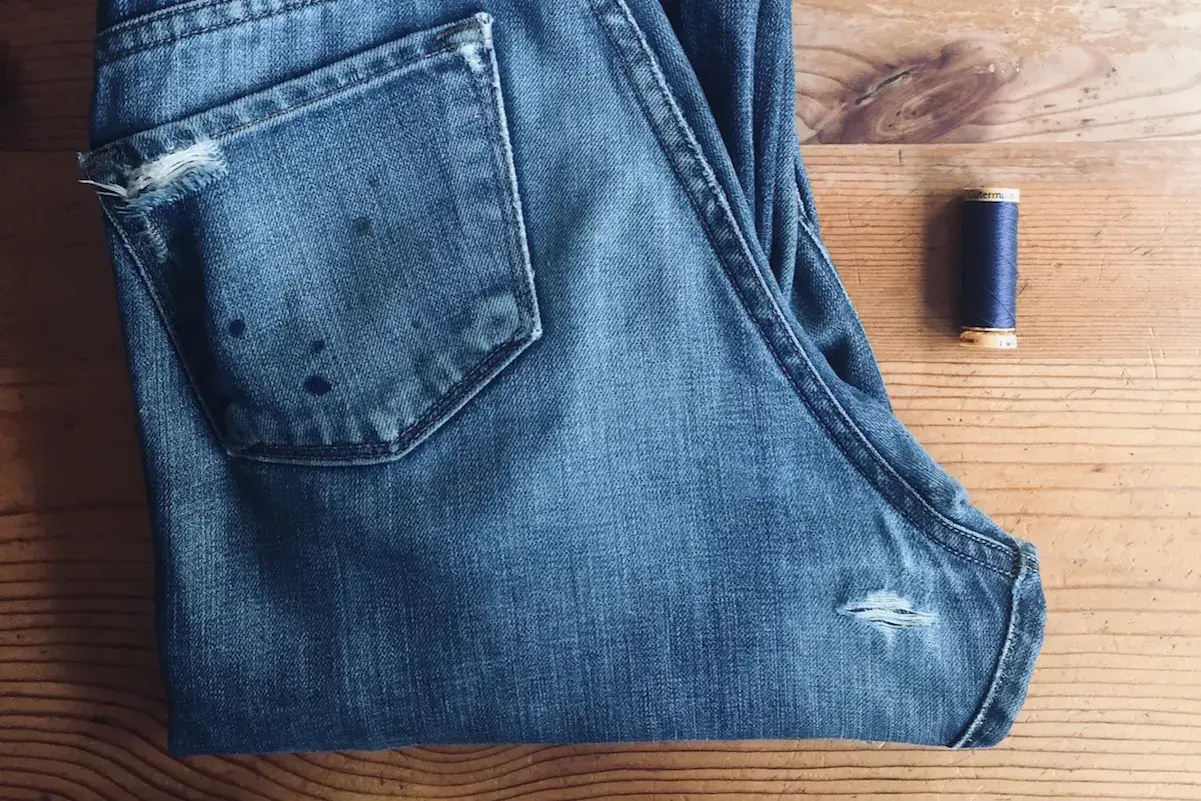
A torn knee, a frayed inner thigh, or a split pocket corner does not mean your jeans are finished. This guide shows how to patch jeans in a way that is strong enough to wear and neat enough to live with, whether you want the repair to disappear or become part of the design. I focus on the decisions that matter most: which patch method suits the damage, what tools make the work easier, and how to stop the mend from failing at the first hard wear.
The right patch is the one that matches the damage
- Trim loose threads and stabilise the tear before you sew.
- Cut the patch at least 2 cm larger than the hole on every side.
- Choose patch fabric with a similar weight to the denim so the repair sits naturally.
- Hand stitching works for small splits; machine patching is stronger for high-stress areas.
- Round the patch corners and press the edges flat to stop lifting and fraying.
Choose the repair that fits the damage
I never start by asking, “What is the prettiest fix?” I start by asking where the damage is and how much stress the area takes. A tiny split at the pocket edge needs a very different approach from a blowout at the inner thigh, and the wrong method usually fails because the fabric keeps moving against the repair.
As a rule, I treat small straight tears, frayed holes, and larger worn-through zones as separate jobs. The first can often be closed with stitching alone; the second benefits from a patch; the third usually needs reinforcement on both sides of the fabric.
| Type of damage | Best method | Look | Typical time | Typical cost |
|---|---|---|---|---|
| Small straight tear | Hand stitch or a tiny inside patch | Mostly invisible | 20-30 minutes | £0-£5 if you already have thread |
| Knee hole | Inside patch with topstitching | Subtle or decorative | 30-60 minutes | £0-£10 |
| Inner-thigh or crotch wear | Larger patch or panel repair | Usually visible at close range | 45-90 minutes | £5-£15 in supplies |
| Fashion-led repair | Visible mending or sashiko-style stitching | Intentional and graphic | 45-120 minutes | £0-£10 |
If you want a clean, low-bulk repair, I usually favour an inside patch for holes larger than about 3 cm across. If you want the mend to become part of the garment, visible stitching gives you much more control over the final look. Once you know the route, the next job is gathering the right tools and fabric so the mend behaves like the rest of the denim.
What I keep on the table before I start
The actual sewing is easier than most people expect. The preparation is what makes the difference between a patch that sits flat and one that puckers, peels, or feels stiff every time you sit down.
- Denim or closely woven cotton for the patch - old jeans, a hem offcut, or a sturdy cotton from the same weight range works best.
- Sharp fabric scissors - blunt scissors rough up the edge and make neat trimming harder.
- Pins or clips - useful for holding the patch in place before you sew.
- Chalk or a washable marker - for marking the cut line and stitch line.
- Strong needle and thread - polyester thread is durable; topstitch thread gives a more obvious finish.
- Sewing machine - optional for small fixes, but very useful for larger patches and stress points.
- Iron and pressing cloth - pressing keeps the patch edges crisp and easier to stitch.
- Seam ripper - only if the tear sits in or near a seam.
- Fusible web - a heat-activated adhesive sheet that can hold the patch in place before stitching.
If the jeans are stretch denim, I choose a patch with a little give or I keep the stitches slightly looser so the repair does not lock the fabric into one rigid shape. I also pre-wash any patch fabric that might shrink. With the kit sorted, the patch itself is just a sequence of small, careful moves.
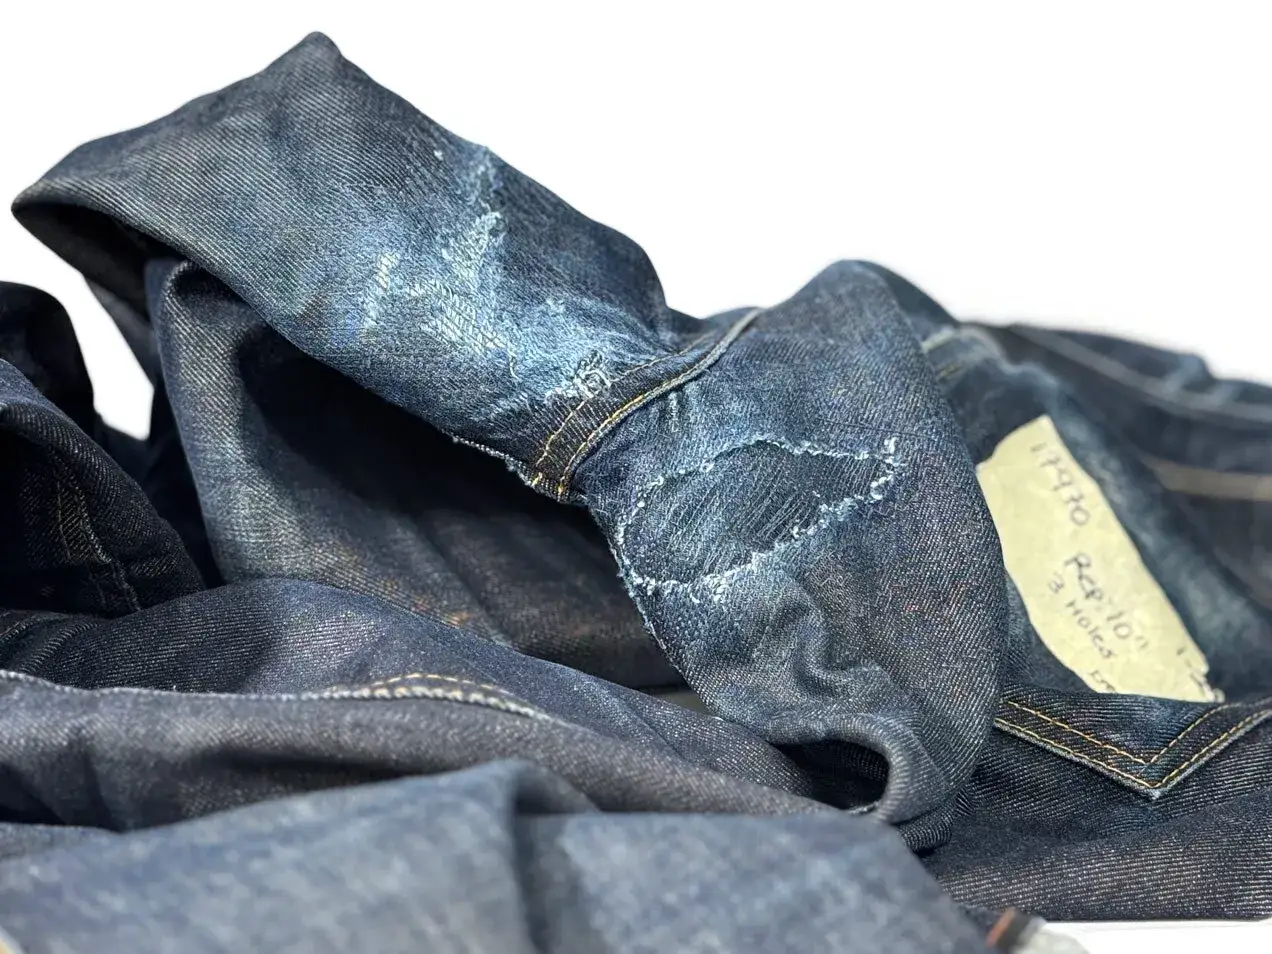
Patch the tear step by step
-
Wash, dry, and press the jeans first. Clean fabric is easier to handle, and pressing gives you a flat surface so the patch does not distort while you sew.
-
Trim only the worst loose threads. I do not cut back to weak denim unless the fraying is truly in the way, because over-trimming can make the hole larger.
-
Cut a patch that extends at least 2 cm beyond the tear on every side. Round the corners rather than leaving them square; curved corners are less likely to catch and lift.
-
Place the patch behind the hole for a quieter finish, or on the outside if you want the repair to show. If the damage sits in a seam, unpick only as much as you need to work comfortably, then resew the seam after patching.
-
Pin or baste the patch in place. Basting is a temporary line of stitches that stops the patch from shifting while you sew the final repair.
-
Sew around the patch first, then add rows across the weak area to spread the load. For denim, I usually start with a stitch length of about 3 mm on the machine, because very short stitches can perforate and stiffen the cloth.
-
Press the repair from the wrong side, check the thread tails, and test the fabric with a gentle bend before wearing it. If you have used fusible web or an iron-on patch, let it cool completely before the first proper wear.
That sequence works for most ordinary tears, but the finish still matters. A patch can be technically secure and still look clumsy if the edges are too bulky or the stitching fights the grain of the denim, so the next step is making the repair sit naturally.
Make the mend flatter and less obvious
Visibility is a design choice, but bulk is not. The flatter the repair, the more often the jeans will fold naturally instead of rubbing against the patch edge, and that is usually what decides whether the mend lasts.
- For an invisible repair, place the patch on the inside and match the thread to the denim as closely as you can. Stitch just outside the damaged area, then add support rows across the worn section.
- For a visible repair, use contrast thread or sashiko, a traditional Japanese running-stitch technique that turns reinforcement into a graphic line pattern.
- For stress zones like knees and inner thighs, spread the stitching beyond the original hole so the patch shares the load with the surrounding fabric.
- For bulky areas, trim the seam allowance on the patch itself, not the jeans, so you reduce thickness without weakening the garment.
- For stretch denim, avoid pulling the thread too tightly. A slightly softer tension keeps the repair flexible enough to move with the leg.
I also pay attention to stitch direction. Following the weave of the denim, rather than fighting it, usually gives a calmer finish and less puckering. The repairs that last are usually the ones that avoid a few predictable mistakes.
Common mistakes that make the patch fail early
Most bad repairs are not caused by bad sewing skills. They happen because the patch was too small, too thin, or placed without thinking about where the jeans actually flex.
- Making the patch too small - the tear reopens at the edge because the weakest point is still carrying the load.
- Using lightweight fabric on heavyweight denim - the patch moves differently from the jeans and the edge starts to flap.
- Skipping reinforcement on high-friction areas - knees, crotches, and pocket corners need more than one line of stitching.
- Relying on glue alone - adhesive can help hold things in place, but it rarely survives long-term abrasion by itself.
- Cutting away too much frayed fabric too early - stabilise first, trim second.
- Using very short stitches - they can punch the denim into a stiff strip and create a new failure line.
When the cloth around the tear is already paper-thin, I stop trying to hide the problem and think about a broader repair instead. That is the point where patching becomes less about convenience and more about whether the garment still has enough structure to justify saving.
Keep the next repair easier than the first
A good denim repair buys you time, but a little aftercare buys you even more. I like to treat the first patch as the start of a longer maintenance cycle rather than a one-off fix.
- Save hem offcuts, pocket scraps, and old denim legs for future patches.
- Check common wear zones before they fail completely, especially the inner thighs, knees, and pocket edges.
- Wash jeans inside out on a gentle cycle whenever possible, and avoid high-heat tumble drying if you want the fibres to stay calmer.
- Revisit the patch after the first few wears and add a second line of stitching if the edge begins to lift.
- If a pair fits you well, repair is often the better investment than replacement, especially when the damage is local rather than widespread.
For me, the best patch is the one you stop noticing in daily wear, even if you can still see the hand behind it. If you match the method to the damage, give the patch enough overlap, and finish the edges properly, most jeans are absolutely worth saving.
