
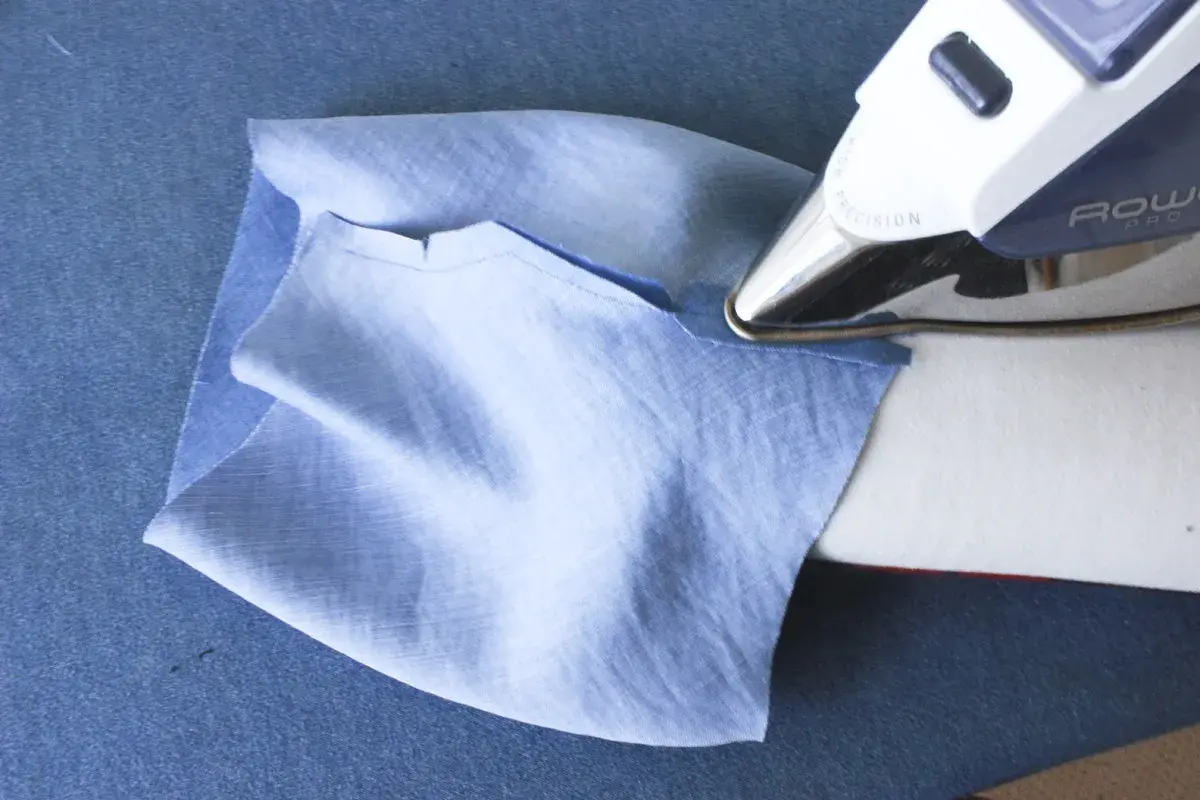
A folded cuff band does more than tidy the end of a sleeve. It controls shape, sets the final wrist width, and gives the garment a finish that looks deliberate rather than improvised. In this guide, I explain how to sew a folded cuff band to a sleeve, how to size the band properly, and how to keep the seam flat whether you are working with woven fabric or a stretch knit. I also cover the small mistakes that usually cause puckering, twisting, or a cuff that feels wrong on the arm.
What matters before you start sewing the cuff
- Use the pattern’s seam allowance unless you are redrafting the cuff from scratch.
- Mark both the cuff and the sleeve into quarters so the fit distributes evenly.
- Press the fold line first; it is the fastest way to keep the cuff symmetrical.
- Woven cuffs usually need a little ease or controlled gathering, while knit cuffs rely on stretch and recovery.
- Trim bulk before the final topstitch or stitch-in-the-ditch pass.
What a folded cuff band is doing on the sleeve
I treat a cuff as a small structural decision, not a decorative afterthought. A good cuff finishes the raw edge, sets the sleeve opening to the right width, and helps the garment sit neatly when the arm bends. If the cuff is too loose, the sleeve looks unfinished; if it is too tight, the wearer feels it every time the sleeve moves.
For a woven shirt or blouse, I usually want the band to hold its shape. For a casual knit top, I want the cuff to recover after stretching at the wrist. That difference matters because the fabric choice changes both the cut size and the way I sew the join.
| Option | Best for | What matters most |
|---|---|---|
| Folded woven cuff band | Shirts, blouses, dresses, structured sleeves | Stable fabric, accurate pressing, low bulk |
| Folded knit cuff band | Sweatshirts, joggers, casual tops | Stretch recovery and even tension |
| Simple turned-up hem | Light sleeves with little shaping | Speed, not structure |
Once that choice is clear, the next step is cutting a band that actually fits the sleeve opening instead of fighting it.
Cut and mark the cuff before it ever reaches the machine
For a folded cuff, I cut the rectangle at twice the finished depth plus seam allowances. If I want a finished cuff depth of 5 cm with 1 cm seam allowances, I cut the piece 12 cm tall. That gives me enough room for the fold and the seam without shrinking the cuff once it is pressed.
The length depends on the sleeve opening and the effect I want. As a starting point, I leave a little wearing ease in a woven cuff and use negative ease in a knit cuff. For ribbed cuffs, I often start around 75-85% of the sleeve opening; for a firmer self-fabric cuff, I move closer to 85-90% and test the recovery before I commit. Fabric stretch varies more than people expect, so I always check a scrap first if the cloth is unfamiliar.
- Mark the cuff seam line and the sleeve seam line before sewing.
- Add quarter marks to both pieces so the edge can be balanced quickly.
- Press the fold line into the cuff before attaching it to the sleeve.
- Fuse interfacing if the fabric is soft, loose-woven, or meant to hold a crisp shape.
- Keep the grain straight; an off-grain cuff will twist after pressing and wear.
With the pieces prepared properly, the stitching itself becomes much calmer and far more predictable.
Sew and attach the cuff in a controlled sequence
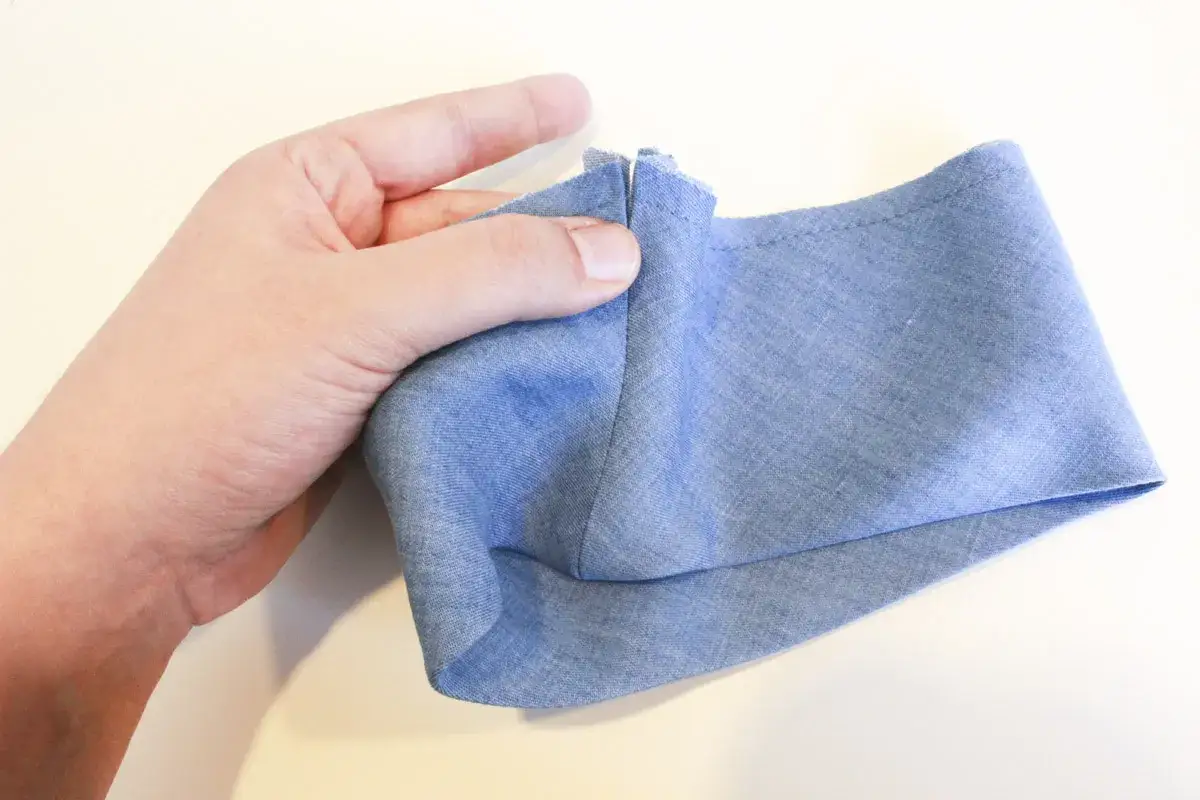
I always sew the cuff as a loop first, press it, and only then attach it to the sleeve. That order keeps the shape stable and makes it easier to see whether the cuff seam is sitting where I want it.
- Sew the short ends of the cuff together using the pattern seam allowance.
- Press that seam open or to one side, depending on how much bulk the fabric creates.
- Fold the cuff in half lengthwise, wrong sides together, and press the fold sharply.
- If the sleeve opening needs easing, run two rows of long basting stitches just inside the seam allowance and draw them up gently.
- Match the cuff seam to the sleeve seam, then align the quarter marks and pin or clip the edge.
- Sew around the sleeve opening with steady pressure, letting the feed dogs move the fabric rather than pulling it through.
- Press the seam toward the cuff or as the pattern instructs, then trim any excess bulk if the fabric is thick.
On slippery viscose or rayon, I slow down and pin more densely; on a stable cotton or sweatshirt fleece, I let the machine do more of the work. The real test now is whether the fullness is spread evenly all the way round.
Keep the fit even around the sleeve opening
This is the part that usually separates a tidy cuff from a sleeve that looks slightly off. I do not try to force the whole edge under the presser foot at once. Instead, I balance the fit first and sew only when the sleeve and cuff are behaving as one shape.
| Sleeve situation | Best approach | Why it works |
|---|---|---|
| Flat woven sleeve with a little easing | Quarter marks, firm pinning, and slow sewing | Keeps the fullness distributed evenly |
| Gathered or puffed sleeve | Two rows of basting and hand-distribution of gathers | Prevents one section from becoming bulky |
| Knit sleeve with a cuff band | Stretch the cuff slightly, not the sleeve | Preserves recovery and stops waviness |
If one section starts to look longer than the rest, I stop and adjust it immediately. Once the seam is stitched, unevenness is much harder to hide, and pressing can only do so much.
Choose the finish that looks right for the garment
The same cuff can look sporty, discreet, or dressy depending on how I finish the seam. I choose the finish based on fabric weight, how visible I want the stitching to be, and how much wear the sleeve will take.
| Finish | Look | Best use | Trade-off |
|---|---|---|---|
| Topstitching | Visible and deliberate | Denim, shirting, children’s wear | The line is obvious, so it has to be neat |
| Stitch in the ditch | Quiet and nearly invisible | Smart casual and cleaner garment finishes | It demands accurate stitching in the seam line |
| Hand slip-stitching | Very clean from the outside | Dressier garments or delicate fabrics | Slower, but worth it when visibility matters |
For a folded cuff band, I usually trim and grade the seam allowances before the final finish so the join does not build up into a ridge. On heavier fabric, that tiny reduction in bulk makes a bigger difference than an extra line of stitching ever will.
Fix the problems before they become permanent
Most cuff problems show up early if I know what to look for. The good news is that the fix is usually simple once the cause is clear.
- The cuff twists after pressing. The band was likely cut off-grain or the seam was not aligned carefully. Recheck the grain line before recutting.
- The seam puckers in one place. The sleeve opening was probably eased unevenly. Add quarter marks and baste next time.
- The cuff feels tight on the wrist. The band is too short or the fabric lacks recovery. Add 0.5-1 cm of ease, or switch to a firmer knit or ribbing.
- The cuff droops or flares. The band is too long, too soft, or not supported well enough. Shorten it slightly or interface it.
- The join looks bulky. The seam allowances were left too heavy. Grade them, press again, and use less fabric in the inner layer.
I find it much easier to correct these problems at the cutting or basting stage than to rescue them with the iron after the cuff is finished. That is why I keep the last section as much about pressing and wear tests as about sewing.
The details that keep the cuff looking sharp after washing
When I want a cuff to stay crisp, I press it flat from both sides, let it cool on the board, and check the sleeve with the arm bent, not just lying flat. That last check matters because a cuff can look perfect on the table and still sit awkwardly in real wear.
I also like to sew the two sleeves as matching pairs before I do the final visible finish, especially on a garment where symmetry matters. It keeps both cuffs consistent in width, topstitching placement, and overall shape. In practice, that is what makes the difference between a sleeve finish that merely works and one that looks carefully made.
If you keep the grain straight, the marks accurate, and the sewing calm, the cuff will do its job without drawing attention to itself, which is exactly what the best garment finishes should do.
