
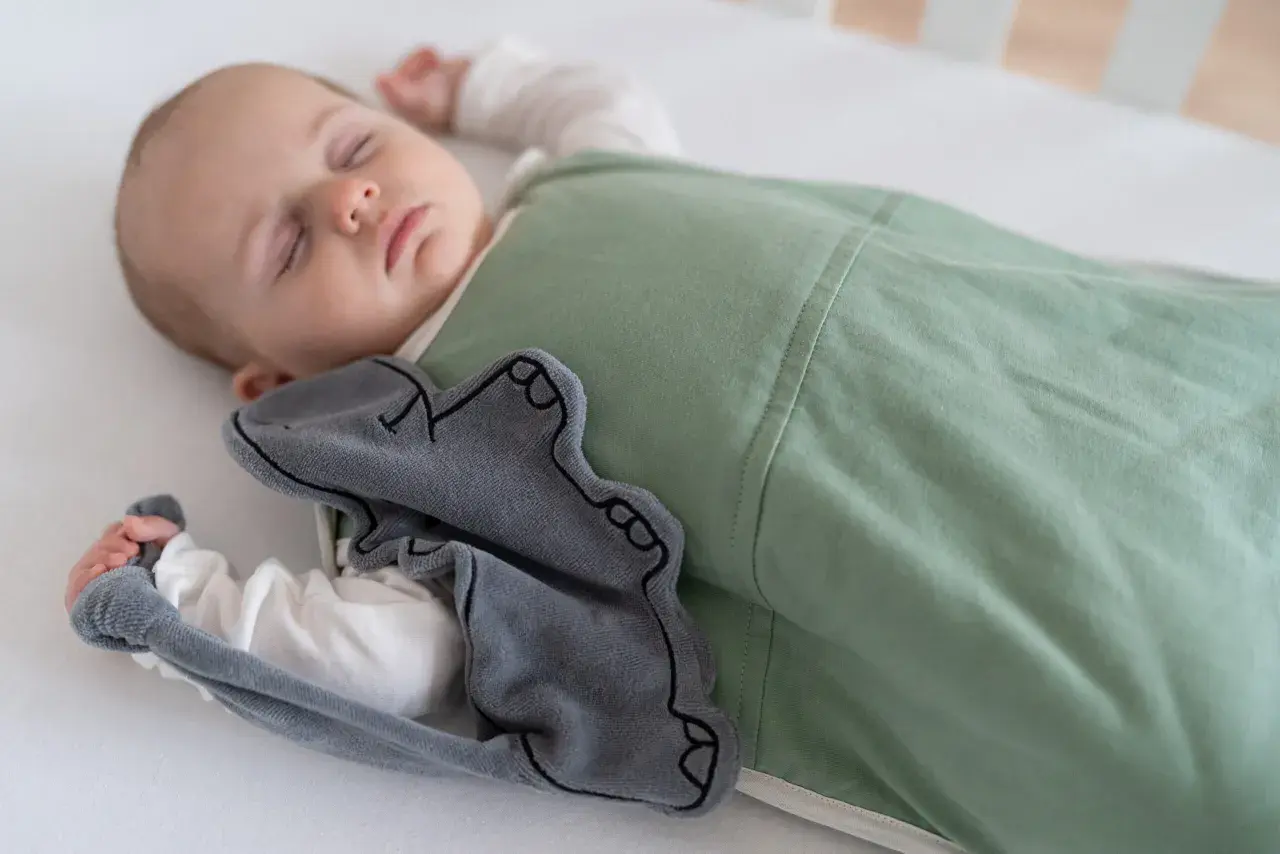
Handmade baby clothes work best when they are soft, simple, and easy to wash. If you want a practical answer to how to make baby clothes, start with comfort and safety rather than decoration. In the sections below, I walk through the fabrics, patterns, closures, sizing, and finishing details that make the difference between a cute one-off and a garment that gets worn repeatedly.
What matters most when sewing for babies
- Start with simple shapes such as bibs, leggings, kimono tops, or a basic romper.
- Choose soft, washable fabrics with a little stretch where movement matters most.
- Prewash and press everything before cutting, because baby garments need to survive frequent washing.
- Keep necklines easy to dress and avoid cords, ties, or loose trims.
- Measure for fit, not just age labels, because baby sizing varies widely.
Start with a project that suits a baby, not your ambition
Baby sewing is forgiving only when the garment shape is forgiving. I usually recommend beginning with items that are small, useful, and low-risk: bibs, leggings, kimono tops, simple rompers, or a soft vest-style layer. These projects teach you the real mechanics of infant sewing without burying you in tiny facings or complicated set-in sleeves.What I avoid at the start are anything stiff, heavily tailored, or full of tiny decorative pieces. Newborns do not need structure; they need movement, softness, and an opening that does not fight you when you are dressing them at 3 a.m.
| Project | Why it works | Skill level | Best use |
|---|---|---|---|
| Bibs | Small, quick, and useful | Beginner | Great for practising topstitching and binding |
| Leggings or bloomers | Elastic waist, few pieces, forgiving fit | Beginner | Good for learning knit handling |
| Kimono top | Easy neck opening and simple assembly | Beginner to early intermediate | Useful for newborns who dislike over-the-head dressing |
| Simple romper | Complete garment that still feels practical | Early intermediate | Best when you want one piece that covers a lot of use |
Once you have a shape that makes sense, the fabric choice becomes the part that either helps the garment behave or makes every other step harder.
Choose fabrics and notions that feel good on delicate skin
I keep the fabric rules simple: choose something soft, washable, breathable, and predictable under the machine. Cotton jersey, interlock, French terry, brushed cotton, and double gauze all work well in different ways, but the right choice depends on whether the garment needs stretch, drape, or a little structure.
For infants, I am conservative with trims. Scratchy lace, bulky appliqués, rigid interfacing, and anything that leaves a rough underside tend to become more annoying than charming once the garment has been washed a few times. A pretty finish that irritates the skin is not a good finish.
| Fabric | Best for | Why I like it | Watch out for |
|---|---|---|---|
| Cotton jersey | Bodysuits, leggings, tops | Soft, breathable, and stretchy | It can curl at the cut edge and stretch out while sewing |
| Interlock | Sleepers, tops, basic layers | Stable knit with a smooth feel | Can be warm for summer makes |
| French terry | Joggers, sweatshirts, cosy layers | Comfortable with enough body to hold shape | Too bulky for very tiny seams if the fabric is heavy |
| Double gauze | Summer tops, dresses, light layers | Airy and gentle after washing | Shrinks and frays, so prewash and finish edges carefully |
| Brushed cotton or flannel | Pyjamas, winter layers, wraps | Warm and soft against the skin | Can pill or become bulky if the garment is too fitted |
Prewash before cutting. That sounds basic, but it matters more with baby clothes than almost anywhere else, because you are trying to control shrinkage and remove excess finish before the garment is made up. I also keep a ballpoint or stretch needle on hand for knits, which slips between the fibres instead of piercing them, plus polyester thread for strength and washability.
When the fabric behaves, cutting and sewing become much easier, which is where the practical build starts.
Cut, sew, and finish the garment in the right order
I like a calm, repeatable workflow for baby garments. It keeps tiny pieces under control and reduces the number of times I have to unpick stitches that should have stayed where they were.
- Trace or print the pattern in the correct size and check the measurement chart, not just the age label.
- Mark notches, grainline, and fold lines before you cut. Tiny pattern pieces are unforgiving if you skip this.
- Cut accurately with sharp scissors or a rotary cutter. Small errors add up fast on baby garments.
- Stay-stitch curved or stretchy edges if the pattern calls for it. This keeps necklines from growing while you sew.
- Sew with the right stitch for the fabric: a straight stitch for stable wovens, a stretch or narrow zigzag stitch for knits. An overlocker trims and finishes seams in one pass, but a regular machine is fine if you do not have one.
- Press every seam as you go. For baby sewing, pressing is not cosmetic; it helps the garment sit flat and wear better.
- Hem last, then check for loose threads, raw edges, or rough seam allowances that could rub.
That workflow keeps the project tidy from the first cut to the final press, and it sets you up to think about safety details before the garment is finished.
Build safety into every seam and closure
This is the part I treat as non-negotiable. According to GOV.UK guidance, garments intended for young children should not have drawstrings or functional cords in the head, neck, or upper chest area, and decorative cords near the neck are not something I would put on baby clothing at all. I would also avoid ties, dangling bows, loose toggles, and anything that can be pulled into a baby’s mouth or wrapped around the body.
Instead, I favour:
- Envelope or lapped necklines that open wide enough for easy dressing.
- Shoulder snaps or press studs that are well secured and easy to fasten.
- Flat embroidery or printed motifs instead of bulky appliqués.
- Soft seam finishes that sit flat against the skin.
- Close-fitting sleepwear designs with no decorative extras if the garment is meant for night use.
| Detail | Safer choice | Why it works |
|---|---|---|
| Neck opening | Envelope, lapped, or shoulder-fastened | Easier to get over the head without forcing the fabric |
| Fastening | Snaps or press studs sewn and checked carefully | Low bulk and practical for frequent dressing |
| Decoration | Flat stitching, embroidery, or print | Less risk of choking or snagging |
| Waist and hems | Soft elastic or a gentle band | Comfortable without digging in |
If you are making pieces to sell in the UK, fibre-content labelling matters too: GOV.UK says textile labels must show the fibre content, including mixed components. Even when I am sewing for family, I still think like a maker who wants the garment to be understood, washed correctly, and worn safely.
Once the garment is safe to wear, the next thing that determines whether it gets used or abandoned is fit.
Fit the garment for movement and growth
Baby sizing labels are only a starting point. Two babies who wear the same age label can have very different lengths, shoulder widths, and tummy room, so I measure the child when I can and compare those measurements to the pattern pieces. The areas that matter most are the neck opening, shoulder width, sleeve length, torso length, and room around the nappy.
For close-fitting styles, I make a quick toile, which is a test version in similar fabric, before I cut the final cloth. A toile sounds fussy, but it saves disappointment when a neckline is too tight or a romper rides up because the crotch depth is off. For looser pieces, I still compare the pattern to a garment the baby already wears well; that gives me a reality check that size charts do not always provide.
- Necklines should pass over the head comfortably without gaping.
- Torso length should allow for a nappy without pulling at the shoulders.
- Sleeves should allow movement without covering the hands all the time.
- Leg openings should sit comfortably without twisting the elastic.
The rule I follow is simple: build for movement first, then add style. If the garment is comfortable to lift, wriggle in, and wash, it will be worn more often.
The mistakes I would avoid on a first baby garment
Most beginner problems are not sewing failures; they are planning failures. A beautiful fabric can still become an awkward garment if it stretches out of shape, if the neckline is too small, or if the design has more decoration than practical use.
- Choosing slippery, scratchy, or high-maintenance fabric for a first make.
- Using ordinary straight stitching on a fabric that needs stretch.
- Overcrowding the garment with buttons, bows, or appliqués.
- Skipping the prewash and then discovering the finished piece shrank.
- Ignoring seam finish, which leaves scratchy edges inside the garment.
- Forgetting that babies need room for movement, nappies, and being lifted.
I also see people overcompensate by making clothes far too large. That sounds sensible, but oversized baby clothes can twist around the body, ride up, or become inconvenient for carers. A slightly generous fit is useful; a sloppy fit usually is not.
Once those traps are out of the way, the last step is less about technique and more about how you want the finished piece to live in real life.
Keep the next make simpler, not more complicated
The best baby garments are usually the ones that are easy to repeat. I keep notes on what worked: which size fit best, how much elastic felt right, whether the neckline opened widely enough, and which fabric washed back into shape without fuss. That habit turns one successful project into a reliable pattern you can use again.
If I am making a gift, I also think about the whole life of the garment: does it wash well, can it be dressed one-handed, and will it still look neat after a dozen cycles in the machine? Those are the details that matter once the sweetness of the first fitting has passed.
For me, the cleanest rule is this: start small, keep the finish soft, and make every choice easier for the baby and the adult who has to dress them. That is what turns handmade baby clothing from a clever idea into something genuinely useful.
