
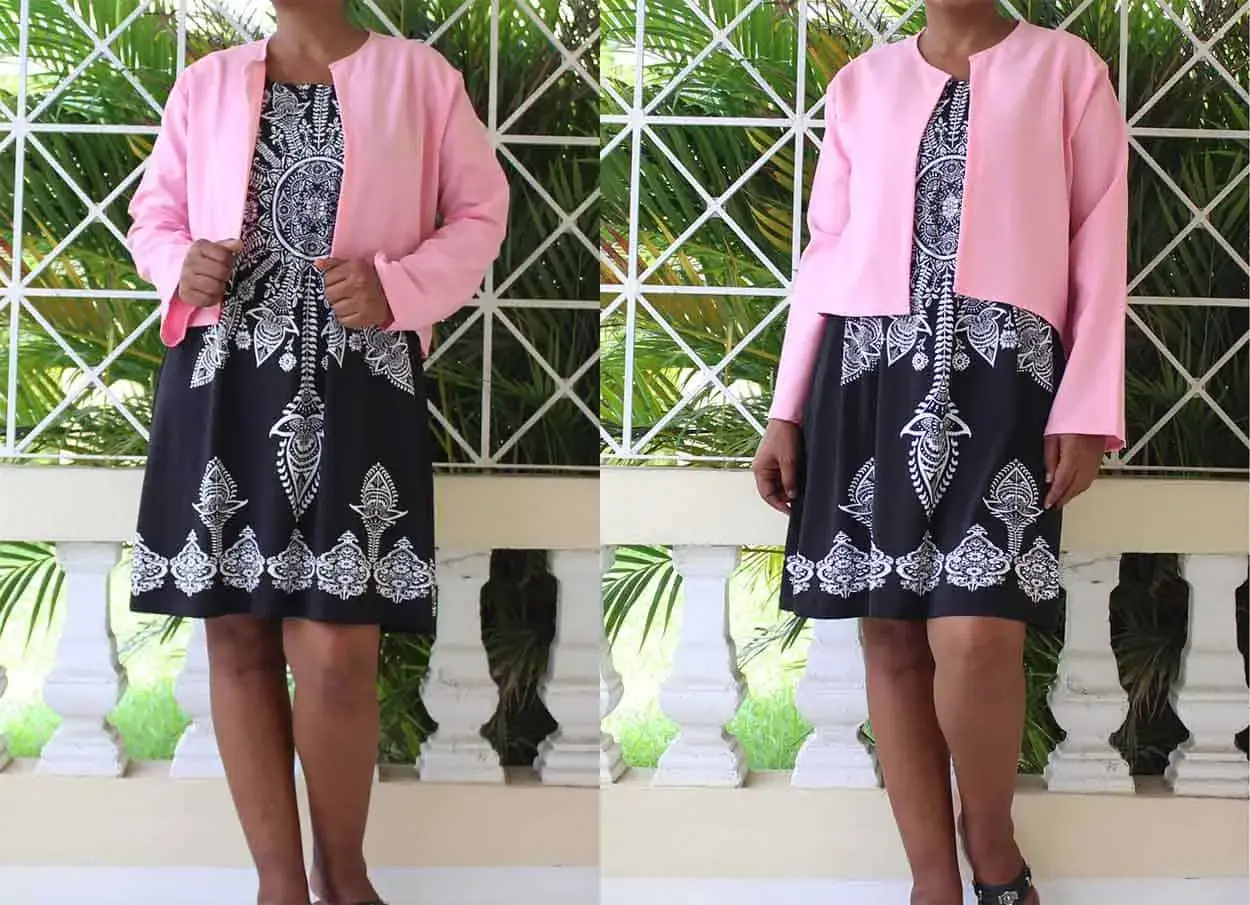
Learning how to make a cardigan is easier when you treat it as a sequence of small, technical choices rather than one big sewing project. The fit has to sit comfortably across the shoulders, the fabric needs enough recovery to keep the front opening tidy, and the finishing has to stop the edges from stretching out over time. In the sections below, I’ll walk through the decisions that matter most, then show the construction order I trust for a clean result at home.
A cardigan works best when shape, stretch, and finishing support each other
- Choose the cardigan style first: open-front, button-through, wrap, cropped, or longline.
- Use a knit with good recovery, not just softness or drape.
- For most adult sizes, plan on roughly 1.5-2.5 m of 150 cm wide fabric, plus 0.2-0.5 m for bands or ribbing.
- Stabilise shoulders and openings with stay tape, clear elastic, or fusible knit interfacing.
- Sew with a ballpoint or stretch needle and test your stitch on scraps before touching the garment pieces.
Start with the cardigan shape you actually want to wear
I always start with silhouette, not fabric. An open-front cardigan, a button-through style, a wrap version, and a longline layer all demand different amounts of support at the front edge, and that changes the pattern choice as well as the cloth. Most handmade cardigans are built from knit fabric rather than woven cloth, because the garment needs stretch and recovery across the body; if you want a woven cardigan-like jacket, I would treat it as a light jacket, not the classic knit project.
For first-time sewists, a tested pattern is the fastest route. It gives you the neckline depth, front opening, sleeve balance, and seam allowances that make knit garments behave. If you are between sizes, I would rather you fit the shoulders and upper chest first and leave a little extra through the body than the other way around.
| Style | Best for | Why it works | What to watch |
|---|---|---|---|
| Open-front | Relaxed layering | Simplest construction and no closures | The front edge can grow if it is not stabilised |
| Button-through | Classic wardrobe pieces | Looks neat and wears well with trousers or skirts | The button band needs interfacing and careful spacing |
| Wrap | A softer, more shaped silhouette | Flattering and adjustable at the waist | The neckline can gape if the cut is too loose |
| Cropped | High-waisted outfits | Less fabric and a quicker sew | Hem tension matters more because the edge sits higher on the body |
| Longline | Extra warmth and drape | Very wearable in cosy knits | Heavy cloth can drag at the shoulders |
If you are drafting from scratch, the one mistake I see most often is making the front opening too narrow. A cardigan needs enough room for the front edges or bands to sit flat, so do not shrink the centre front just because it looks tidy on paper. Once that silhouette is right, the fabric choice becomes much easier.
Once the shape is clear, the fabric question becomes much easier to solve.
Choose knit fabric with enough recovery to hold the opening
I do not trust a beautiful knit that stretches once and stays there. Recovery means the fabric springs back after being stretched, and it matters as much as softness or colour. For cardigans, I usually want a stable knit with enough body to support the front opening, not something so drapey that the garment collapses by lunchtime.
| Fabric | Feel | Best use | My caution |
|---|---|---|---|
| Ponte di Roma | Stable, smooth, and slightly substantial | Structured everyday cardigans | Can feel bulky at seam intersections |
| Interlock | Soft with moderate stretch | Neat, comfortable layers | Less drape than some people expect |
| French terry | Casual and breathable | Sweatshirt-style cardigans | Can look thick if you stack too many layers |
| Sweater knit | Cosy and varied, from lofty to fine | Softer, more relaxed cardigans | Test recovery before you cut anything |
| Rib knit | Very stretchy with strong snap-back | Bands, cuffs, and necklines | Too much stretch can wave if the edge is not stabilised |
For a practical fabric estimate, I plan roughly 1.2-1.5 m for a cropped cardigan, 1.6-2.1 m for a hip-length version, and 2.2-2.8 m for a longline or oversized style, assuming 150 cm wide fabric. Add about 0.2-0.5 m for bands, ribbing, or cuffs, and allow more if your fabric is narrower. In UK shops, knit fabric is usually sold by the metre, so a little extra margin is easier than trying to match a short cut later.
I also prewash and dry the fabric the way I plan to wash the finished garment. Knit fabrics relax, shrink, and sometimes twist slightly after washing, and a cardigan is too much work to leave that to chance. A quick 10 cm stretch test tells you a lot: stretch the swatch a few times, let it rest, and if it does not spring back cleanly, I would not use it for the front edges.
With the right cloth chosen, the cutting and stabilising stage decides whether the pieces behave on the machine.
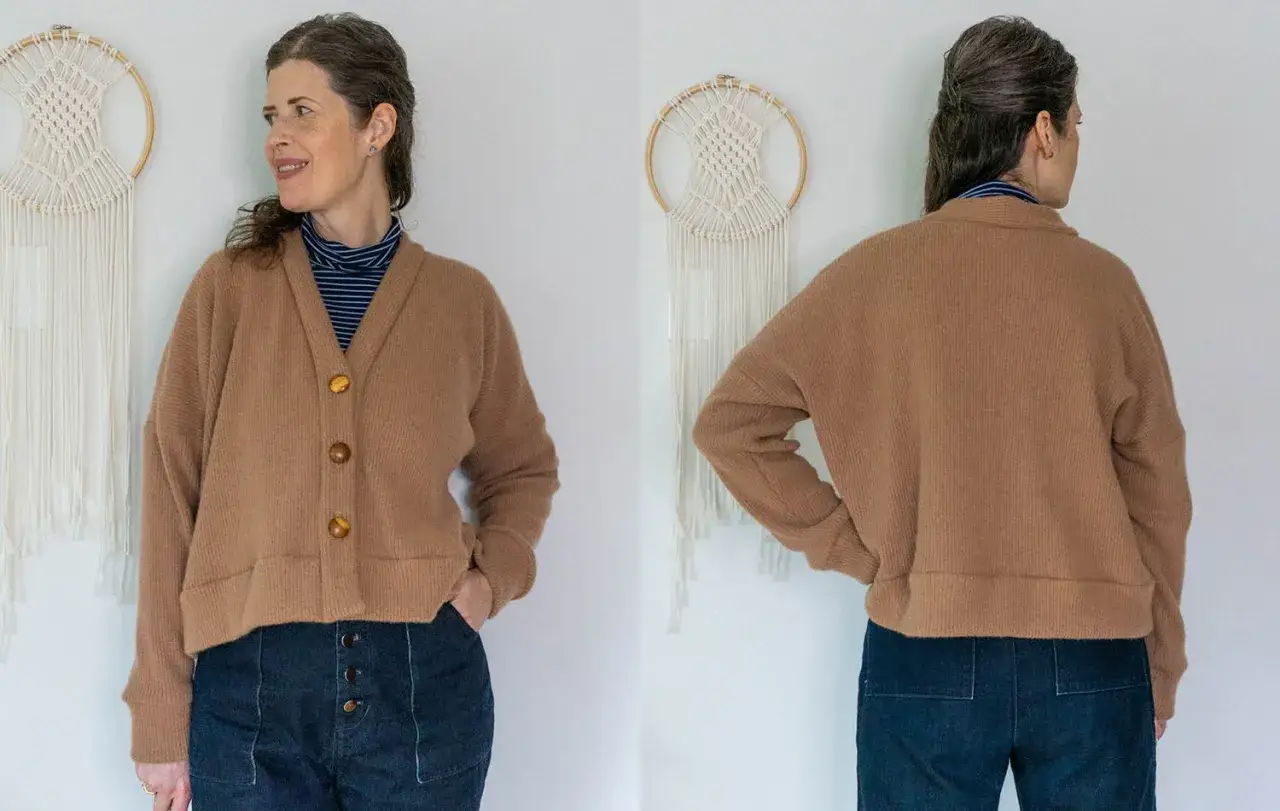
Cut and stabilise the pieces before you sew anything
The right tools make knit sewing noticeably less frustrating. I keep the setup simple: a ballpoint or stretch needle in size 75/11 or 80/12, polyester thread, clips or fine pins, a rotary cutter if the fabric likes to curl, and a walking foot if I am sewing on a regular machine. A walking foot helps feed the layers evenly, which matters when the front band or shoulder seam needs to stay flat.- Use a ballpoint or stretch needle so the point slips between knit loops instead of piercing and damaging them.
- Use polyester thread because it has a little give and usually behaves better on stretch seams than a brittle thread.
- Stabilise shoulders, necklines, and front openings with clear elastic, stay tape, or narrow fusible knit interfacing.
- Cut one layer at a time if the knit is slippery, heavily patterned, or prone to distortion.
- Mark the notches, shoulder points, and centre front before you move the fabric off the table.
Stay tape is simply a narrow stabilising strip that prevents growth; it can be bought ready-made or cut from interfacing scraps. I use it on shoulder seams and anywhere the garment is likely to hang from its own weight. If the pattern includes a facing, I also interface that piece before it ever reaches the machine, because a soft facing without support usually curls.
Before I sew the garment, I test the stitch on two scraps placed together, not one. A single layer can hide puckering that appears as soon as the seam gets joined and stretched. Once the pieces are cut and marked, the sewing order becomes straightforward.
Sew the body and sleeves in a sequence that keeps the knit flat
The cleanest construction order is usually shoulders, stabilising, sleeves, side seams, then hems. Raglan and drop-shoulder cardigans shift the order a little, but the principle stays the same: close the seams that carry the most stress only after the fabric is controlled. For the seams themselves, I usually sew with a narrow zigzag, a stretch stitch, or an overlocker, and I keep the stitch length around 2.5-3 mm when I am on a standard machine.
- Sew the shoulder seams first and press them flat without stretching them.
- Stabilise the neckline and front edge if the pattern asks for it, or if the fabric feels soft and unstable.
- Attach the sleeves while the garment is still open if the pattern allows it; this often gives a cleaner result than wrestling with a closed armhole.
- Close the side seams and sleeve seams in one continuous pass where possible.
- Trim or grade bulky seam allowances so the inside does not become heavy at the underarm or shoulder.
- Press each seam as soon as it is sewn, then let it cool flat before you move on.
I do not pull the fabric through the machine. I let the feed dogs do the work, because tugging is the quickest way to stretch a cardigan out of shape before it is even finished. If the pattern has a set-in sleeve, I sew the shoulder seams first and attach the sleeve next; if it is raglan, the exact sequence changes, but the logic remains the same: support the opening before you close the body.
After the shell is assembled, the front edge and closure are what make the cardigan look intentional rather than unfinished.
Finish the front edges, bands, and closures so they sit neatly
Front edges are where cardigan projects either look polished or start to wander. I usually choose between a facing and a band. Facings give a cleaner inside finish and can suit a lighter or more tailored cardigan, while bands are easier on stable knits and often hold a button line better. If I am using a facing, I understitch it; understitching means stitching the seam allowance to the facing so it rolls to the inside instead of peeking out.
For a band, I want the strip to be slightly shorter than the opening it is attached to. As a starting point, I often aim for about 85-90% of the neckline or front edge length, then test the fit with basting before I commit. That number is not magic, because recovery changes everything, but it gives a sensible starting point. A band that is too long will ripple; one that is too short will pull the front edge inward and distort the opening.For a button-through cardigan, I stabilise the button band with fusible knit interfacing cut to the finished band width. I place the top button about 2-3 cm below the neckline, leave the last button above the hem, and space the rest evenly between them. For a hip-length cardigan, that usually means 4-6 buttons; for a longer style, 6-8 is more realistic. Press studs can work beautifully on casual knits and children’s cardigans, but they still need a reinforced band or they will start to strain the fabric around each fastener.
A little topstitching also helps. I usually topstitch 2-3 mm from the edge if the fabric can handle it, because that flatters the seam and keeps the facing or band from rolling. Once those edges are stable, the difference between an ordinary cardigan and one you reach for constantly comes down to fitting and pressing.
The little fixes that stop a good cardigan from going wavy
| Problem | What usually caused it | What I would do next time |
|---|---|---|
| Wavy front edge | The band was too long or the fabric was stretched during stitching | Shorten the band slightly and stabilise the edge before sewing |
| Gaping neckline | The neckline was cut too deep or the neckband lacked recovery | Redraw the neckline a little higher and use a firmer band fabric |
| Shoulders that droop | No stabilisation or too much weight hanging from the seam | Add stay tape or clear elastic at the shoulder seam |
| Bulky seams | Thick fabric plus full seam allowances at stress points | Grade the layers and press them with care |
| Puckered buttonholes | The band was not interfaced or the stitch length was too aggressive | Interface the band and test the buttonhole settings on scraps |
Pressing is not optional; it is how a cardigan becomes crisp enough to wear with trousers or a skirt rather than look like lounge wear. I press the seam, then press from the right side with a pressing cloth, then let the area cool flat before I move it. That extra pause matters more than a lot of decorative topstitching, especially around the neckline and front opening.
Once the garment is stable and pressed, the last job is keeping it that way after the first few wears.
The habits that keep a handmade cardigan in rotation
- Trim loose threads early, before they work their way back through the seam.
- Sew a spare button to the inside seam so you are not hunting for a replacement later.
- Wash the cardigan gently, or by hand if the knit is delicate or loosely constructed.
- Dry it flat rather than hanging it, especially if the fabric is medium to heavy.
- Use a fabric shaver lightly on sweater knits if pilling starts to appear.
The handmade cardigans I keep reaching for are not the most complicated ones; they are the ones where the front edge is stable, the shoulders are supported, and the finishing was handled with patience. If you remember only one thing, let it be this: choose a knit with recovery, stabilise the stress points, and press as you go. That is the difference between a cardigan that looks sewn and a cardigan that looks properly made.
