
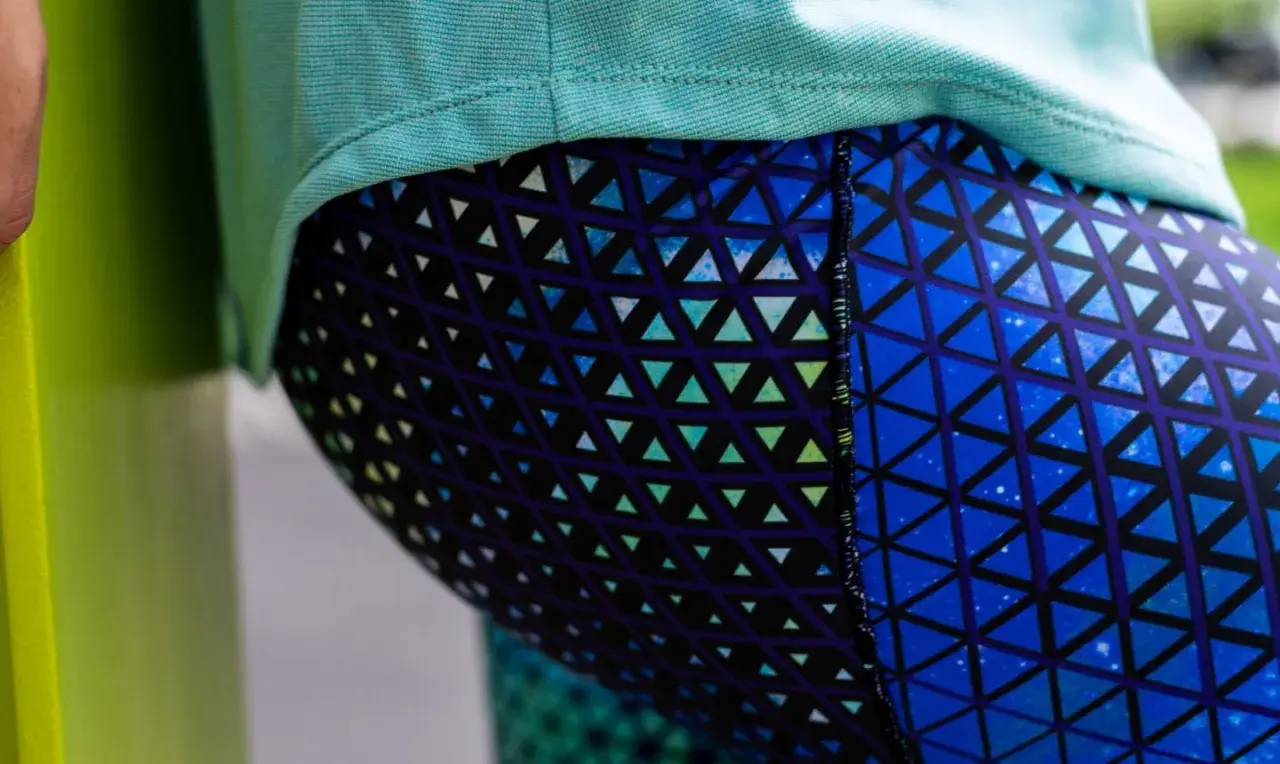
Leggings are one of those garments where the fabric does half the work, but only if the rest of the construction is handled properly. I’ve written this guide to show how to sew leggings in a way that gives you a wearable pair, not just a stitched-together experiment. You’ll find the fabric choices, measuring decisions, seam methods, waistband options, and fit fixes that actually make a difference.
The essentials before you cut
- Choose a 4-way stretch knit with good recovery; test both stretch and opacity before cutting.
- For a standard adult pair, about 1.6-1.8 m of 150 cm wide fabric is a realistic starting point, but the pattern should decide the final amount.
- A stretch or ballpoint needle, polyester thread, and a narrow zigzag or overlocker are the safest basics.
- Leggings depend on negative ease, so the finished garment should be smaller than the body measurement and still move comfortably.
- Quarter-mark the waistband elastic and the garment so the fit stays even all the way round.
Choose a fabric that stretches and recovers well
My first rule is simple: treat leggings like a stretch trouser, not a woven trouser. The fabric must stretch with the body and then recover, otherwise the knees bag out, the waistband slides, or the fabric goes sheer at the wrong moment. I test stretch by marking 10 cm on the fabric, stretching it gently, and checking the new length: 15 cm is about 50% stretch, while 17 cm is about 70% stretch.
For everyday leggings, I want a knit with decent recovery and enough opacity to pass a real-life squat test. For activewear, I’m stricter: the fabric should spring back quickly and hold its shape after movement. If the fabric feels soft but weak, it may still make lounge leggings, but it will not behave like a proper pair of trousers for regular wear.
| Fabric | Best for | Why I use it | Watch-outs |
|---|---|---|---|
| Cotton Lycra or cotton elastane | Everyday or kids’ leggings | Comfortable, familiar, and easier to sew than slick performance fabrics | Can bag at the knees if recovery is poor |
| Sports Lycra or polyester elastane | Workout, dance, cycling, fitted activewear | Usually better recovery and a cleaner shape under movement | More slippery to cut and sew, especially on a beginner machine |
| Viscose or bamboo jersey with elastane | Soft lounge leggings | Drapey and comfortable against the skin | Can grow with wear if the recovery is weak |
| Brushed ponte or heavier stretch knit | Colder weather, smarter casual leggings | More structure and coverage than a thin jersey | Feels less like classic leggings, so the fit needs checking |
Fabric label names can be misleading, so I judge the cloth by how it behaves rather than by the marketing copy. Once the fabric passes that test, the next decision is whether you work from a pattern, a traced pair, or your own draft.
Decide whether to use a pattern, trace a pair, or draft your own
Leggings rely on negative ease, which simply means the finished garment is smaller than the body measurement so the stretch does the fitting. If that sounds intimidating, it isn’t: it just means you should measure waist, hip, and inseam carefully before cutting and not assume your usual dress size will be right in a knit fabric.
| Method | Best for | Strength | Weak point |
|---|---|---|---|
| Commercial pattern | Beginners and anyone who wants the safest route | Gives you a tested shape, seam allowance, and construction order | You still need the right size for your fabric’s stretch |
| Tracing a favourite pair | When you already own leggings that fit well | Fast and very practical if the original pair still holds its shape | A baggy old pair will give you a baggy new pair |
| Self-drafting | Custom fit, unusual proportions, or a specific style | Lets you adjust rise, leg length, and waistband height exactly | Needs a test version if you want accuracy |
If I’m tracing a pair, I only use one that still fits cleanly at the knees and waist. A stretched-out pair gives you a false pattern, and leggings are unforgiving in that way. Once the shape is sorted, the cutting stage becomes much less risky.
Cut the fabric with stretch in mind
I prewash, dry, and press the fabric exactly as I intend to care for the finished leggings. Knits can shrink or relax, and cutting before that happens is the fastest way to get a pair that changes size after the first wash. I also let the cloth rest flat for a while after washing if it feels particularly relaxed or drapey.
Cutting is where a lot of beginners lose control, so I slow down here. A rotary cutter, pattern weights, and a clear cutting mat make stretch fabric far easier to handle than lifting and re-placing it with scissors.
- Lay the fabric flat rather than hanging it over the table edge.
- Keep the stretch direction around the body, not down the leg.
- Match the grainline carefully so the legs do not twist later.
- Mark front and back pieces clearly before sewing.
- Use clips or fine pins instead of pulling the fabric out of shape.
- Allow extra fabric if the print has a direction, a nap, or a one-way pattern.
If your pattern gives a seam allowance, keep it until the first fitting rather than trimming it away for convenience. That small reserve can save the whole project if you need to widen the seam or change the rise slightly. Once the pieces are cut, the order you sew them in matters more than any decorative detail.
Sew the legs in the right order
For seams, I use a stretch needle, usually size 75/11 or 80/12, and polyester thread. On a regular machine, a narrow zigzag or lightning stitch works well; an overlocker (serger) is faster if you have one, but it is not mandatory. The goal is simple: a seam that stretches with the fabric instead of snapping when the leg bends.
| Stitch choice | Best for | Why it works |
|---|---|---|
| Overlocker | Fast construction and activewear | Trims, finishes, and stretches in one pass |
| Narrow zigzag | Basic sewing machines | Flexible enough for most knit seams when the settings are tested first |
| Stretch or lightning stitch | Machines that offer it | Often neater than a zigzag and still allows movement |
- Sew each leg along the inseam with right sides together.
- Press or finger-press the seam open or to one side, depending on your pattern.
- Turn one leg right side out and tuck it into the other leg, matching inseams and crotch points.
- Sew the crotch seam in one continuous pass, easing the fabric rather than pulling it.
- If the pattern includes a gusset, insert it before closing the crotch fully.
- Try the leggings on at this stage if the waistband is not yet attached and you want to confirm the rise.
If the seam looks wavy, stretched, or popped when you pull it gently, the stitch settings need testing before you continue. Once the body is assembled cleanly, the waistband is the part that decides whether the leggings stay up or spend the day being tugged at.
Build a waistband that stays comfortable
The waistband is where leggings become either practical or annoying. I usually choose one of two approaches: an elastic casing for simplicity, or a broader self-fabric waistband for a smoother finish. Both can work well, but they need different handling.
For soft knit elastic, I start with a length that is about 2.5 cm shorter than the waist measurement, then test it around the body before stitching it into the garment. That is a sensible starting point, not a universal law. If the fabric is firmer, the elastic may need to be slightly shorter; if the knit is soft and drapey, too much reduction will create a hard ridge and a waistband that bites instead of supports.
- Divide the elastic into quarters and mark the points.
- Divide the waist opening into quarters as well.
- Pin quarter to quarter so the stretch is distributed evenly.
- Stretch the elastic to fit the opening while sewing, but do not stretch the fabric itself.
- Press the finished band lightly so it lies flat without crushing the elasticity.
If I want a cleaner, more athletic look, I raise the back waist slightly higher than the front. That small adjustment makes a bigger difference than most people expect, especially when bending, sitting, or squatting. Once the waist is stable, the hem is the last place where stretch can go wrong.
Hem them without killing the stretch
Leggings hems need to look neat without becoming stiff. I usually leave a hem allowance of about 2 to 3 cm, which gives enough depth for a clean fold without creating a bulky cuff. A twin needle, coverstitch, or narrow zigzag can all work, but the right choice depends on the machine you have and the finish you want.
| Hem finish | Best for | What to expect |
|---|---|---|
| Twin needle | Most home machines | Two neat rows on top with stretch underneath; a strong everyday finish |
| Coverstitch | Performance leggings and a professional look | Very polished and comfortable, but only if you already own the machine |
| Narrow zigzag | Simple, reliable hemming | Less polished than a twin needle, but easy to control and forgiving on knits |
A twin needle gives the neatest result on many home machines because it forms two visible rows on the top and a stretch-friendly connection underneath. If the stitching tunnels, I lower the tension slightly or test a wider hem allowance on scrap fabric first. Steam helps, but only if you press gently; dragging the iron across the fabric can pull the hem out of shape just as fast as a bad stitch setting.
Check the fit before you call them finished
The first fitting is where I look for shape, not polish. The leggings should sit close to the body without forcing the fabric to fight against movement. If something feels off, it usually shows up in the rise, the waistband, or the way the leg hangs.
| What you notice | What it usually means | What I change |
|---|---|---|
| Waistband rolls down | Elastic is too loose or the rise is too short | Shorten the elastic, raise the back waist, or switch to a firmer band |
| Crotch wrinkles | The rise or crotch curve needs adjustment | Add a little length, change the curve, or insert a gusset |
| Knees bag out | Fabric recovery is weak or the leg is too roomy | Choose a firmer knit next time or reduce ease through the leg |
| Legs twist | Grainline is off or the pieces were cut unevenly | Recut more carefully and check the stretch direction before sewing |
| Fabric goes sheer when stretched | The knit is too light for the intended use | Choose a denser fabric or line the front next time |
| Hem waves | The fabric was stretched while hemming | Redo the hem with less presser-foot pressure and a longer stitch |
For movement-heavy leggings, a diamond gusset is worth the extra seam because it reduces strain at the crotch and makes squatting, cycling, and long wear more comfortable. For lounge leggings, I sometimes skip it if the fit is already generous and the fabric is forgiving. Once you know which faults belong to fit and which belong to fabric, the next pair becomes much easier to get right.
The small choices that make homemade leggings feel worth wearing
The pairs I keep are the ones where I made three small decisions well: I chose a fabric with enough recovery, I matched the stitch to the stretch, and I gave the waist enough shape for the body it sits on. If you want a cleaner result next time, write down the fabric width, elastic width, stitch settings, and any rise changes that worked; that tiny notebook saves more time than any fancy shortcut.
Once the basic fit is right, the optional upgrades are easy: add a gusset for movement, a pocket for convenience, or a higher back rise for coverage. That is usually the point where homemade leggings stop feeling like a practice project and start earning a permanent place in the wardrobe.
