
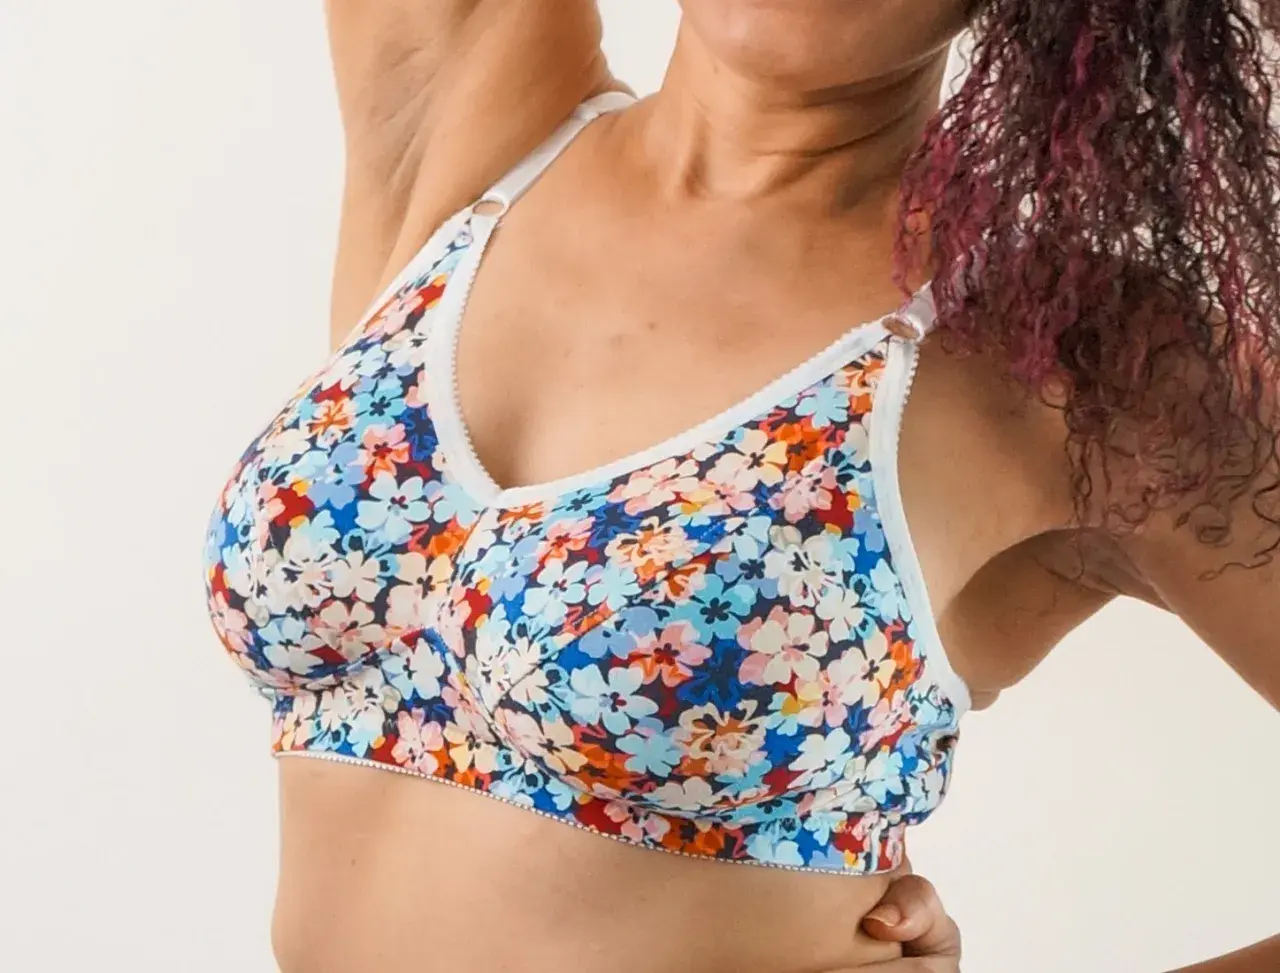
Making your own bra is one of the few garment sewing projects where a few millimetres can change comfort, support, and shape. A bra pattern free to download can be a smart starting point, but only if the size chart, fabric suggestions, and sewing order are clear enough to follow without guesswork. In this guide I focus on the parts that actually matter: how to choose a usable template, what materials you need, how to sew it cleanly, and where the fit usually needs adjustment.
The quickest way to judge a free bra template
- Start with a wire-free bralette or soft-cup bra if this is your first lingerie project.
- Check whether the pattern uses UK or US cup sizing before printing anything.
- The band does most of the support work; straps mainly stabilise the fit.
- Plan for about £15-£45 in materials, depending on the style and the quality of findings.
- A test make is normal, not a sign that the pattern is bad.
What to look for in a good free bra template
The best free bra templates are the ones that remove uncertainty before you cut fabric. If a pattern does not clearly say whether it is a bralette, a soft-cup bra, or an underwired frame, I treat that as a warning sign rather than a harmless omission. Bra sewing rewards clarity, especially around support level, stretch direction, and the type of fabric the draft expects.
Before I print anything, I want to see a size chart, a test square, seam allowance, and either photos or a proper sew-along. Many free PDF patterns are supplied in A4 or Letter formats, which is convenient in the UK, but print format alone is not enough. I also want to know whether the pattern is drafted for stretch lace, stable knit, or non-stretch cup fabric, because that changes the whole result.
- A clear measurement chart, not just a vague size label
- Printable A4 or Letter pages with a test square
- Seam allowance stated in millimetres or inches
- Fabric and elastic recommendations that match the construction
- Instructions for elastic placement, closure, and strap finishing
- Licence terms that tell you whether the pattern is personal-use only
If those basics are missing, I still might use the pattern as a learning resource, but I would not expect a clean first result. Once those checks are done, the next decision is style, because not every bra shape is a sensible first project.
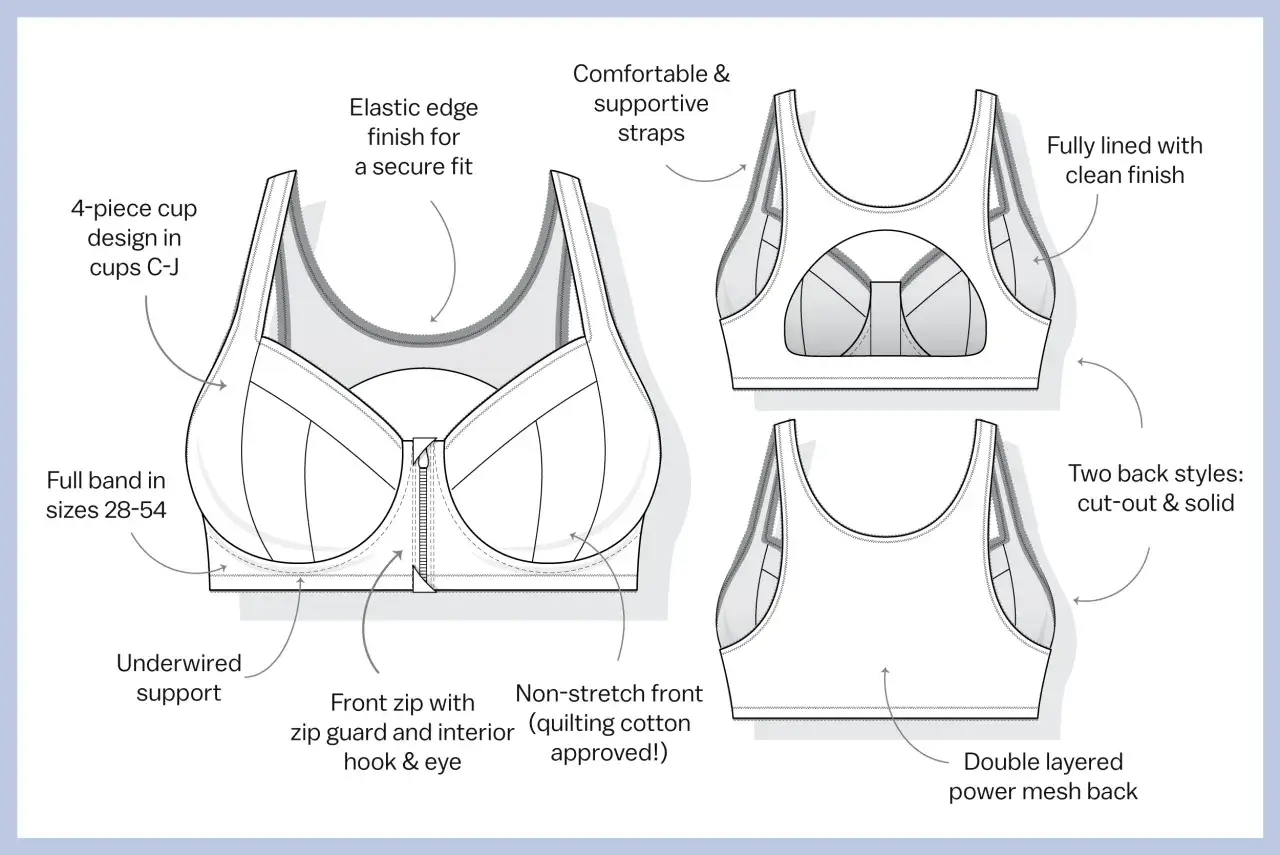
Choose the style that matches your first project
I usually rank bra styles by how much they teach you versus how much they ask of the fit. A simple bralette can teach elastic application and construction order without demanding a perfect underwire fit. A more structured bra can look beautiful, but it is less forgiving when the band or cup depth is slightly off.
| Style | Support | Difficulty | Best for | Main trade-off |
|---|---|---|---|---|
| Wire-free bralette | Light | Low | First lingerie project, lounge wear | Less shaping and lift |
| Soft-cup bra with closure | Medium | Medium | Everyday wear without wires | Fit depends heavily on band tension |
| Sports bra | Medium to high | Medium | Comfort-first support and active wear | Can feel bulky if the fabric is too heavy |
| Underwired bra | High | High | Shaping, lift, and a more tailored silhouette | Most demanding fit and construction |
For a first make, I would usually start with a wire-free bralette or a soft-cup bra. Underwired bras are absolutely possible from a free pattern, but they expose every fitting error, which makes them a better second project unless the template is unusually well explained. That choice also changes the materials list, which is where the next set of decisions begins.
Materials that make the difference
Bra sewing lives or dies on materials. I rarely see a good bra ruined by thread; I see it ruined by the wrong stretch level, weak elastic, or a band that cannot hold its shape. In lingerie sewing, the fabric is only part of the equation. The elastic, the powernet, the closure, and the strap hardware do a lot of the real work.
| Component | What it does | What I look for |
|---|---|---|
| Main fabric | Shapes the cups and body of the bra | Stretch lace, jersey, microfibre, or stable cup fabric depending on the pattern |
| Powernet | Reinforces the band and side wings | A firm stretch mesh that holds tension without collapsing |
| Bra elastic | Holds edges close to the body | Plush-back picot or fold-over elastic, matched to the finish you want |
| Straps | Stabilise the fit and allow adjustment | Bra strap elastic with sliders and rings |
| Hook-and-eye closure | Fastens the band securely | A width that matches the band and the pattern instructions |
| Underwire channeling | Houses the wire safely | Only needed for wired bras, and worth buying in the correct width |
A simple bralette often lands around £15-£30 in materials if you already own thread and needles. A wired bra usually reaches £20-£45 because underwires, channeling, strap hardware, and stronger elastic all add up quickly. The pattern may be free, but good elastic is not the place to cut corners.
For a wire-free bra
Look for soft but supportive fabrics with enough recovery to return to shape after being stretched. Jersey, stretch lace, and mesh are common choices, but the exact mix depends on how much hold the pattern expects. If the design relies on the fabric alone, I favour something with better recovery rather than a flimsy fashion knit.
- Use stretch fabric with good recovery, not just visual stretch.
- Choose elastic with enough strength to keep the edge stable.
- Keep the band firm, because that is where the comfort comes from.
For an underwired bra
Underwired bras need a more stable structure, which means the fabric and the support pieces have to work together. The cup is usually less about stretch and more about controlled shaping. The wire size has to match the cradle, or the whole frame starts fighting the body instead of supporting it.
- Match the wire size before you buy the rest of the hardware.
- Use stable cup fabrics or lining where the pattern asks for them.
- Buy proper underwire channeling rather than trying to improvise a substitute.
Once the materials are right, the sewing order becomes much less fussy, which matters because bra construction punishes rushed stitching.
How to sew it without losing the fit
Before I cut anything, I print the test square and check scaling at 100%. That sounds obvious, but bra patterns are small enough that even a slight print error can change the fit. I also trace the size lines rather than cutting the original pattern, because bra-making almost always benefits from later adjustments.
- Print the pattern at full size and confirm the test square.
- Check whether the seam allowance is 6 mm, 1/4 inch, or something else.
- Trace the size you want and mark the notches clearly.
- Cut a test version from inexpensive fabric if the pattern is unfamiliar.
- Sew the main seams first and check the band before finishing the elastic.
- Attach elastic using the method the pattern specifies, usually a narrow zigzag or stretch stitch.
- Finish the straps and closure last, once the body fit feels right.
If the pattern does not tell you otherwise, a narrow zigzag around 2.5-3 mm wide is a sensible starting point for elastic, with a short stitch length for control. I still follow the pattern if it gives its own settings, because bra drafts can be surprisingly particular. One change at a time is the rule I stick to here, and I avoid trimming seam allowances too early because a few millimetres often matter in the next fitting round.
That process usually leads straight into fitting, because the first version is often informative rather than final.
The fit fixes that matter most
This is where bra sewing becomes honest. A bra can look neat on the hanger and still feel wrong on the body if the band is too loose, the cup depth is off, or the strap placement is doing too much work. I usually wear-test a first sample for 10 to 15 minutes, long enough to see whether the band stays level and whether any pressure points show up.
| What you see | What it usually means | First adjustment to try |
|---|---|---|
| Band rides up at the back | The band is too loose or the straps are carrying the load | Shorten the band before you tighten the straps |
| Cup gapes at the top or side | Too much cup volume or the wrong cup shape | Reduce cup volume or alter the upper cup line |
| Breast spills over the top | The cup is too small or the neckline is too low | Size up the cup or choose a higher neckline |
| Underarm digs in | The wing is too high or the cup is too narrow | Add a little underarm coverage or widen the side shape |
| Centre gore does not sit flat on a wired bra | The wire size or cradle shape is wrong | Recheck wire size before altering the cup |
| Straps keep slipping | The band is not firm enough | Fix the band first, then adjust strap length |
Cloth Habit’s fitting notes make a useful point that I agree with: small cup changes can alter lift, coverage, and shape at the same time. That is why I only alter one thing per fitting round. If you shorten the band, drop the strap length, and change the cup depth all at once, you will not know what actually improved the bra. The fit gets easier when you stop treating every issue as a separate emergency.
After one fitting pass, you can usually tell whether the free pattern is close enough or whether the shape needs a different draft altogether.
When a free pattern is enough and when it is not
A free pattern is not automatically inferior. It is only limited when the instructions, size range, or drafting assumptions no longer match your body or your sewing goal. For a lounge bra, a soft cup, or a first attempt at elastic application, a no-cost template can be exactly the right tool. For a highly structured daily bra, it may save time to start with a better tested draft.
| Your goal | Free pattern is usually enough | Paid pattern is usually better |
|---|---|---|
| Learning basic bra construction | Yes | Not necessary |
| Making a lounge bra or bralette | Yes | Only if you want a very specific shape |
| Needing firm support for everyday wear | Sometimes | Often, especially if the fit notes are stronger |
| Sewing for a fuller bust or a tricky size range | Only if the draft has clear grading and fitting help | Usually the safer option |
| Wanting the fastest route to a dependable fit | Only if the instructions are unusually complete | Yes |
If you are making a lounge bra, practising elastic application, or testing a shape before spending money, free is usually enough. If you need fuller-bust grading, a more structured daily bra, or a pattern with deep fitting support, paying for a well-tested draft often saves fabric, time, and frustration. That is the point where the project stops being about saving money and starts being about saving time.
The simplest path to a wearable first bra
If I were starting a first lingerie project today, I would choose a wire-free or soft-cup pattern with A4 printing, clear size information, and a proper sew-along, then treat the first version as a fitting sample rather than a finished garment. That approach is usually the fastest route to a wearable result, because it gives you clean notes on band tension, cup depth, and strap placement without locking you into a bad shape.
- Pick one style and one size to test first.
- Use the recommended fabric before you start improvising.
- Adjust the band before you blame the cups.
- Keep notes so the second make is easier and more accurate.
That is the real value of a free bra pattern: it lets you learn the construction and the fit without paying to discover whether the style suits you. When the basics are clear, the next bra gets faster, neater, and much more personal.
