
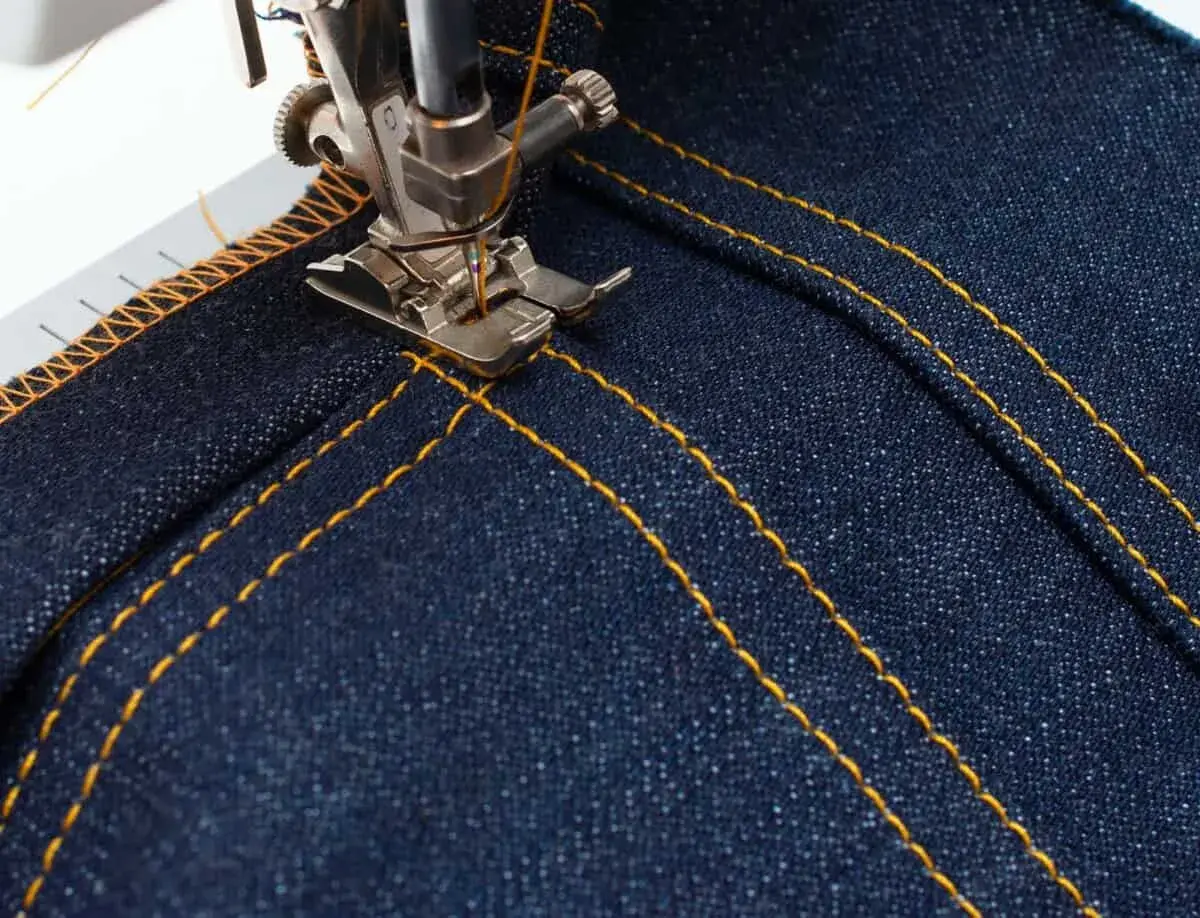
Key points at a glance for cleaner topstitching
- The foot helps keep visible stitches evenly spaced from an edge or seam.
- Brand names vary, so compatibility matters more than the label on the box.
- A topstitch needle and a 3.0-4.0 mm stitch length are smart starting points.
- For thick seams, a bi-level or walking foot can be the better choice.
- Testing on scraps saves time, thread, and a lot of unpicking.
What this foot actually does on a sewing machine
I think of this accessory as a built-in guide rail. Its job is to keep the seam allowance, edge, or fold at a consistent distance from the needle so the line of stitching looks deliberate instead of wandered. That matters on visible hems, pocket edges, collars, cuffs, bag flaps, and any seam where the stitching itself is part of the design.
It also earns its place on areas where the fabric changes thickness, because the guide helps you stay aligned while the machine climbs over a seam. What it does not do is replace pressing, interfacing, or the right needle. If the fabric is soft, stretchy, or badly prepared, the foot can help with placement, but it will not rescue the finish on its own.
Different brands may call the same idea an edge-stitch foot, stitch guide foot, or bi-level foot, which is one reason I always look at the shape and the guide, not only the name on the packet. That leads straight into the practical question: which version actually suits your project?
Which version suits your machine and project
Brand naming varies, but the job is similar. I would choose based on seam shape and fabric bulk, not the marketing label on the box.
| Foot type | Best for | Why it helps | Main limitation |
|---|---|---|---|
| Edge-stitch foot | Hems, collars, pockets, neat seam finishing | A side guide keeps the row parallel to the edge | Can struggle on very bulky seams |
| Stitch guide foot | Parallel rows, decorative topstitching, measured spacing | Ruler-like markings or a guide bar help with exact distance | Some versions are light-duty and less forgiving on thick layers |
| Bi-level foot, also called a compensating foot | Jeans, bags, thick seam allowances, uneven heights | It sits more level when the fabric steps up or down | Usually machine-specific |
| Walking foot or dual-feed setup | Quilts, slippery fabrics, layered seams | It helps both layers move together | Less precise as a visual guide for decorative spacing |
For a clean garment edge, I usually start with an edge-stitch or stitch guide foot. For denim and bag-making, I move to a bi-level option. If the real issue is layer control rather than exact spacing, a walking foot or dual-feed system is often the more honest solution. A guide foot measures the line; feed control protects the line while the fabric gets thicker.
That difference matters more than people expect. If your stitches drift only when the seam allowance stacks up, the problem is not really the guide, it is the way the machine is handling bulk.
How to set it up for clean, even lines
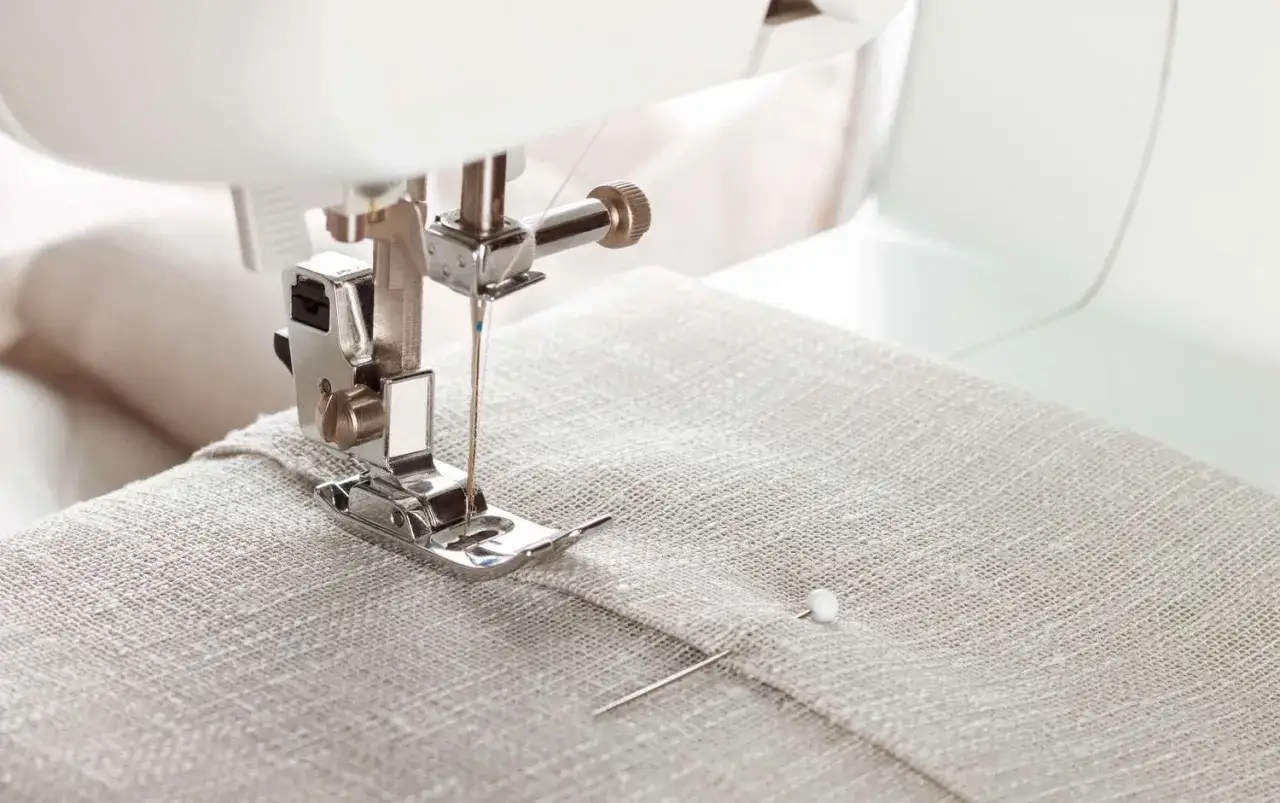
My starting point is simple: fit the foot, press the seam, and test before sewing the real piece. If you are aiming for a visible line, use a topstitch needle, keep regular thread in the bobbin, and lengthen the stitch so the line reads cleanly from normal viewing distance.
| Project | Foot | Needle | Thread | Starting stitch length |
|---|---|---|---|---|
| Shirt hems and collars | Edge-stitch or stitch guide | 80/12 topstitch | Regular or light decorative thread | 3.0-3.5 mm |
| Denim, canvas, bags | Bi-level or walking foot | 90/14 or 100/16 topstitch | Heavier top thread, regular bobbin thread | 3.5-4.0 mm |
| Flat-felled seams and seam accents | Edge-stitch foot | 90/14 topstitch | Regular or decorative top thread | 3.0-3.5 mm |
Those numbers are starting points, not rules. If the thread sounds tight, the stitches sink into the fabric, or the line begins to pucker, I change one variable at a time: first stitch length, then tension, then needle size. That makes troubleshooting faster and keeps you from chasing three problems at once.
- Press the seam or fold before stitching.
- Mark the visible line if the eye needs a target, especially on dark fabric.
- Place the guide against the edge or seam line and lower the presser foot.
- Run 3-5 test stitches on a scrap of the same fabric.
- Adjust needle position before you sew the actual piece.
- Keep a steady pace and let the guide do the measuring.
If the first stitches tend to bunch, hold the thread tails back for the opening few stitches and ease into the seam slowly. That tiny habit often makes more difference than changing the foot itself.
The mistakes that ruin the finish
Most bad topstitching is not a mystery. It usually comes from one of four avoidable problems: the wrong needle, a stitch that is too short, poor support under the fabric, or trying to force the machine over bulk too quickly.
- Using a standard needle with heavy thread. The eye is often too small, so the thread rubs, frays, or skips. A topstitch needle has a larger eye and a sharper point.
- Sewing with the stitch too short. Dense stitches look cramped and can distort the fabric. Moving into the 3.0-4.0 mm range usually gives a cleaner line.
- Ignoring seam bulk. If the foot cannot stay level over a thick step, the line drifts. That is when a bi-level or walking foot becomes the smarter choice.
- Skipping the scrap test. The same setting can look perfect on cotton poplin and fail on denim or coated fabric.
- Pressing after, not before. If the fold is wavy when it goes under the foot, the stitching will faithfully copy the waver.
I also watch the start and end of each line. If the machine tends to pull fabric down at the first stitch, I hold the threads back for the first two or three stitches and sew a little slower until the line is anchored. That small habit often does more than an expensive accessory.
Once you can avoid these basic traps, the next decision is less about technique and more about buying the right foot in the first place.
Buying one in the UK without wasting money
In the UK, a basic domestic accessory foot is usually not a big investment. I normally see simple generic or branded versions around £10-£25, while machine-specific or dual-feed designs can sit closer to £20-£40. Price matters less than fit, though, because the wrong shank or the wrong feed system makes even a good-looking foot useless.
- Shank type. Check low shank, high shank, or brand-specific fitting before anything else.
- Machine family. Some feet only work on a specific category or stitch width.
- Feed system. If your machine has dual feed or IDT, look for a version designed to work with it.
- Project bulk. If you sew jeans, bags, or quilts, a bi-level or walking foot may be better value than a basic guide foot.
- Visibility of the stitch. If the seam is decorative rather than structural, a foot that keeps the line perfectly parallel is worth more than a cheaper all-purpose option.
For a home sewer, I would rather buy one accessory that fits properly than three that almost fit. That is especially true with branded machines, where the wrong attachment can technically click on but still behave badly over a seam. Once compatibility is sorted, the rest is mostly about technique.
And if you sew often enough, you start to notice that the best results usually come from a whole setup, not one clever attachment.
The small habits that make the result look intentional
When I want visible stitching to look polished, I treat the foot as only one part of the system. The thread weight, needle size, seam pressing, and fabric support all have to agree with the look I want. For a subtle finish I use matching thread and a shorter visible line; for jeans or bags I go heavier and let the stitching become part of the design.
- Choose the line length first, then the thread weight.
- Match the needle to the thread, not just to the fabric.
- Test the stitch on the actual layers you will sew, not on a single scrap.
- Use the guide to control distance, but still steer through curves and corners.
If I had to reduce the whole process to one rule, it would be this: choose the foot for the seam, not the other way around. Once the guide, needle, thread, and stitch length agree, the stitching starts to look deliberate instead of improvised.
