
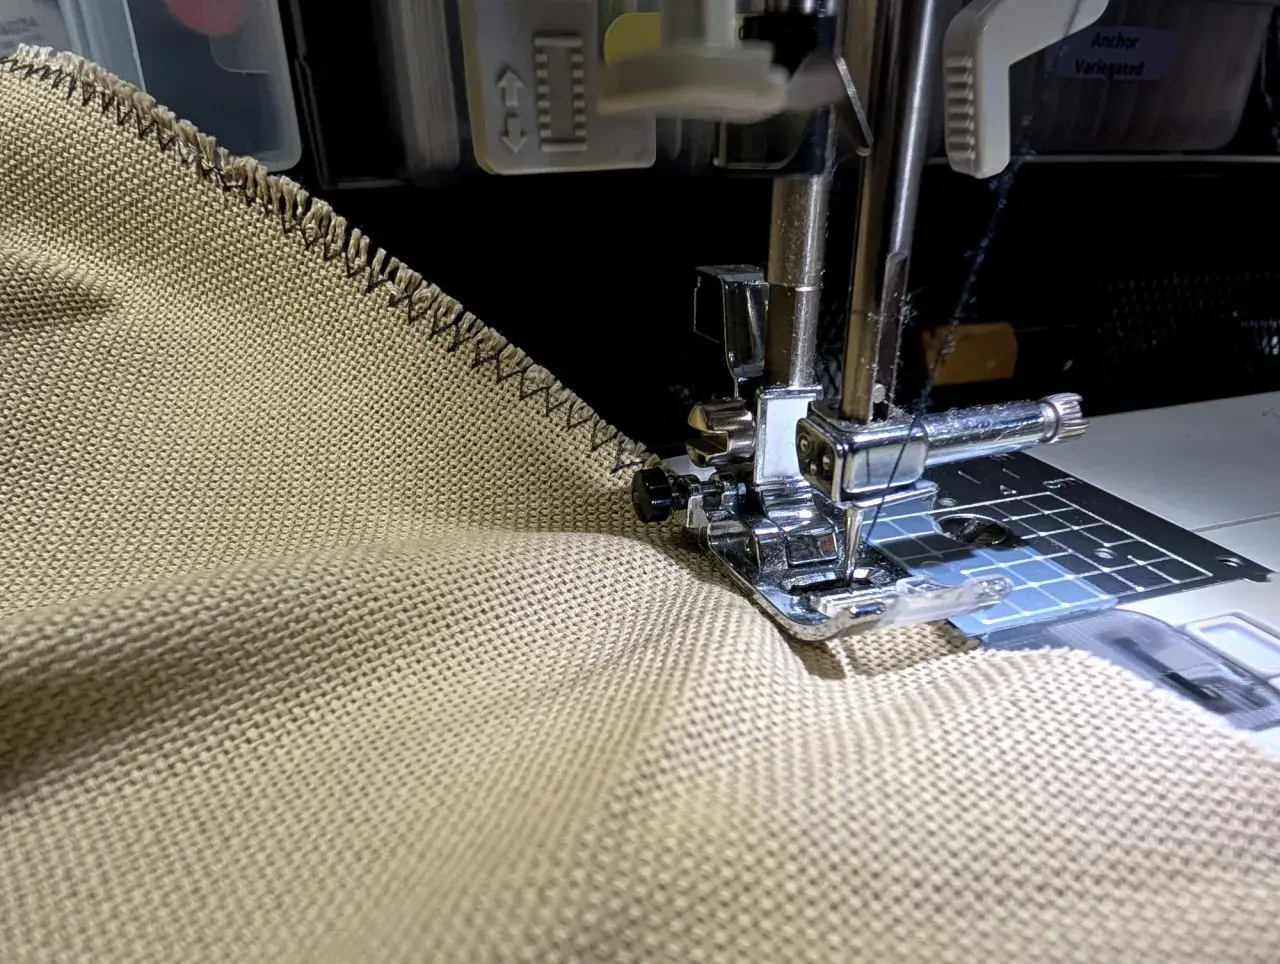
Flannel is one of those fabrics that feels friendly on the table and then quietly asks for good edge control once the scissors come out. The short answer is yes: does flannel fray? Yes, because it is a woven fabric, and the raw edge can release threads quite easily if it is left unfinished. In this guide, I’m looking at why that happens, which flannels are most likely to unravel, and the finishes that actually keep a project neat without overcomplicating the sewing.
What you need to know at a glance
- Flannel does fray at raw edges, especially if the weave is loose or the fabric is lightweight.
- Fraying is different from pilling: fraying affects the edge, while pilling affects the surface.
- Sharp cutting tools, a clean grain line, and a little extra seam allowance make a real difference.
- An overlocker, zigzag stitch, French seam, or flat-felled seam will give you far better results than leaving edges raw.
- Prewashing is sensible, but the cut edges should be controlled first if you want to limit mess.
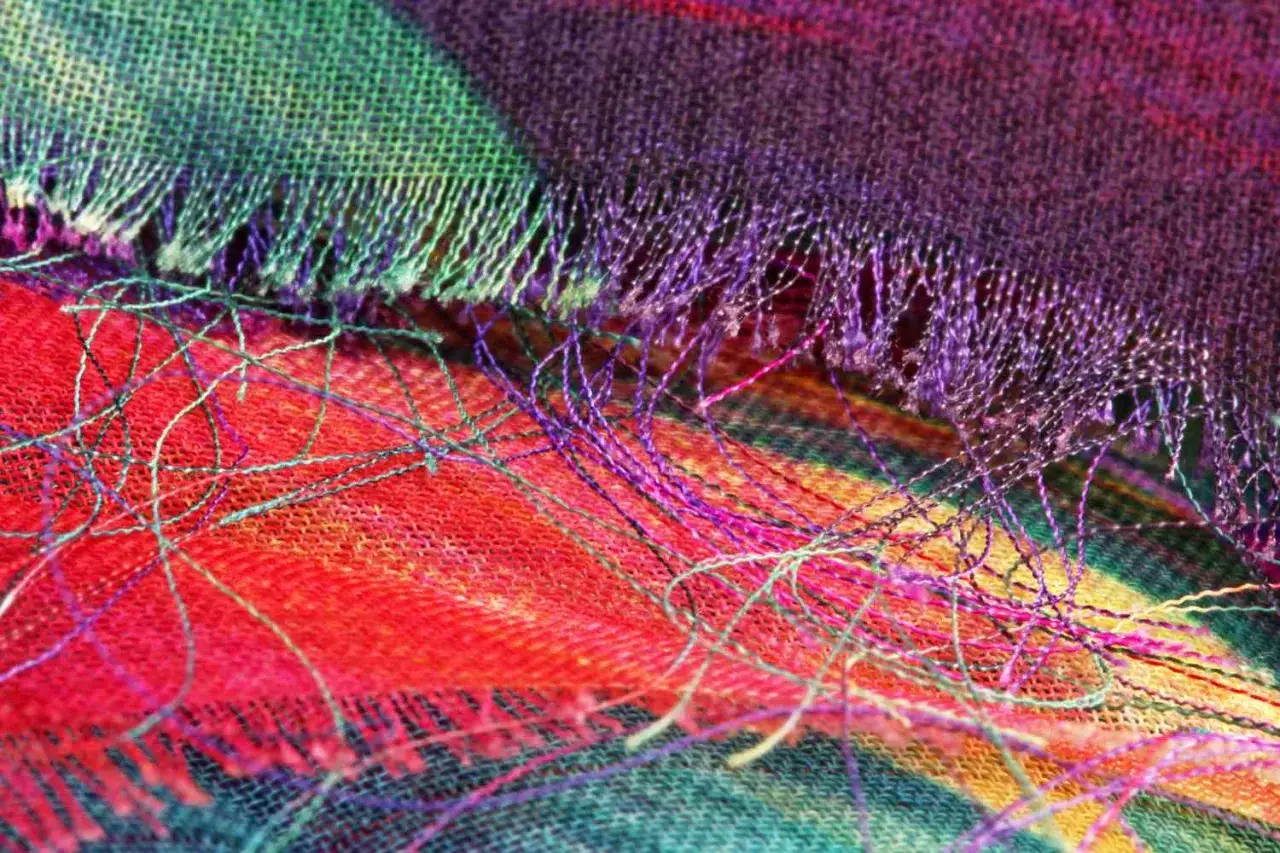
Why flannel frays at the cut edge
Flannel is usually woven, not knitted, so the structure depends on yarns crossing over and under one another. Once you cut into that structure, the edge becomes vulnerable: individual threads can work loose, especially if the weave is soft, brushed, or lightly spun. The napped surface you feel on the outside is what gives flannel its warmth and softness, but that brushing does not lock the cut edge in place.
That is why flannel often looks tidy in the middle and slightly fuzzy at the sides. A few loose threads are normal; long unravelled strands are what you want to prevent. I also separate fraying from pilling when I talk about flannel, because they solve different problems. Fraying is an edge issue, while pilling is a surface issue caused by friction. That difference matters, because the next question is which flannels behave better than others.
Not every flannel behaves the same
The label says “flannel”, but the actual behaviour depends on weave density, fibre content, and how heavily the fabric has been brushed. A dense, good-quality flannel will still fray, but it usually gives you more time and control than a loose, budget version. For sewing, I judge flannel less by the name on the bolt and more by how open the weave feels when I hold it to the light.
| Flannel type | How it tends to fray | Best use |
|---|---|---|
| Lightweight cotton flannel | Frays quickly and can distort at the edge | Quilting, shirts, sleepwear, soft linings |
| Midweight brushed cotton flannel | Still frays, but usually stays manageable with a clean cut | Shirts, dresses, pyjamas, baby items |
| Wool flannel | Can fray, but often feels more stable than loose cotton | Tailoring, trousers, jackets |
| Very loose or budget flannelette | Most likely to unravel at raw edges | Projects that will be fully enclosed or heavily finished |
| Brushed knit or fleece sold in the same family of fabrics | May not fray in the same way because the structure is different | Cosy casualwear, blankets, loungewear |
If I had to give one practical rule, it would be this: the looser the weave, the more you should expect edge loss while cutting, handling, and washing. That leads directly to the part most sewists want to know first, which is how to keep the edges under control before the project starts to fall apart.
How to reduce fraying before the project is sewn up
The best time to manage fraying is immediately after cutting, not after the edges have already started to unravel. I would start with a sharp rotary cutter or sharp shears, because dull blades crush the weave and leave ragged edges that fray faster. If I’m working with a delicate flannel, I also give myself a little extra room at the cutting stage, usually about 6-12 mm (1/4-1/2 in), so I have something to trim back if the edge becomes messy.
For prewashing, I prefer to secure the pieces first. A quick zigzag or overcast edge is enough for most cut panels, and a mesh laundry bag helps if the pieces are small. If the fabric is already shedding a lot, pinking shears can slow the process, but they do not stop it completely. They are useful as a delay, not a cure.
Three habits make the biggest difference in practice:
- Cut on grain, because bias edges fray and distort more easily.
- Use a fresh blade or newly sharpened scissors, because clean cuts fray less.
- Wash gently on the first cycle, because rough tumbling can pull loose fibres out faster.
That approach works well for most home sewing, but once the pieces are ready to assemble, the seam finish you choose will decide how professional the inside of the project looks.
The seam finishes that work best on flannel
There is no single perfect finish for every flannel project. What I choose depends on how visible the inside will be, how much wear the seam will take, and whether I want speed or a cleaner interior. For a UK sewing room, the overlocker is usually the quickest solution, but it is not the only good one.
| Finish | What it does | Best when |
|---|---|---|
| Overlocker | Trims and encloses the raw edge in one pass | You want speed and a neat finish on garments or homeware |
| Zigzag stitch | Stitches across the edge to hold fibres in place | You do not have an overlocker and still want a durable result |
| French seam | Encloses the raw edge inside a second seam | You are making lightweight items and want a clean interior |
| Flat-felled seam | Folds the raw edges under and topstitches them down | You want a strong, crisp seam for shirts or trousers |
| Pinking | Reduces the rate of fraying at the edge | The edge will be low-stress or enclosed later anyway |
My honest take is that pinking alone is rarely enough for a garment seam that will be washed often. It is useful as a support step, but not as the only line of defence. For anything that will be worn, folded, or handled repeatedly, I would rather fully enclose the edge than hope the fibres behave themselves. That brings us to the point where fraying is normal and when it starts to signal a bigger fabric problem.
When fraying is normal and when it signals a problem
A little loose thread at the edge is normal for flannel. A seam allowance that disappears after one wash is not. The difference usually comes down to weave density, handling, and whether the cloth was cut and finished properly before it was stressed. I also watch for the edge rolling inwards, because that often means the fabric is open enough to distort as it frays.
- Normal: a few loose threads after cutting or prewashing.
- Normal: lint buildup in the machine when sewing several layers of flannel.
- Normal: slight softening of the cut edge after washing.
- Concerning: long thread pulls that travel well into the fabric body.
- Concerning: visible gaps in the weave near the edge.
- Concerning: repeated distortion on the bias or around curved seams.
If the fabric behaves badly before you even finish cutting, I usually suspect a very loose weave rather than “bad” flannel in general. At that point, a lined construction or a fully enclosed seam is the safer choice. The last step is to bring all of this into a simple working routine you can actually reuse on the next project.
The small habits that keep flannel predictable
When I sew with flannel, I keep the process simple: cut cleanly, finish early, and choose a seam treatment that matches the project. I also clear out lint after the job is done, because flannel sheds enough fibre to justify a quick machine clean. That small maintenance step matters more than people think, especially if you are sewing several metres at once.
- Use fresh cutting blades or sharp scissors.
- Prewash with the raw edges controlled first.
- Give yourself a little extra seam allowance.
- Choose an overlocker, zigzag, French seam, or flat-felled seam based on the final use.
- Clean the bobbin area and feed dogs after a flannel project.
If you remember only one thing, make it this: flannel is not difficult, but it is not self-finishing either. Treat the edges properly and it behaves beautifully; ignore them and it will fray enough to create unnecessary work later.
