
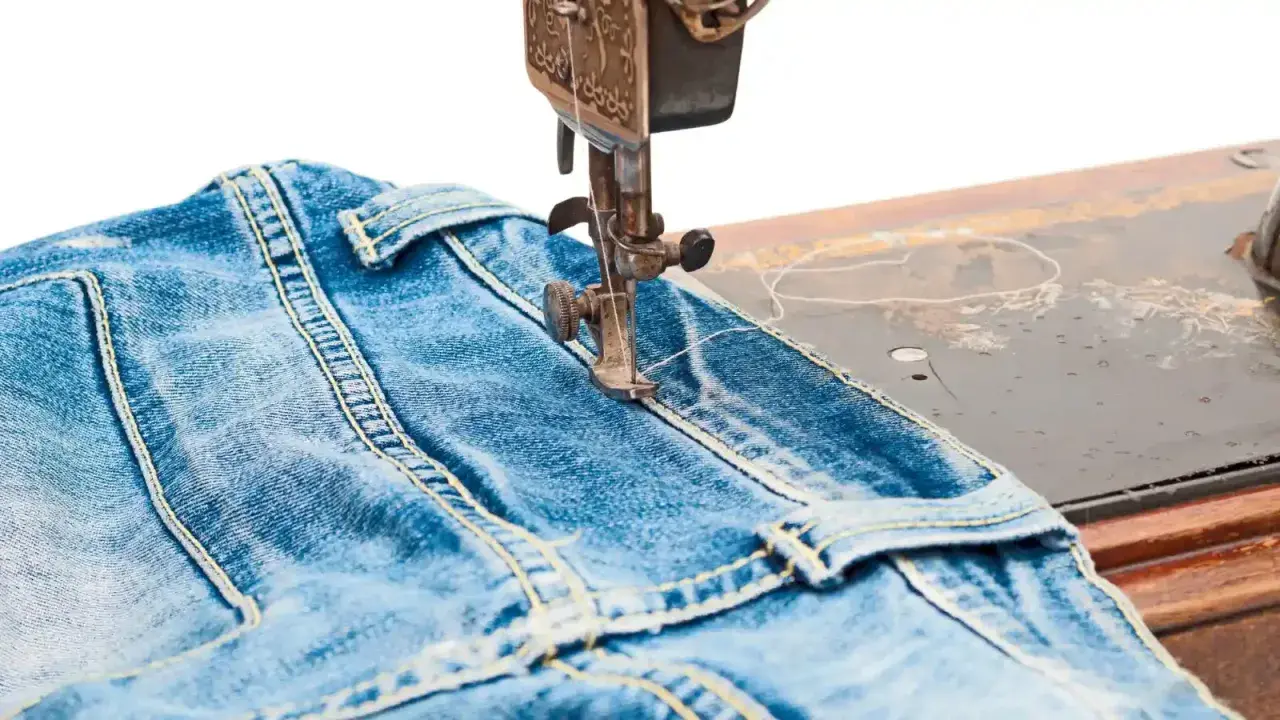
A jean stitch is less a single line of thread than a system of strong seams, topstitching, and reinforcement choices that help denim survive abrasion, movement, and repeated washing. In practice, the right setup changes how jeans and trousers feel, how long they last, and how clean the visible stitching looks. I am going to break down what that construction really does, where it matters most, and how to sew it cleanly on a home machine.
What matters most before you sew denim
- Denim stitching has to handle bulk, friction, and stress points, not just look neat.
- Flat-felled seams are a standard choice for strong, fray-resistant jeans construction.
- A denim needle, a longer stitch length, and stable thread tension prevent skipped stitches.
- Topstitching is both structural and decorative, so placement matters as much as strength.
- Thick intersections need grading, pressing, and slower sewing more than brute force.
What makes denim stitching different
When I look at denim sewing, I think in terms of load-bearing seams. Jeans are not fragile garments; the construction has to survive sitting, bending, pocket use, and regular washing. That is why denim stitching usually combines a strong seam structure with visible topstitching rather than relying on one neat seam line.
- Bulk tolerance - seams have to cross thick layers without breaking or tunnelling.
- Fray control - raw edges need to be enclosed, felled, or otherwise secured.
- Visible reinforcement - the topstitching is part of the design, so consistency matters.
- Flexible strength - the seam must hold under movement without feeling rigid in the wrong places.
In other words, denim sewing is closer to construction work than to light dressmaking, and that changes the tools I reach for next.
Where the stitch matters most in jeans and trousers
The strongest stitching belongs where the garment takes the most strain. When I inspect a pair of good jeans, I look first at the places that flex, rub, or get pulled every time the wearer moves.
- Crotch and seat seams - these see the highest stress, so seam strength matters more than a perfectly invisible finish.
- Inseams and outseams - these run the full length of the leg, so they need even tension and a durable seam finish.
- Pocket openings and pocket bags - hands pull here constantly, which is why the stitching often needs reinforcement.
- Waistband and belt loops - these carry weight and tension, especially if the wearer clips a belt tight.
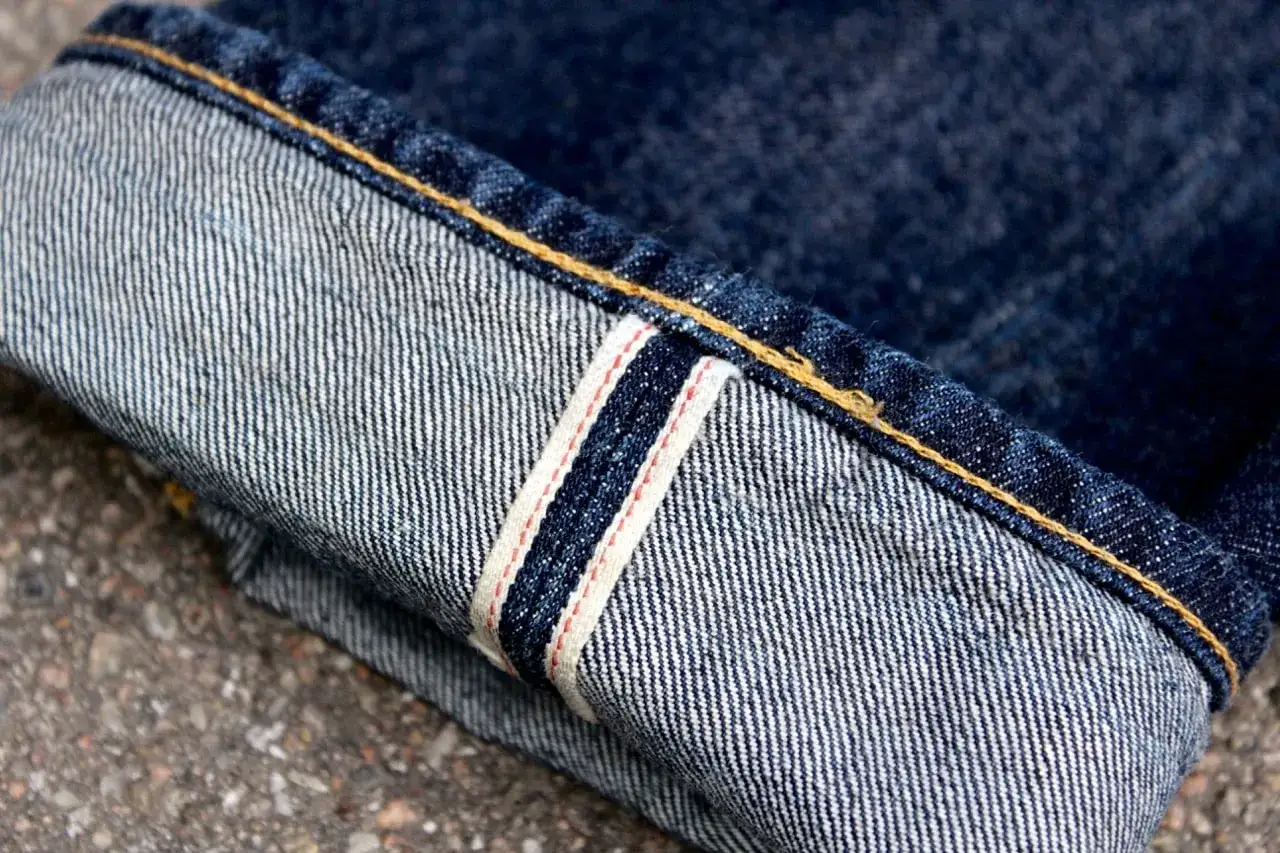
- Hems - the hem is not the most stressed seam, but it is the one most people notice first when the stitching looks uneven.
That is the real logic of denim construction: the visible line of thread has to support the hidden structure, not compete with it. Once you understand the stress points, choosing the right stitch type becomes much easier.
How to sew it cleanly on a home machine
I usually start with setup, because most denim problems are caused before the needle even moves. Singer's guidance for denim sewing is useful here: use a straight stitch, slow down, and lengthen the stitch so the machine is not punching tiny perforations through a thick fabric stack.
- Choose the right needle - start with a denim needle in the 90/14 to 100/16 range; move up only if the fabric is genuinely bulky.
- Use a longer stitch length - for visible topstitching, I aim for about 4 to 5 mm; on internal seams, a slightly shorter but still open stitch is usually better than a tight garment stitch.
- Match the thread to the job - use topstitching thread where you want the line to show, and regular sewing thread in the bobbin unless your machine handles heavier thread comfortably.
- Test on the same layers - sew a sample with the same seam allowance, the same number of layers, and the same thread before you touch the garment.
- Sew slowly over intersections - thick cross-seams are where needles bend, stitches skip, and seams shift out of line.
- Press, grade, and trim as you go - bulk control is part of stitching denim well; it is not an optional finishing step.
If your machine has a topstitching foot or a walking foot, use it when the seam starts to wander. If it does not, a careful pace and a good pressed seam usually do more than any accessory. That practical setup leads directly to the next question: which seam type actually suits the job best?
Chainstitch, lockstitch and flat-felled seams compared
Not every strong seam in denim works the same way, and that matters if you want a clean result rather than a generic heavy-fabric finish. According to Coats, the lap-felled seam common in jeans is generally sewn with a 401 chainstitch, which is one reason industrial denim looks so tidy and so durable at the same time.
| Method | What it does | Best use | Trade-off |
|---|---|---|---|
| Lockstitch | Creates a stable, familiar straight stitch with a neat visible line | Home-machine topstitching and many garment seams | Less forgiving on bulk than some industrial methods |
| Chainstitch | Forms a flexible seam that is common in industrial denim work | Classic jeans seams and hems in factory settings | Requires suitable equipment and can be harder to replicate at home |
| Flat-felled seam | Encloses the raw edge and leaves a strong, tidy seam inside and out | Inseams, outseams, and high-wear denim construction | Adds bulk and takes more pressing and preparation |
| Overlock finish | Stops fraying quickly and cleans the edge | Internal seam finishing on casual denim trousers | Not as durable as a proper felled seam in high-wear areas |
For most home sewists, the practical answer is simple: use a lockstitch for the visible line, finish the raw edge properly, and reserve the most robust seam construction for the places that actually need it. The comparison matters because denim fails differently depending on how the seam is built.
The mistakes that make denim stitching fail
Most denim failures are not dramatic. They start as skipped stitches, wavy topstitching, or a seam that feels fine until the first hard wear. I see the same mistakes repeated often, and they are usually easy to fix once you know where to look.
- Using a universal needle on thick denim - it may work on light fabric, but it often struggles once seams stack up.
- Stitching too short - a dense row of holes weakens heavy fabric and looks cramped on topstitching.
- Sewing at full speed over bulk - this is when the needle deflects and the line drifts.
- Ignoring seam grading - if all allowances stay full width, the intersection becomes a hard lump.
- Skipping a test swatch - denim can behave very differently once the seam crosses pockets, waistbands, or side panels.
- Forcing the fabric through with poor tension - if the machine is fighting the cloth, stop and reset the setup instead of pushing harder.
The fix is rarely a bigger machine; it is usually a better setup. Once those mistakes are out of the way, the last step is making the jeans look finished rather than merely sewn.
What I would check before calling the jeans finished
Good denim work is usually visible in the details, not in one dramatic feature. Before I call a pair of jeans or trousers complete, I check for a few things that make the garment look intentional rather than improvised.
- Topstitching lines stay parallel where the design calls for symmetry, especially around pockets and waistbands.
- Stress points are reinforced with bar tacks, extra stitching, or carefully placed backstitching where needed.
- Seams lie flat after pressing and do not kick out awkwardly when the garment bends.
- The hem sits evenly and does not twist after the first fitting or wash.
- Thread choice matches the fabric weight so the stitching looks deliberate rather than oversized or skimpy.
If there is one thing I would keep in mind, it is this: denim rewards patience more than speed. Strong sewing, clean pressing, and thoughtful seam construction will do more for a pair of jeans than any decorative detail ever will.
