
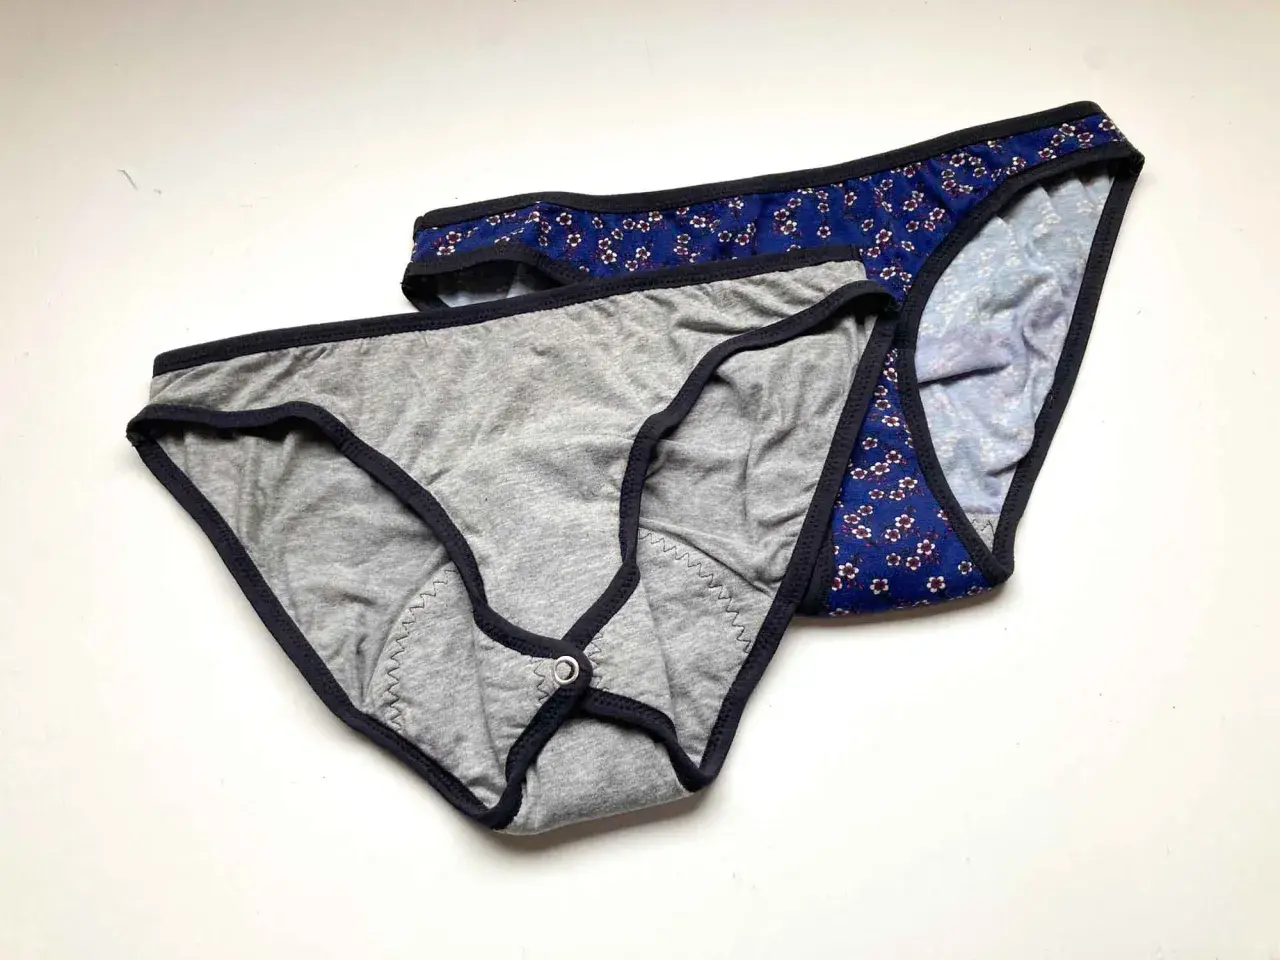
Good handmade period pants are less about clever tricks and more about layer order, fit, and fabric choice. This guide to DIY period underwear walks through the materials, pattern changes, sewing steps, and care routine that make a pair reliable enough to wear with confidence. I’m also being honest about the limits: what works well for light to moderate flow, what works as backup protection, and when a commercial pair still makes more sense.
The fastest way to make a reliable pair
- Build the gusset in layers: a soft next-to-skin layer, an absorbent core, and a leak-resistant barrier.
- Start from a stable knickers pattern with a roomy crotch and extend the gusset by about 3-6 cm for better coverage.
- Use knit fabrics with recovery, not woven cloth, and treat PUL carefully because pins can leave leaks.
- Pre-wash everything, sew with a stretch stitch, and test the first pair at home before trusting it out of the house.
- Rinse in cold water, wash at 30 C or less, skip fabric softener, and air dry to protect absorbency.
- For heavy flow or overnight use, expect to iterate once or twice before the fit feels right.
What makes a homemade pair actually work
The whole system depends on three jobs being done well at once. The layer touching the body should move moisture away from the skin, the middle should hold liquid without turning stiff or lumpy, and the outer barrier should stop leaks from reaching your clothes. That is why a random pair of cotton knickers with some extra padding is usually disappointing: it may absorb a little, but it does not manage moisture or containment properly.
I like to think of the gusset as a tiny cloth pad built into the garment. If the fit is too loose, liquid travels before it gets absorbed. If the fit is too tight, the layers compress and reduce capacity. The sweet spot is a snug, stable fit that keeps the gusset close to the body without squeezing the leg opening or pulling the fabric out of shape.
For most people, the best use case is not “replace every other product immediately.” It is more practical to treat the finished pair as a reusable option for light days, overnight backup, or paired with a cup or tampon on heavier days. That mindset leads to better sewing choices and fewer disappointments later, and it sets you up for the fabric decisions that matter most.
Choose fabrics that match the job
The fabric stack is where homemade period pants either become useful or become bulky and frustrating. I prefer to decide layer by layer instead of shopping for one miracle fabric, because different fabrics solve different problems.
| Layer | Good options | Why I would use it | Trade-off |
|---|---|---|---|
| Next-to-skin layer | Cotton jersey, moisture-wicking knit, soft bamboo jersey | Feels comfortable, breathes reasonably well, and helps move dampness away from the body | Very plush fabrics can hold moisture too long if they are used alone |
| Absorbent core | Zorb, bamboo fleece, bamboo terry, quilted absorbent knit | Holds fluid quickly and adds the real capacity | Some absorbent fabrics are thick, so they need testing under clothing |
| Leak barrier | PUL, waterproof absorbent composite fabrics | Blocks seepage and keeps the outside of the knickers dry | Can be punctured by pins and can be damaged by high heat |
| Main body fabric | Cotton spandex jersey, other stable stretch knits | Gives the underwear shape, recovery, and everyday wearability | Loose knits sag; woven fabric usually lacks the stretch you need |
If I am sewing with plain Zorb or another absorbent interlining, I cover it with a skin-safe layer rather than letting it sit directly against the body. If I use a composite fabric that is already designed for direct contact, the construction is simpler, but the gusset can feel thicker and my machine needs to handle that extra bulk cleanly. For a first pair, I would rather have slightly less glamour and more reliability.
Pre-washing matters here. Knit fabrics shrink, elastics settle, and absorbent layers behave differently after their first wash. I pre-wash before cutting and avoid fabric softener, because softener can reduce absorbency and make the finished pair less effective.
Draft the gusset before you cut anything expensive
The pattern is where many first attempts go wrong. A standard underwear pattern can work, but the crotch area usually needs more coverage than an ordinary brief. I start with a knickers pattern that already fits well through the hips and waist, then extend the gusset so it reaches further forward and backward than a standard lining.
As a practical rule, I usually add about 3-6 cm of extra length to the gusset, with a little more at the back if the pair is meant for overnight wear. That extra coverage does not sound dramatic on paper, but it makes a real difference in leak protection. For a daytime pair, I keep the extension moderate so the garment still feels like underwear and not a padded insert.
If you are tracing from an existing pair, keep the stretch direction the same as the original underwear. That matters more than beginners expect. A pattern that looks right on paper can still fail if the fabric stretches the wrong way and the gusset rides up when you walk.
When I draft the first prototype, I keep seam allowance simple, usually 1 cm, and I mark the stitch line clearly before cutting. If the gusset will sit inside a seam sandwich, the extra planning is worth it. It saves you from cutting into an expensive absorbent layer twice.
Sew the absorbent layers without creating leaks
The sewing order is easier if you think in terms of a sandwich. One side of the gusset sits against the skin, the absorbent core sits in the middle, and the waterproof layer sits outside the absorbent section. If you are using PUL, do not pin through it. I use clips instead, because pins leave tiny holes that can turn into seepage points.
- Pre-wash, press, and cut all pieces before sewing.
- Assemble the gusset layers in the order your chosen fabric requires.
- Sew the gusset with a stretch stitch or narrow zigzag, not a straight stitch.
- Join the front and back body pieces to the gusset, checking that the crotch length has not shifted.
- Finish leg openings with fold-over elastic, lingerie elastic, or a soft band that sits flat without digging in.
- Topstitch or otherwise flatten seam allowances where bulk would otherwise create rubbing.
I would use a stretch or ballpoint needle, usually 75/11 or 80/12, and polyester thread so the seam can move with the fabric. That sounds minor, but it changes the behaviour of the whole garment. A straight stitch on a stretchy gusset is a fast way to hear seams pop the first time the underwear is pulled on.
Bulk is the other thing to watch. If the gusset gets thick, grade the seam allowances, trim them carefully, and avoid piling every seam in the same spot. A thick central ridge can feel uncomfortable and can also stop the underwear from sitting close enough to the body to work properly. If the pattern allows it, I like to test one prototype with a slightly narrower absorbent insert and then enlarge only the sections that actually need more capacity.
Fit and test the first prototype like a garment, not a guess
The first pair is a fitting sample as much as a finished product. I would never make one and immediately rely on it for a full workday. Wear it at home first, ideally on a lighter day, so you can notice where the leg openings sit, whether the gusset pulls backward, and whether the waistband stays level.
| What you notice | What it usually means | What I would change |
|---|---|---|
| Leaks at the front | The gusset is too short or sits too far back | Extend the front of the gusset by 1-2 cm and recheck placement |
| Leaks at the back | Coverage is not long enough for your body or sleep position | Lengthen the back gusset, especially for overnight wear |
| Damp feel on the skin | The top layer is not wicking enough or the pair is overfilled | Change the skin-facing fabric or increase capacity in the core |
| Legs dig in | Elastic is too tight or the seam is too bulky | Use softer elastic, reduce bulk, or slightly relax the leg opening |
| Legs gap | The opening is too loose to hold the gusset close | Tighten the elastic or revise the leg curve |
For light to moderate flow, a well-made pair can often be worn for several hours. On heavier days, I would treat homemade pants more conservatively and use them as backup rather than expecting all-day security from a first draft. That is not a failure of the sewing; it is simply the reality of how much absorbency you can fit into a comfortable gusset before the garment gets bulky.
If you want a stronger version later, the easiest upgrade is usually not a fancier outer fabric. It is a wider gusset, a denser absorbent core, or a more body-hugging leg finish. Those changes do far more work than decorative extras.
Wash, dry, and store them so the absorbency lasts
The care routine is simple, but the details matter. I rinse used period pants in cold water first, because cold water lifts blood without setting it into the fibres. Then I wash on a gentle cycle at 30 C or less with a mild detergent. I skip bleach and fabric softener, and I always air dry them instead of using a tumble dryer.
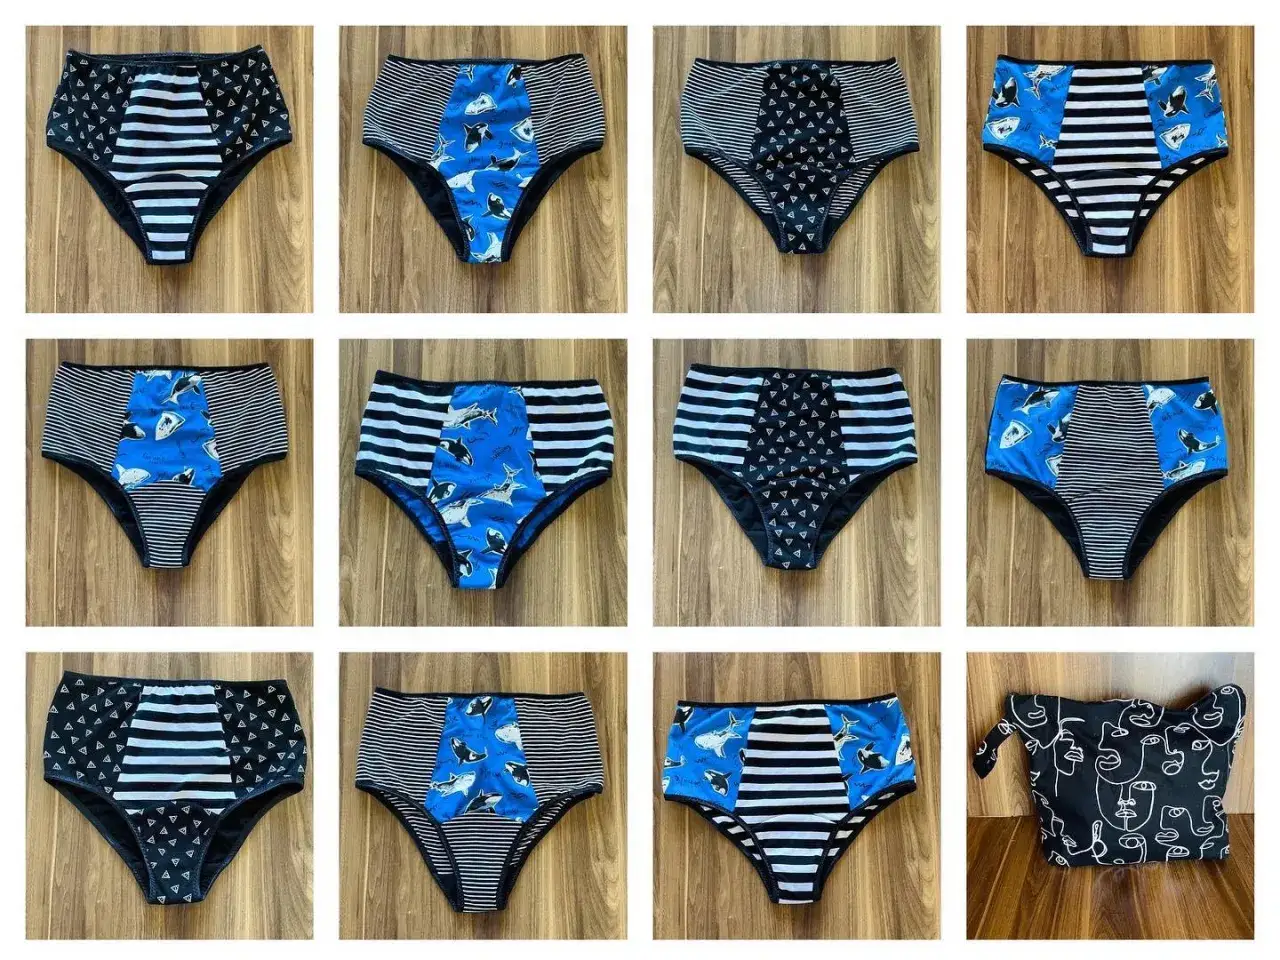
Drying takes longer than with ordinary underwear because there are multiple layers, and that is another reason to make more than one pair. Two pairs is the absolute minimum I would sew for testing; three is more practical if you want to rotate them through a cycle without panicking about laundry timing. If I am out of the house, I keep a wet bag or waterproof pouch for worn pairs until I can rinse them properly.
There is no reason to overcomplicate the laundry side. The goal is simply to preserve the fibres that hold absorbency and the waterproof layer that stops leaks. High heat and softener are the main enemies. Once those are out of the routine, the underwear usually lasts far better than beginners expect.
The small details that make a handmade pair worth the effort
What I reach for most in a handmade pair is not a clever finishing trick. It is consistency. A stable knit, a gusset that is long enough for the body it is serving, and a clean stretch seam will beat a fussy design every time. If you only remember three things, remember these: fit the gusset to the flow, protect the waterproof layer, and wash cold.
I would also keep expectations grounded. Homemade period pants are brilliant when you want a custom fit, a lower-waste option, or a sewing project that solves a real wardrobe problem. They are less brilliant if you want instant heavy-flow performance without any testing. That trade-off is normal. Once you accept it, the project becomes much more satisfying, because you are sewing something practical rather than chasing perfection.
If I were starting from scratch today, I would begin with one simple brief or hipster pattern, one good stretch knit, one absorbent core, and one careful prototype. That is enough to learn what your body needs, and it is usually enough to make the second pair noticeably better than the first.
