
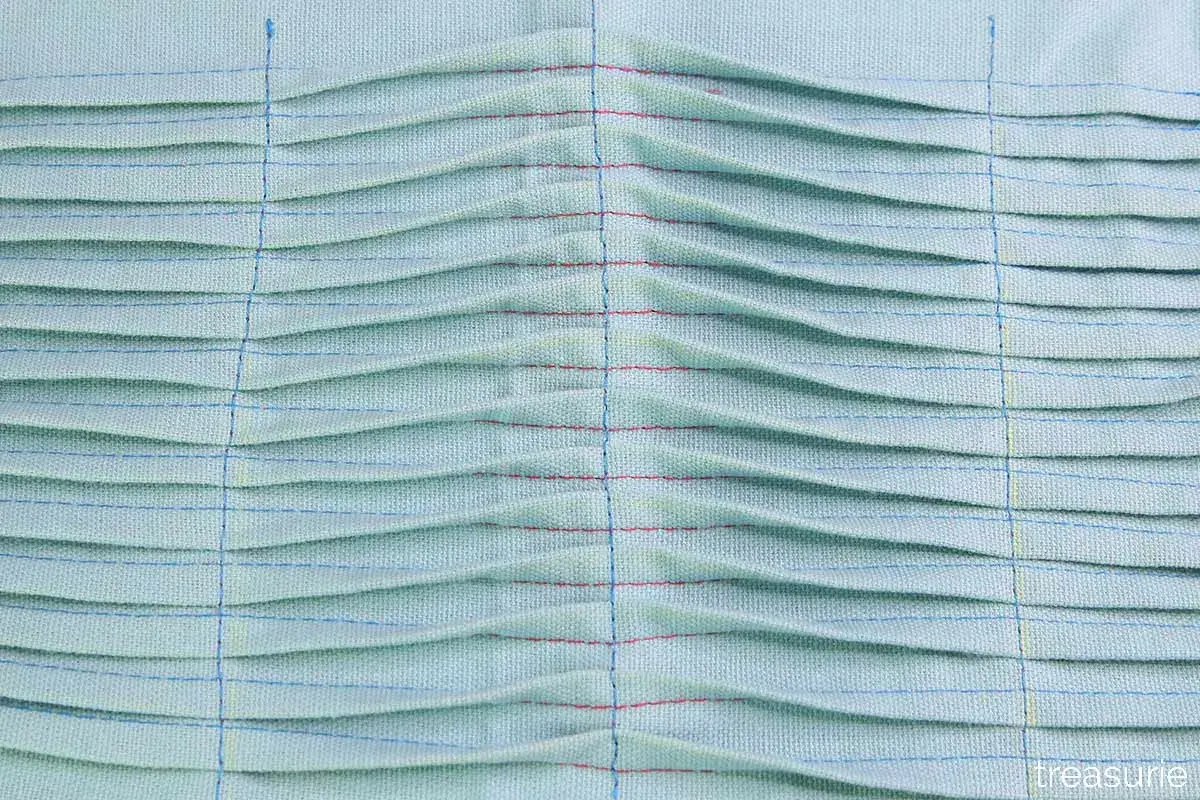
Pintucks are one of those sewing details that can make a plain fabric feel deliberate, tailored, and quietly refined. This guide answers what is pintuck in practical terms, shows how the fold is formed, and explains where it works best, where it fails, and how to sew it without losing the crisp line. I will also cover the fabrics, tools, and small mistakes that decide whether the result looks polished or a bit underwhelming.
The essentials at a glance
- Pintucks are narrow stitched folds that raise a fine ridge on the right side of fabric.
- They add texture without much bulk, which is why they suit blouses, dresses, trims, and heirloom details.
- Lightweight to medium-weight fabrics usually give the cleanest result; heavy cloth tends to look bulky.
- A pintuck foot, twin needle, or very careful marking helps keep the rows even, but pressing matters just as much.
- Most mistakes come from poor fabric choice, uneven spacing, or skipping a proper press.
What pintucks are and how they differ from other folds
A pintuck is a tiny stitched tuck in fabric that creates a narrow ridge rather than a full pleat. In most dressmaking, the stitching runs very close to the fold, often just 1 to 2 mm away, so the surface detail stays fine and precise. I think of it as a controlled way to add dimension: you get texture, rhythm, and structure, but not the volume that a pleat would bring.
That distinction matters. A pleat opens more fabric and changes the shape of a garment more dramatically, while a dart removes fabric to shape the body. A pintuck sits somewhere else entirely: it is decorative first, structural only in a light, subtle way. When rows are repeated in parallel, the effect can be classic, delicate, and slightly architectural all at once.
| Detail | What it does | When I would use it |
|---|---|---|
| Pintuck | Adds a fine ridge and surface texture with very little bulk | Blouses, yokes, babywear, cuffs, light home textiles |
| Pleat | Adds movement and visible fullness | Skirts, trousers, dresses, structured volume |
| Dart | Removes excess fabric to shape the garment | Bust shaping, waist shaping, tailored bodices |
Once you know that pintucks are the narrowest, most decorative member of the tuck family, the next question is which fabrics can actually hold that sharp little ridge cleanly.
Which fabrics show them at their best
Pintucks work best on cloth that is light enough to fold cleanly and stable enough to keep the fold visible. In practice, that usually means cotton lawn, fine poplin, voile, linen, viscose, rayon challis, silk, and other lightweight woven fabrics. If I want the detail to read clearly, I reach for a fabric with a bit of body rather than one that collapses into itself.
| Fabric type | How it behaves | My verdict |
|---|---|---|
| Cotton lawn | Crisp, neat ridges with good definition | Excellent starting point |
| Poplin | Clean surface and clear lines | Reliable and easy to control |
| Voile or batiste | Very light and airy, but delicate | Beautiful if you want softness and transparency |
| Linen | Textured, slightly rustic ridge | Strong choice for summer garments |
| Viscose or rayon challis | Soft drape, less crisp than cotton | Good if you want a gentler effect |
| Denim, coating fabric, heavy wool | Bulky folds and thick ridges | Usually too heavy for neat pintucks |
Prewashing helps here more than people expect, because shrinkage after stitching can distort a careful row. Grain also matters: if the fabric is cut off-grain, the tucks can twist instead of sitting straight. That choice of cloth drives almost everything else, including how you mark and sew the detail.
How I set up pintucks so they stay even
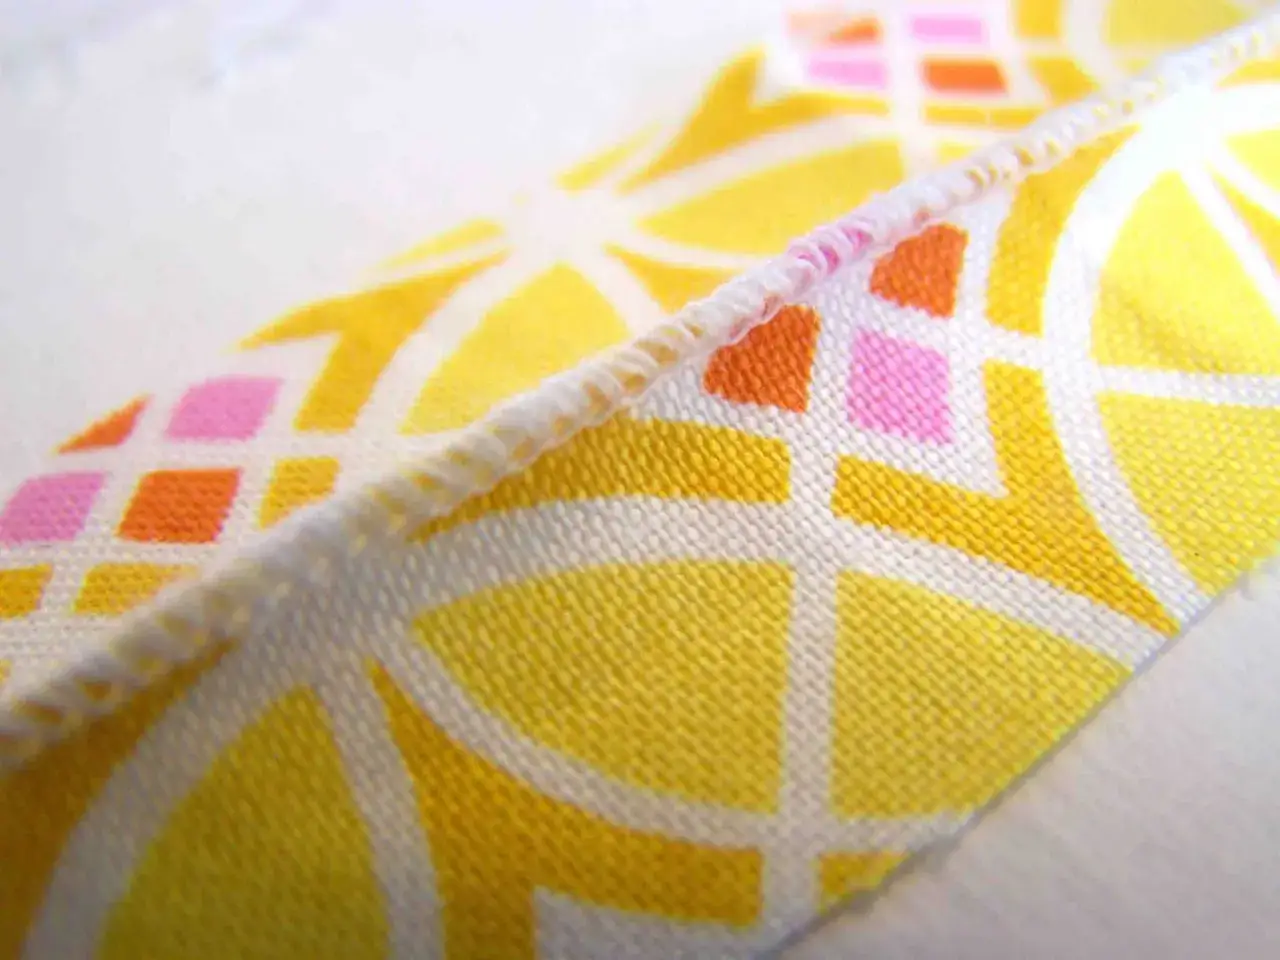
There are several ways to sew pintucks, but the cleanest results usually come from a careful setup rather than from speed. A pintuck foot helps the previous row sit neatly in the groove, while a twin needle or straight stitch foot can also work if your marking is accurate. For a first sample, I would start with a finished tuck width of about 3 to 6 mm, then test the spacing on a scrap before cutting into the real piece.
- Wash, dry, and press the fabric before you mark anything.
- Mark the rows on the right side with chalk, a washable pen, or another removable marker.
- Test the spacing on a larger scrap first, especially if you want multiple parallel rows.
- Sew the first line straight and steady, then use the foot groove or your marked line to guide the next row.
- Press each tuck flat first, then press it in the direction the design needs.
I usually remind people that the stitch line is only part of the job. Pressing locks the fold into place and makes the ridge read cleanly on the surface. Without a proper press, pintucks often look like loose wrinkles instead of an intentional design detail.
- Marking tools keep rows parallel and reduce drift.
- A pintuck foot helps the previous fold guide the next one.
- A fine needle reduces visible holes in delicate cloth.
- A pressing cloth protects lightweight fabrics from shine and heat marks.
Even with the right setup, a few avoidable mistakes can make the detail collapse or look messy, and that is where most first attempts go wrong.
Mistakes that flatten the detail
The most common problem is choosing fabric that is simply too thick. Once the ridge has too much bulk, the fold stops reading as a fine line and starts looking like a seam allowance sitting on top of the cloth. The second problem is uneven spacing: if the rows drift, the whole surface looks accidental rather than designed.
- Skipping prewashing, which can distort the finished garment after the first wash.
- Using a fabric that is too soft or too heavy to hold a crisp ridge.
- Cutting the pattern piece before the tucks are sewn, which can leave you short on fabric.
- Pressing too lightly, so the fold never really sets.
- Changing thread tension too little or too late when the stitches start to pucker.
- Trying to do too many rows too close together on a fabric that cannot support the density.
My rule is simple: if the fabric, spacing, and pressing all pull in the same direction, pintucks look refined; if one of those three is off, the detail usually shows it immediately. That is also why placement matters so much, which brings us to where the technique earns its keep in modern garments.
Why pintucks still earn their place in careful garment design
Pintucks are most useful where you want surface interest without heavy embellishment. I like them on blouse fronts, bodice yokes, sleeve cuffs, baby garments, nightwear, and lightweight dresses because they add quiet structure without overwhelming the silhouette. On home textiles, they work well on pillow covers, curtains, and table linen when the aim is calm texture rather than bold decoration.
They also have a subtle styling effect. Vertical rows can guide the eye up and down a garment, which often makes a panel feel longer and more composed. That is not a magic trick, and it depends on fabric and placement, but it is one reason designers keep returning to the technique when they want elegance without fuss.
If I were choosing a first pintuck project, I would start with a scrap of cotton lawn, mark three parallel rows, and test the result before touching the final pattern piece. That small trial tells you how the fabric behaves, how much pressure it needs, and whether the spacing feels balanced enough to carry through the garment.
