
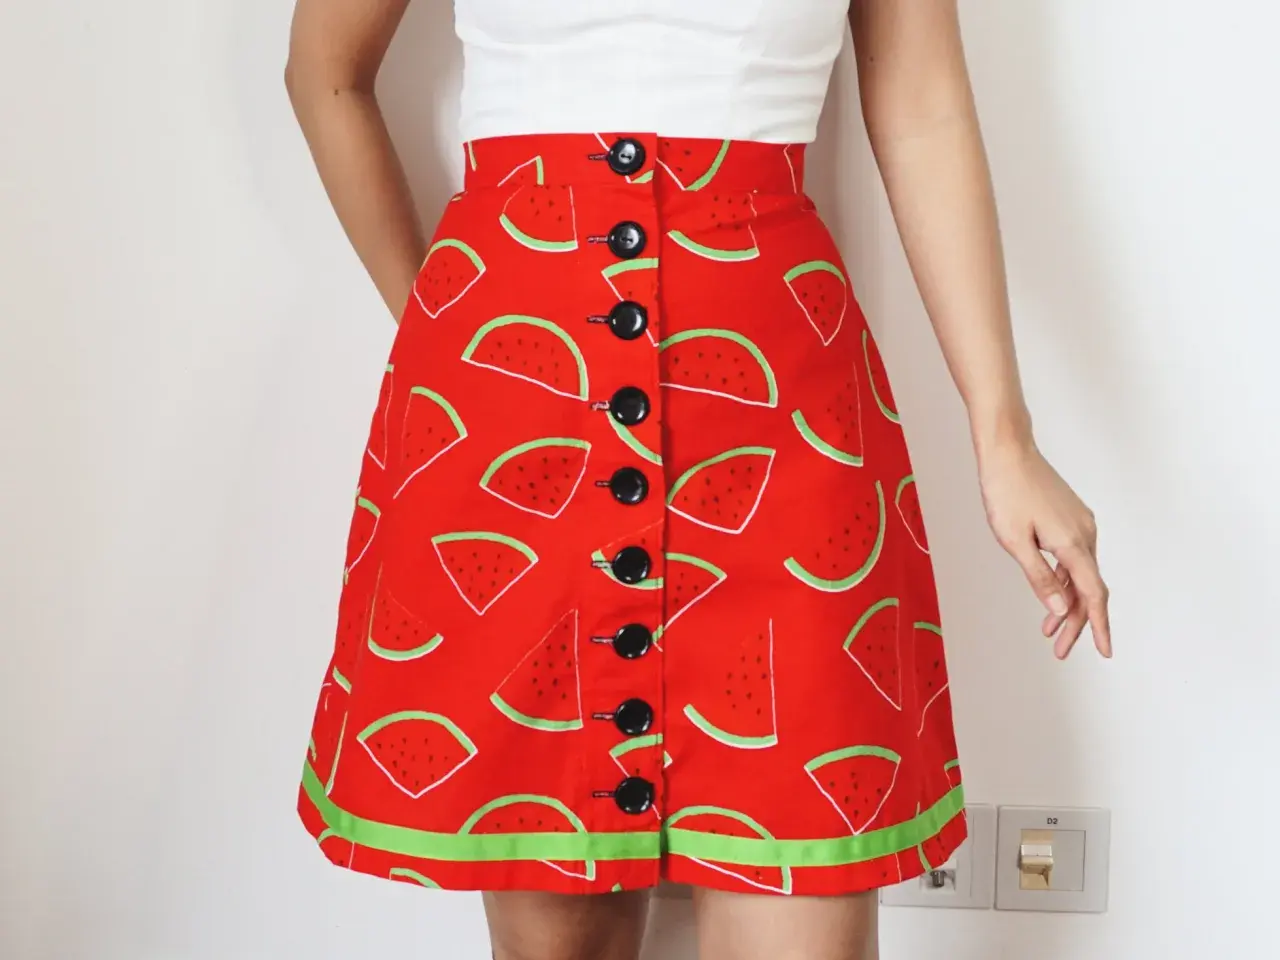
A good free printable A-line skirt template should do three jobs at once: fit your printer, give you a believable shape, and produce a skirt that hangs cleanly on the body. In this guide, I focus on what to look for in a downloadable pattern, how to print and assemble it properly, which fabrics make the first make easier, and where fit usually goes wrong.
The practical essentials before you print
- Look for A4 files, a test square, finished measurements, and size layers. Those four details save the most time.
- For UK home sewing, A4 is usually the default. If the designer offers A4 and US Letter, choose A4 unless you have a reason not to.
- Pick the size from the hip for zip styles and from the waist for elastic-waist styles. That is the easiest way to avoid an awkward first fitting.
- Print at 100% actual size. If the test square is off, the whole skirt will be off.
- Choose a stable woven fabric first. Cotton poplin, linen blends, and medium-weight viscose are safer than slippery or ultra-stiff fabrics.
- Keep the first version simple. A knee-length skirt without complicated trims is the fastest path to a wearable result.
What a good free template should give you
An A-line skirt is one of the most useful shapes in garment sewing because it is narrow at the waist and gradually wider at the hem. That simple flare gives movement without adding a lot of pattern complexity, which is why I often recommend it as a first or second skirt project. A strong free template should not only show the outline of the skirt; it should make the whole process clearer.
| Feature | Why it matters | My rule of thumb |
|---|---|---|
| Test square | Confirms the pattern printed at the right scale | Never tape pages together until the square measures exactly as instructed |
| Finished measurements | Shows the actual skirt size after seam allowance and ease | Compare these before choosing your size |
| Size layers | Lets you print only the size you need | Cleaner than tracing through a stack of lines |
| A4 and US Letter files | Ensures the PDF works on common home printers | A4 is the file I want in the UK |
| Seam allowance note | Tells you whether the edges are included or need adding | Check this before you cut fabric |
| Assembly map | Shows how the tiled pages fit together | A simple page plan saves a lot of reprinting |
I also pay attention to the construction style. Some free templates are just a plain skirt shape with an elastic waist, which is great for beginners. Others add a waistband, darts, or a zip, which gives a more tailored finish but asks for more fitting accuracy. If the file is vague about those details, I usually skip it and choose a clearer one. Once you know what the pattern should contain, the next step is choosing the version that suits your body and fabric.
How to choose the right version before you print
Not every free A-line skirt PDF is built for the same sewing job. Some are designed to be fast, casual, and forgiving. Others aim for a sharper, more polished skirt that sits closer to the body. I always decide this before I touch the printer, because the wrong construction style can make an otherwise good pattern feel disappointing.
| Pattern type | Best for | Trade-off |
|---|---|---|
| Elastic waist | Quick first make, casual wear, easy fitting | Less tailored at the waist |
| Waistband and zip | Cleaner silhouette, more structured fabric | More fitting work at the hip and waist |
| With pockets | Everyday wear and practical use | Extra bulk in the side seam |
| Lined or faced hem | Lightweight fabrics and a neater interior | More fabric, more time |
For a zip version, I usually choose by the hip measurement first, because the waist can be altered more easily than the hip curve. For an elastic-waist skirt, the waist measurement matters more, but I still check the finished waist size rather than assuming the labelled size will be comfortable. If you are between sizes, blend gradually at the side seam instead of jumping straight from one size to another. That small adjustment often matters more than people expect. Once the size and style are settled, the printing stage becomes straightforward.
How to print and assemble the pages without scale errors
This is the stage where a perfectly good pattern can be ruined by a printer setting. I always print one test page first, even when I think everything looks correct on screen. The two settings that matter most are actual size and no page scaling. If the PDF viewer tries to shrink the file to fit the page, the skirt will come out too small.
- Open the PDF in a viewer that respects print scaling, ideally Adobe Reader or a comparable programme.
- Choose the correct paper size for your printer, usually A4 in the UK.
- Set the print option to 100% or Actual size.
- Print the page with the test square first.
- Measure the square with a ruler and confirm it matches the number in the instructions.
- Only then print the remaining pages.
- Trim and tape the pages according to the assembly diagram, matching page numbers, notches, and reference marks.
The tiled pages should line up smoothly, but I still check each row before taping everything permanently. Low-tack tape is useful because it lets you shift a page if the margins were slightly off. If the outer edges are clipped by your printer, do not force the file through a bad setup. Print-shop formats or large-format files are cleaner when they are available, and they save a surprising amount of time. After the paper is sorted, fabric choice becomes the next practical decision.
Which fabrics and notions work best for a first make
The shape of an A-line skirt is simple, but the fabric can make it feel easy or awkward. I prefer stable woven fabrics for a first version because they cut cleanly, press well, and hold the flare without collapsing. Very slippery fabrics, or fabrics with a lot of bounce, are harder to manage when you are still learning the construction order.
| Fabric | Why it works | What to watch out for |
|---|---|---|
| Cotton poplin | Crisp, easy to cut, and dependable under the machine | Can feel stiff if you want a softer drape |
| Linen or linen blend | Breathable and suitable for a relaxed everyday skirt | Creases easily, so choose a blend if you want less wrinkling |
| Viscose or rayon blend | Lovely drape for a softer A-line silhouette | Can shift while cutting, so handle it carefully |
| Chambray | Good balance of structure and comfort | Check that it is not too heavy for the waistband |
| Light denim | Useful for a casual skirt with a bit more body | Too much weight can make the side seams bulky |
For fabric quantity, a knee-length A-line skirt in 140 cm-wide fabric often needs about 1.5 to 2 metres. A midi length, a fuller flare, or a larger size can push that closer to 2 to 2.5 metres. Add another 20 to 40 cm if your fabric has a directional print, a nap, or a layout that wastes more cloth. For notions, I would usually keep a 20 to 25 cm zip on hand for a short side opening, a 2.5 to 5 cm wide elastic if the skirt is elasticated, matching thread, and enough interfacing to stabilise a waistband or facing. Those small choices make the garment feel more intentional, and they lead naturally into the sewing order itself.
The sewing order that gives the cleanest shape
When I sew an A-line skirt, I want the shape to stay smooth, not stretched out by handling. That means I keep the order simple and press at each stage. Pressing is not decorative here; it changes the way the seam sits and helps the skirt hold its line.
- Sew darts first if the pattern has them. Darts shape the waist so the skirt sits close without pulling across the hips.
- Add pockets if they are included. Side-seam pockets are useful, but they must be inserted carefully so they do not distort the side seam.
- Join the side seams and check that the skirt hangs evenly before finishing the seams.
- Construct the waistband or facing and stabilise it with interfacing if required.
- Insert the zip or elastic according to the pattern style.
- Let the skirt hang if the fabric is drapey, then level the hem before stitching it permanently.
- Finish the hem with the allowance the pattern provides, usually a narrow turned hem or a deeper folded hem.
A few technical terms matter here. The grainline is the long arrow on the pattern that shows how the piece should sit on the fabric, and the selvage is the finished edge of the cloth. Keeping the grainline straight helps the skirt fall properly, especially in woven fabrics. I also avoid rushing the hem. If the fabric has any drape at all, I prefer to let the skirt rest before I trim it. That one pause often prevents a hem that twists or hangs unevenly. Once the skirt is sewn, the real test is fit.
Fit tweaks and common mistakes to avoid
Most disappointing first versions fail for the same few reasons, and almost all of them are fixable. The good news is that an A-line skirt is forgiving enough to correct without rebuilding the whole garment. When I see a problem, I usually trace it back to one of these causes.
| What you notice | Likely cause | Best fix |
|---|---|---|
| Waist fits but the skirt pulls across the hips | You chose by waist only, or the hip curve is too narrow | Blend out at the hip or start from the larger size |
| Hem looks wavy | The fabric stretched during sewing or the skirt was not left to hang | Let it rest, then re-level the hem before finishing |
| Skirt looks boxy | The fabric is too stiff for the amount of flare | Use a softer cloth or reduce the weight and width of the hem |
| Zip ripples at the opening | The edge was not stabilised or the zip length is wrong | Stay-stitch first and use the right zip length for the pattern |
| Pages do not align | Printer scaling or page clipping changed the size | Reprint the test page and adjust the print settings |
The mistakes I see most often are surprisingly small: skipping the test square, ignoring finished measurements, and cutting into good fabric before checking the pattern fit on paper. Another common one is choosing a fabric that looks beautiful but behaves badly under the machine. A slippery viscose can be lovely once you know how it handles, but it is a poor first choice if you are still learning the layout and seam order. Once those risks are clear, the first version becomes much easier to plan.
The first version I would make in your place
If I were starting from a free downloadable template today, I would keep the first skirt deliberately simple: knee length, A4 PDF, visible test square, no lining, and a fabric with enough structure to behave on the cutting table. I would also avoid directional prints on the first try, because matching a print adds pressure without teaching much about the pattern itself.
- Choose a knee-length or just-below-knee length.
- Use a stable woven fabric such as cotton poplin, chambray, or a linen blend.
- Print one test page before touching the rest of the file.
- Check the finished waist and hip measurements, not only the size label.
- Leave pockets, lining, and complicated trims for version two.
That approach gives you the real value of a free printable A-line skirt pattern: a wearable skirt, a clear read on the fit, and a template you can reuse with confidence. If you keep the first make simple and verify the scale before cutting, the pattern becomes a practical sewing tool rather than just another PDF on your hard drive.
